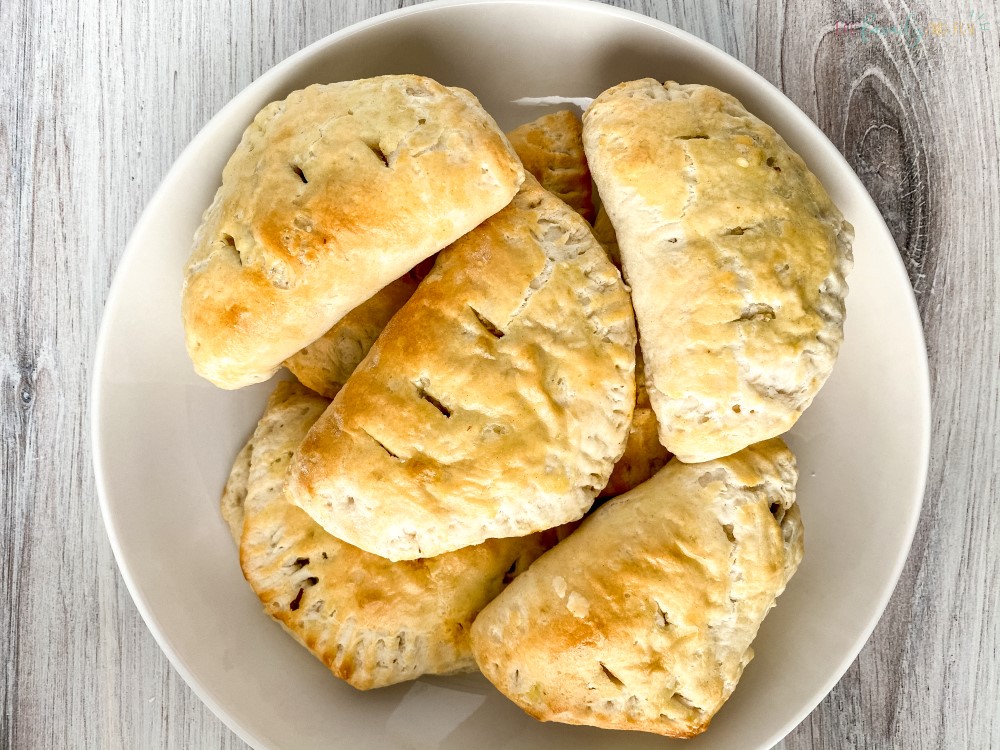
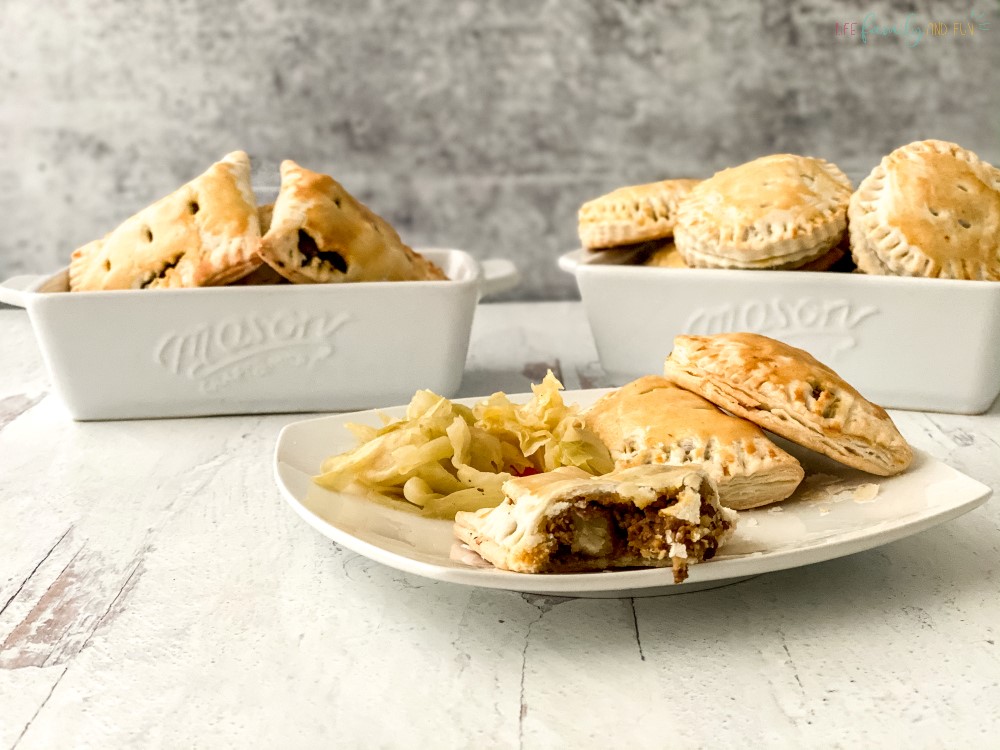
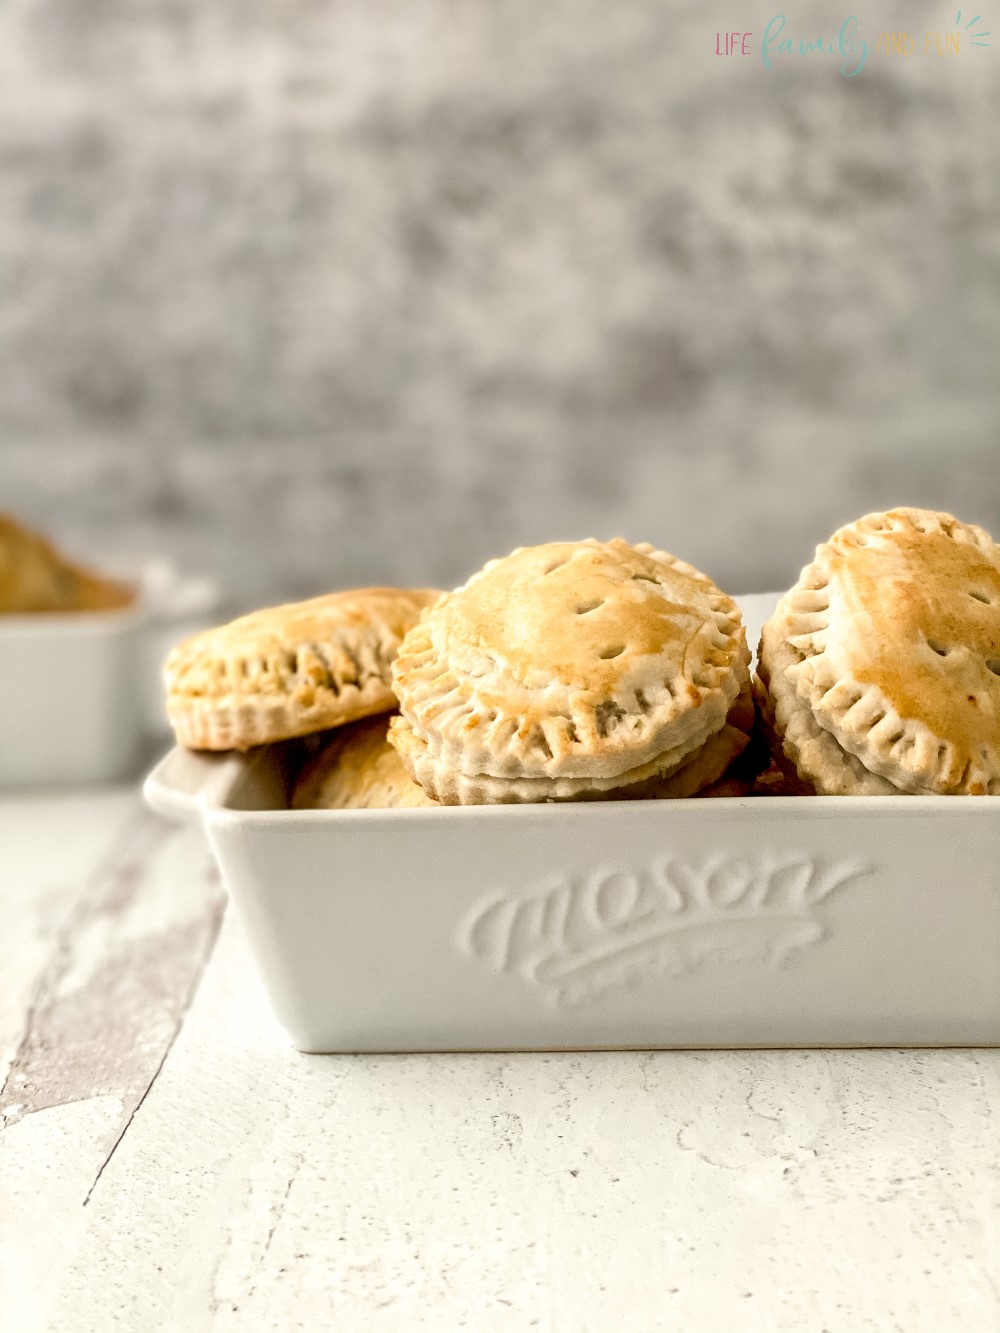
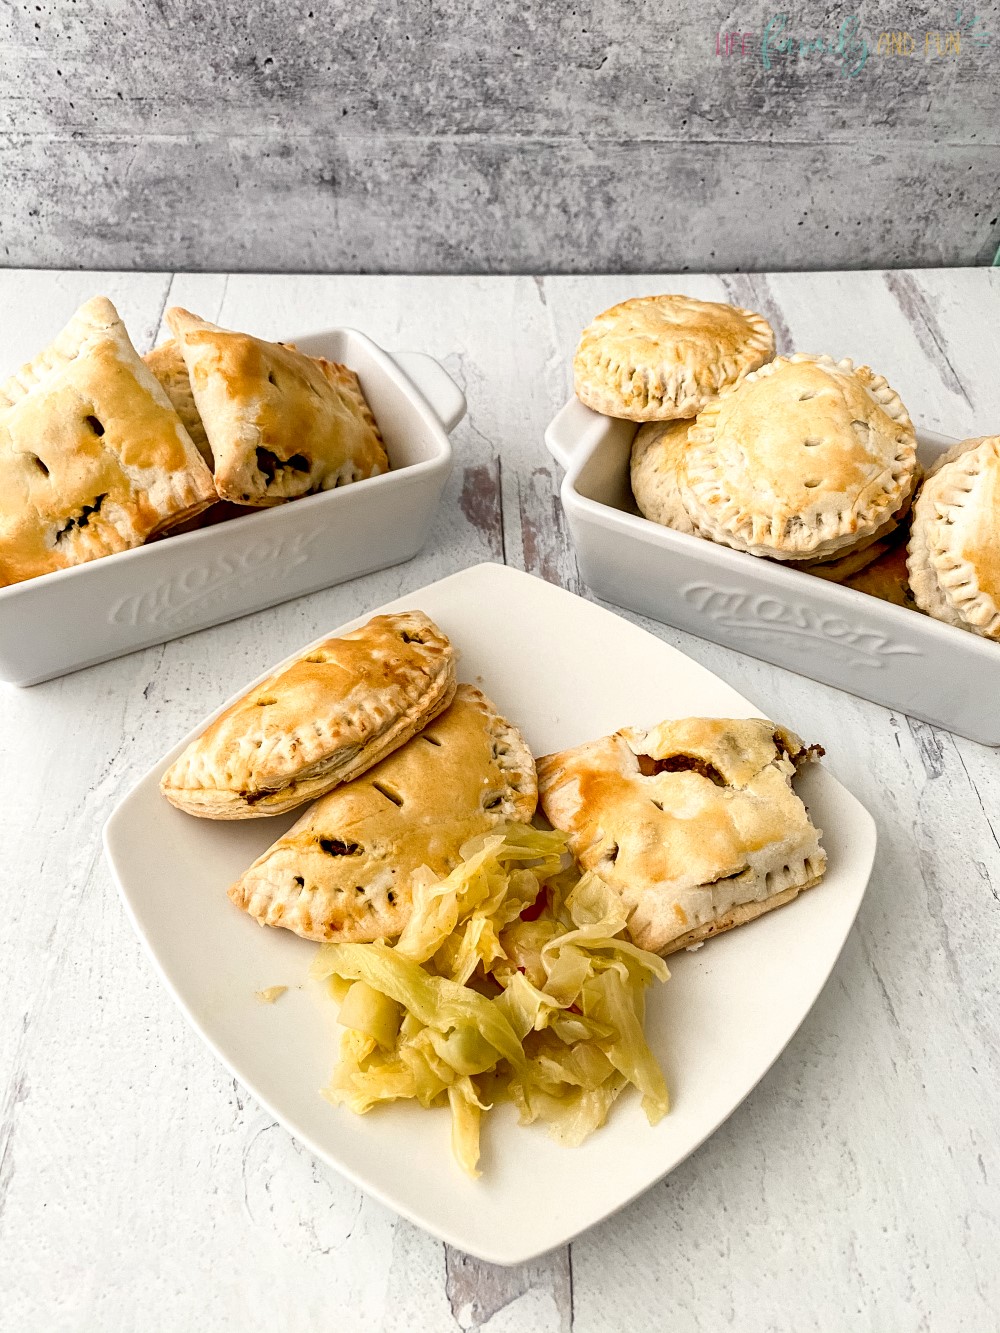
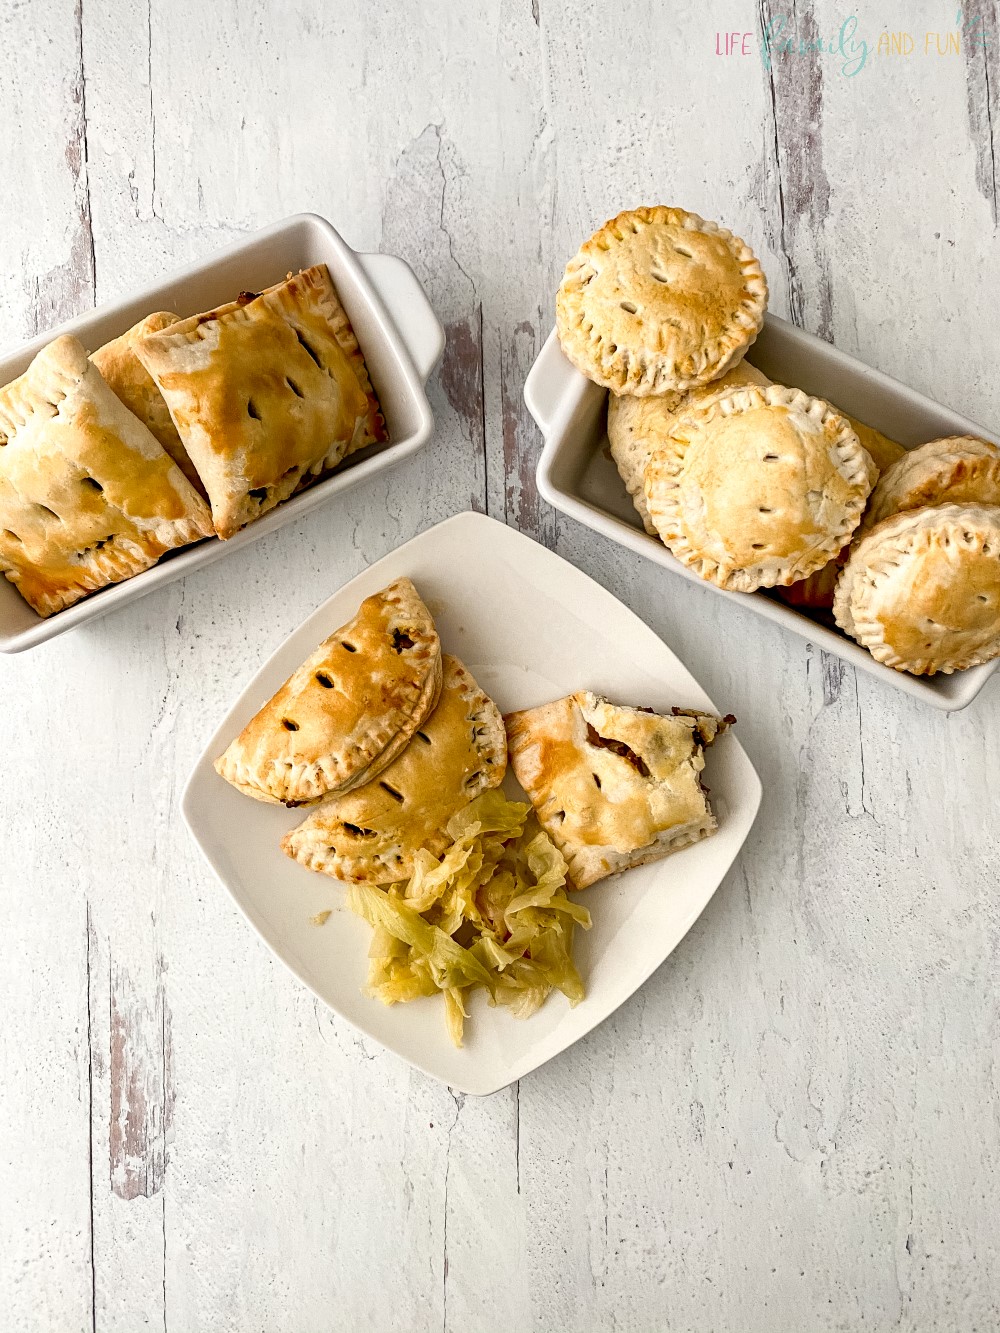
A homemade meat pie brings comfort to your dinner table with its flaky golden crust and flavorful filling. These little pockets of goodness are individual-sized pastries that have been stuffed with ground beef and veggies to create a filling meal that can be used for a sit-down meal or while on the go.
Equipment:
- Cast iron or heavy bottom frying pan
- Wooden spoon
- Sharp chef knife
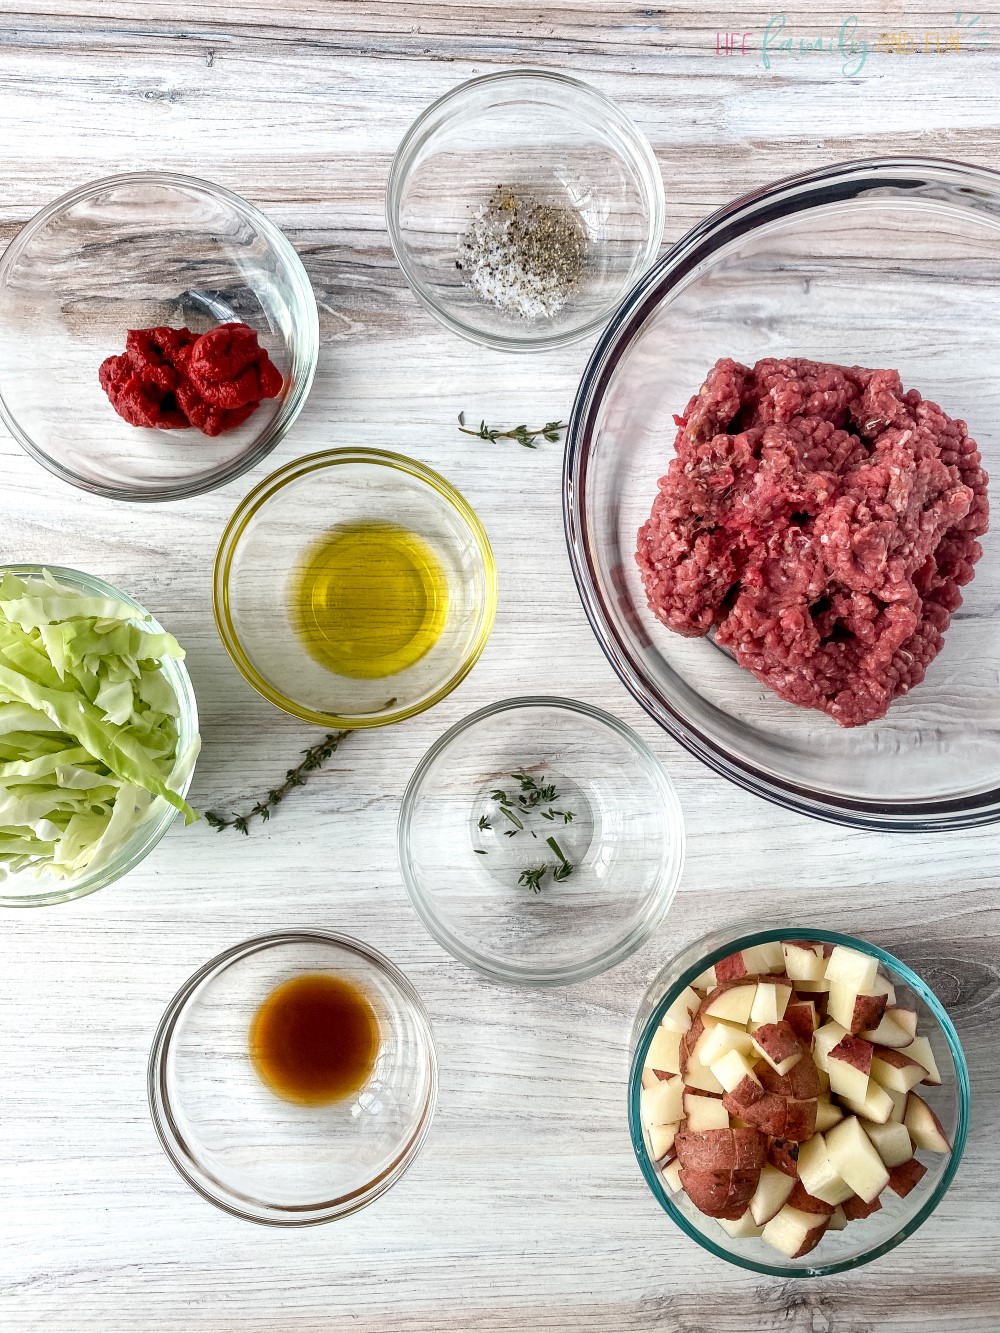
Ingredients:
- 2 tbsp. olive oil (or extra-virgin)
- ¼ head of green cabbage, shredded (cut into very thin strips)
- ¼ pounds of red potatoes, scrubbed and diced with the skins left intact
- ½ pound lean ground sirloin (you can substitute turkey or chicken if desired but lean ground sirloin has less grease and fat than regular which prevents the dish from becoming “greasy”)
- 5 tablespoons of tomato paste
- ½ teaspoons of Worcestershire sauce
- ½ tsp of thyme
- Ready to eat pie crust
Instructions:
1. Begin by scrubbing the potatoes using a scrub brush to remove all dirt residue.
2. Rinse the cabbage head under cool water to remove any soil or chemicals.
3. Dice the scrubbed potatoes into bite-sized chunks using the chef’s knife.
4. Then shred the rinsed cabbage into thin strips that are almost translucent in color.
5. Place the cast iron pan on the stove with two tablespoons of olive oil and turn to medium heat to let the oil warm to cooking temperatures.
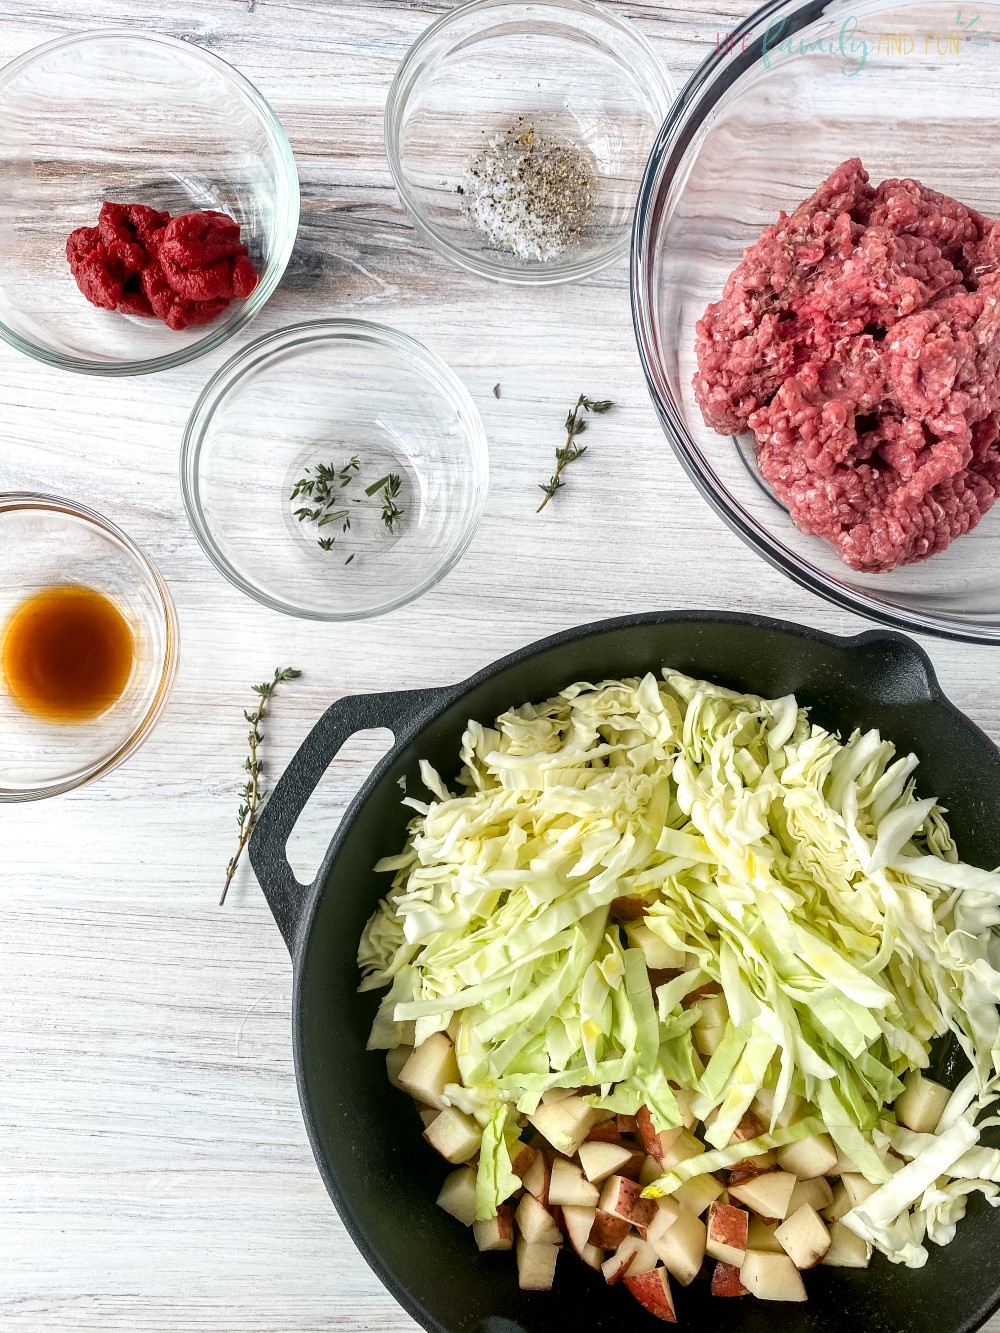
6. Add the diced potatoes and shredded cabbage to the cast iron skillet, stirring with the wooden spoon to allow the olive oil to mix with the veggies. Make sure you get a good coating of oil.

7. Sauté for 5 to 7 minutes or until the cabbage and potatoes begin to turn a light brown. Don’t fully cook the veggies as that step is taken care of in the baking stage.

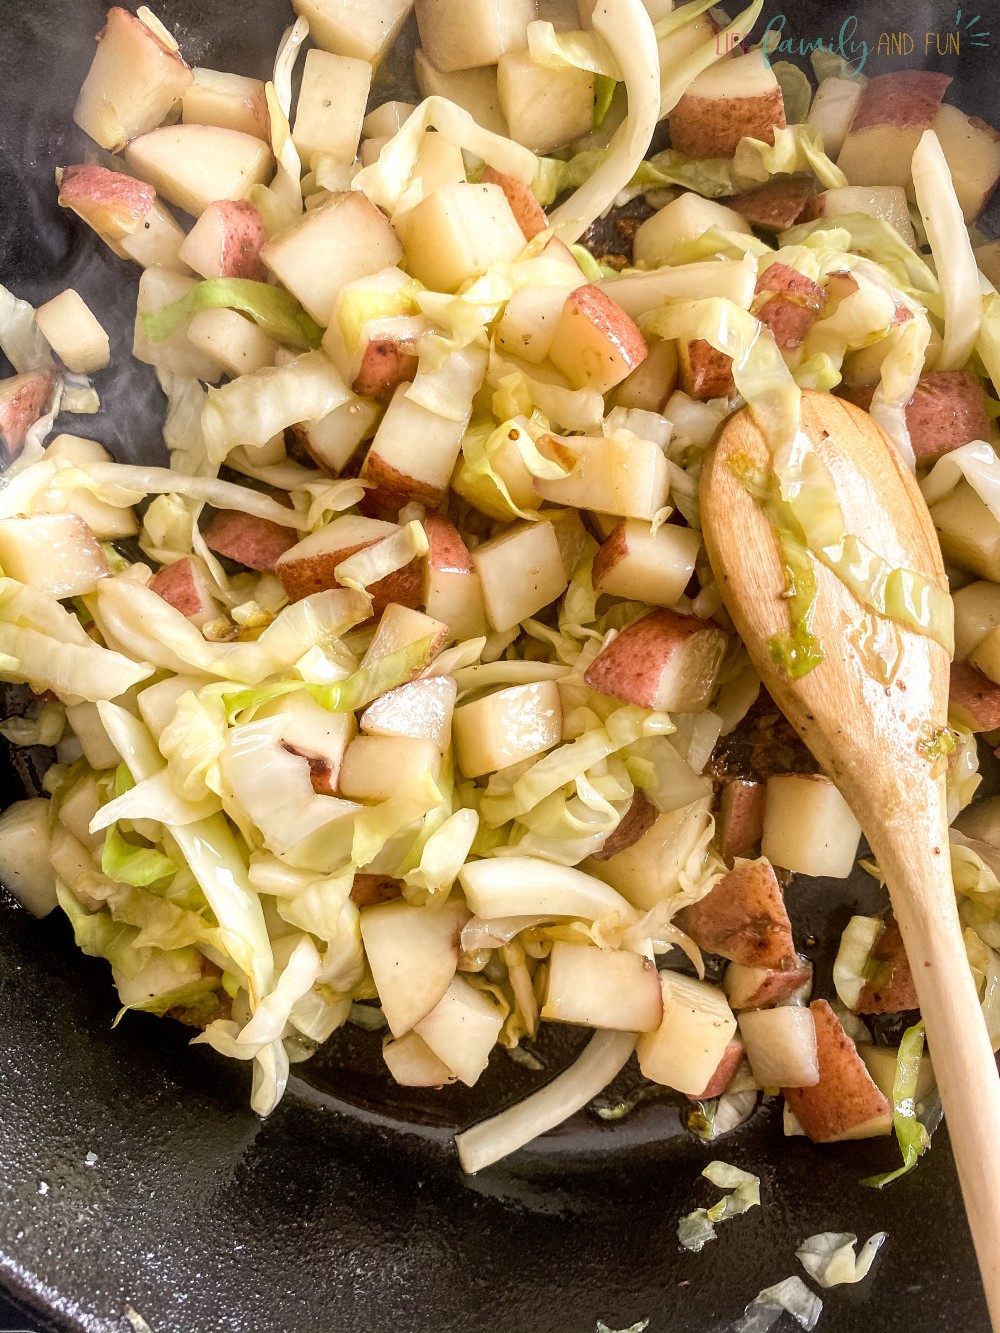
8. Remove the sautéed vegetables from the pan, placing them to the side until later in the recipe.
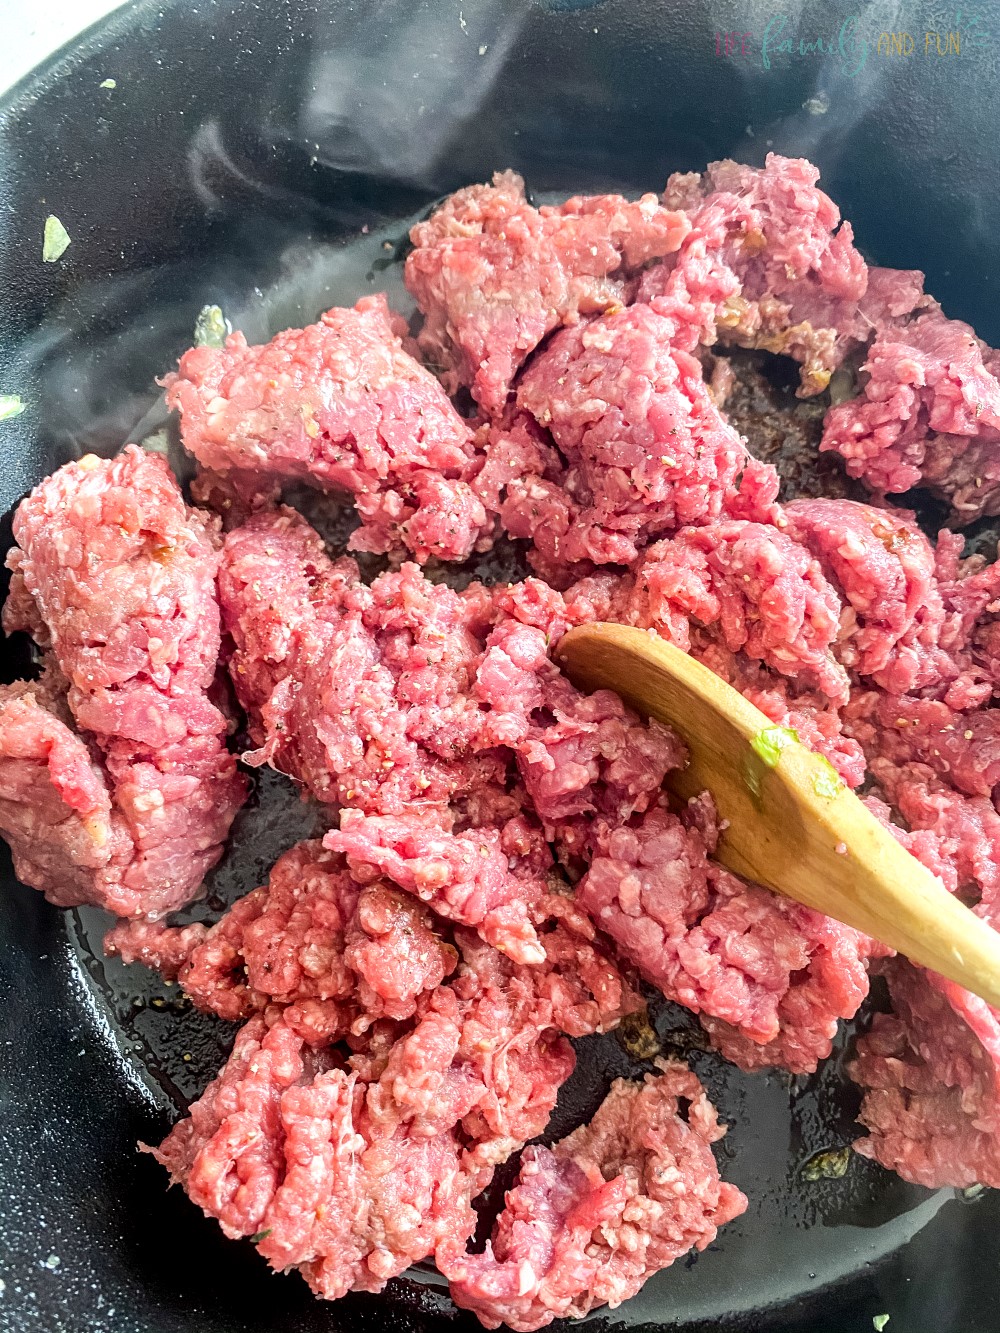
9. Next, add the ground sirloin to the same pan and cook all the way through until browned. Don’t season the meat unless you absolutely must as other seasonings specific to the recipe will be used.
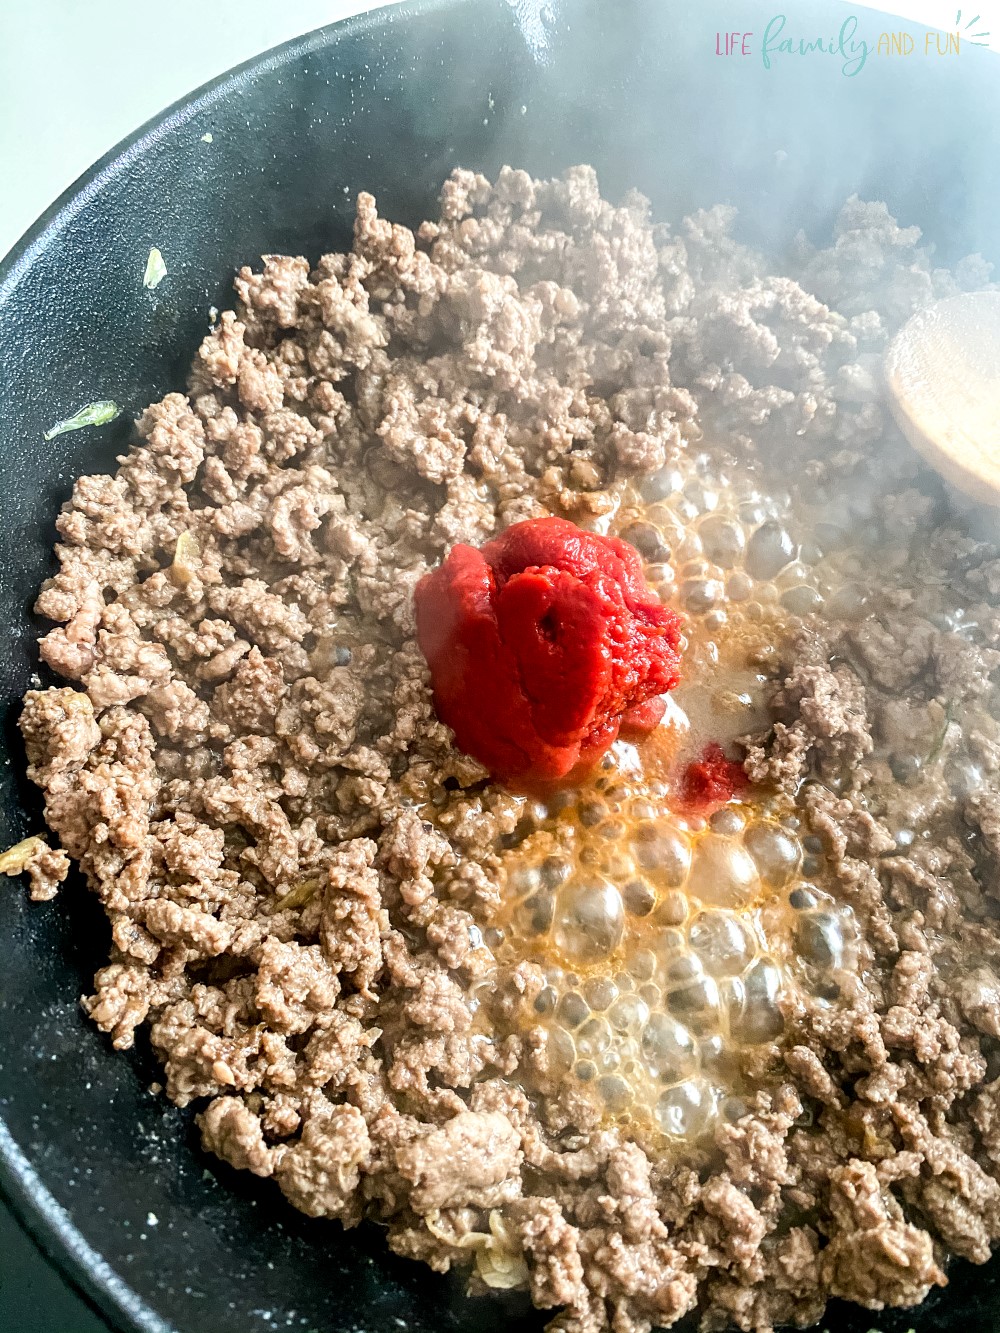
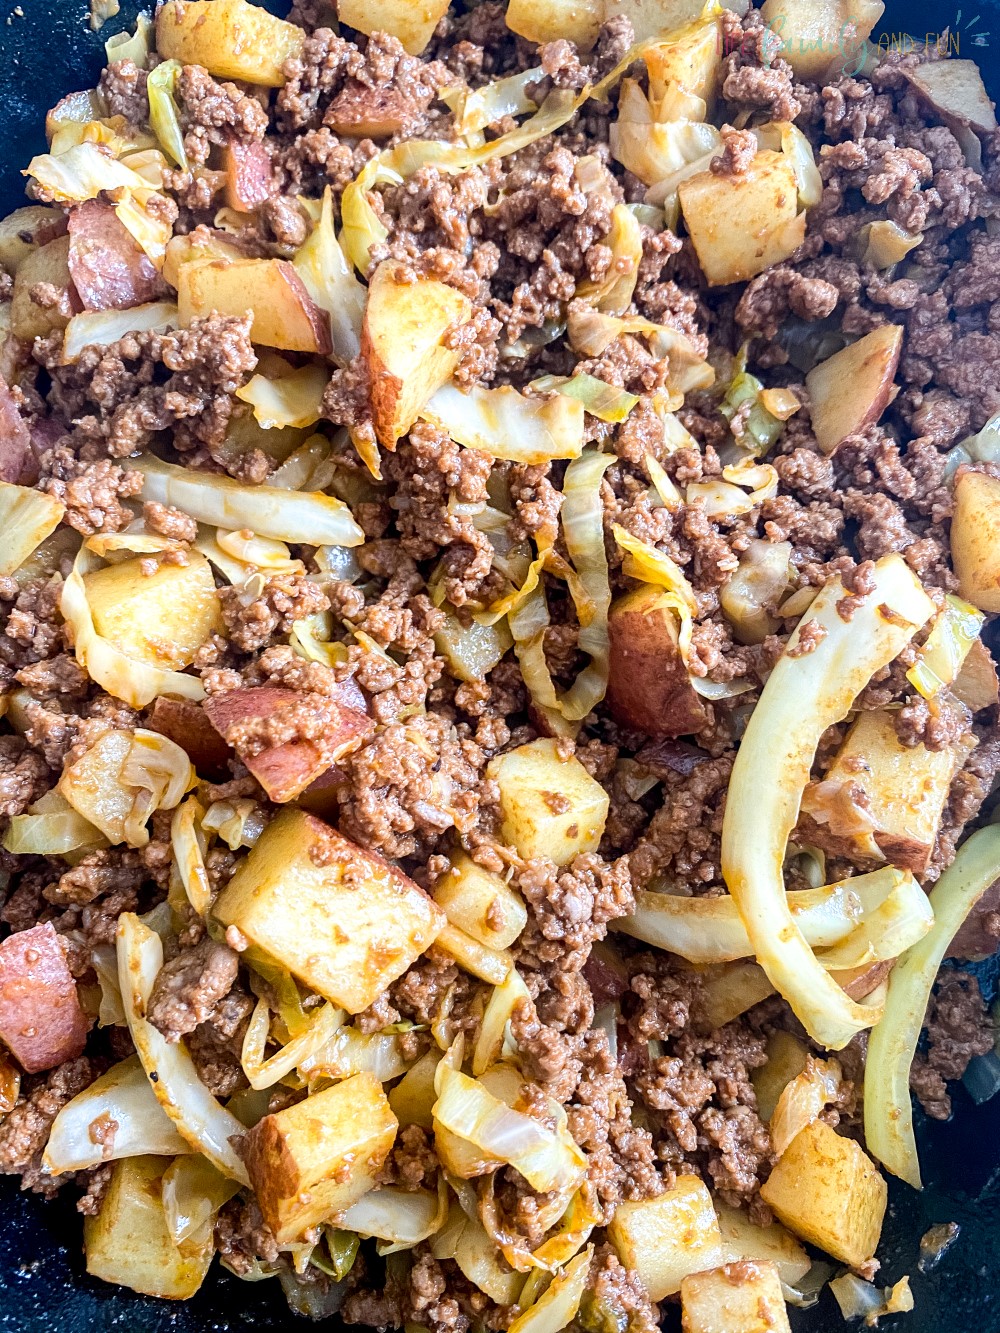
10. Then add the tomato paste and Worcestershire sauce into the meat. Stir until mixed. This will give the meat that familiar taste as well as a good color.
11. Add the potatoes and cabbage back into the cast iron skillet with some thyme, along with salt and pepper to taste (if desired).
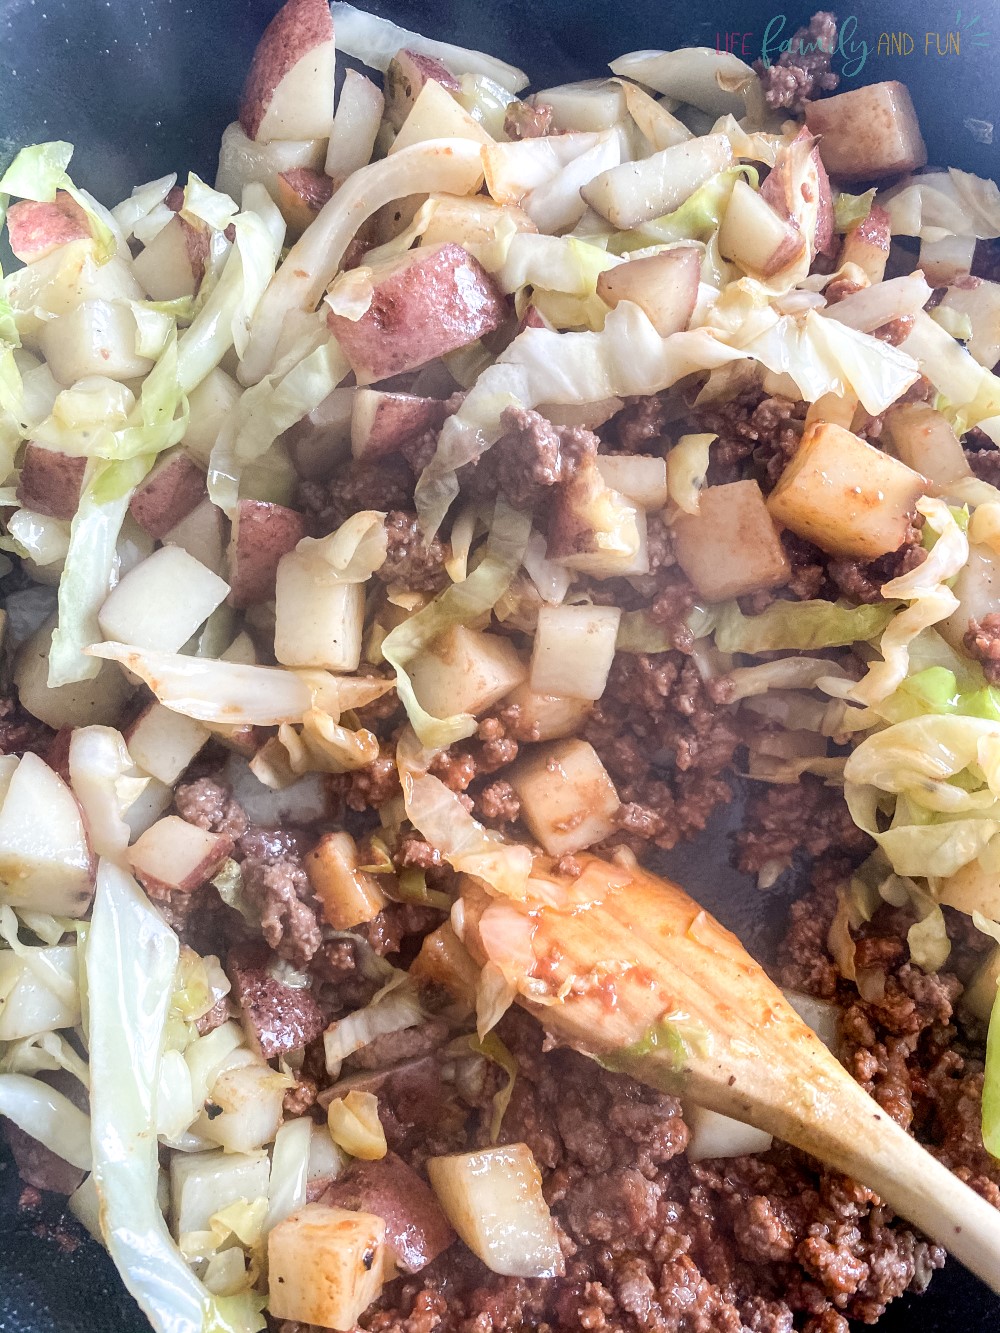
12. Stir the mixture until it has been thoroughly mixed with all the ingredients and cook for another 3-4 minutes.
13. Add a ½ cup of cool water to the mixture and turn up the heat of the stove to bring it to a boil.
14. Cover the skillet after achieving a boil and reduce the heat to a low temperature.
15. Leave this for approximately 10 minutes to allow the potatoes time to soften and all the juices to absorb into the ingredients, lifting the cover only to stir the mixture (it is recommended you do this every couple of minutes or so to prevent burning or the ingredients sticking onto the pan).
16. Remove the mixture from the heat and allow it to cool before starting the next step.
17. While you are waiting for this to cool; prepare the store-bought crust as per the packaging instructions.
18. Preheat your oven to 400° in preparation for the baking stage.
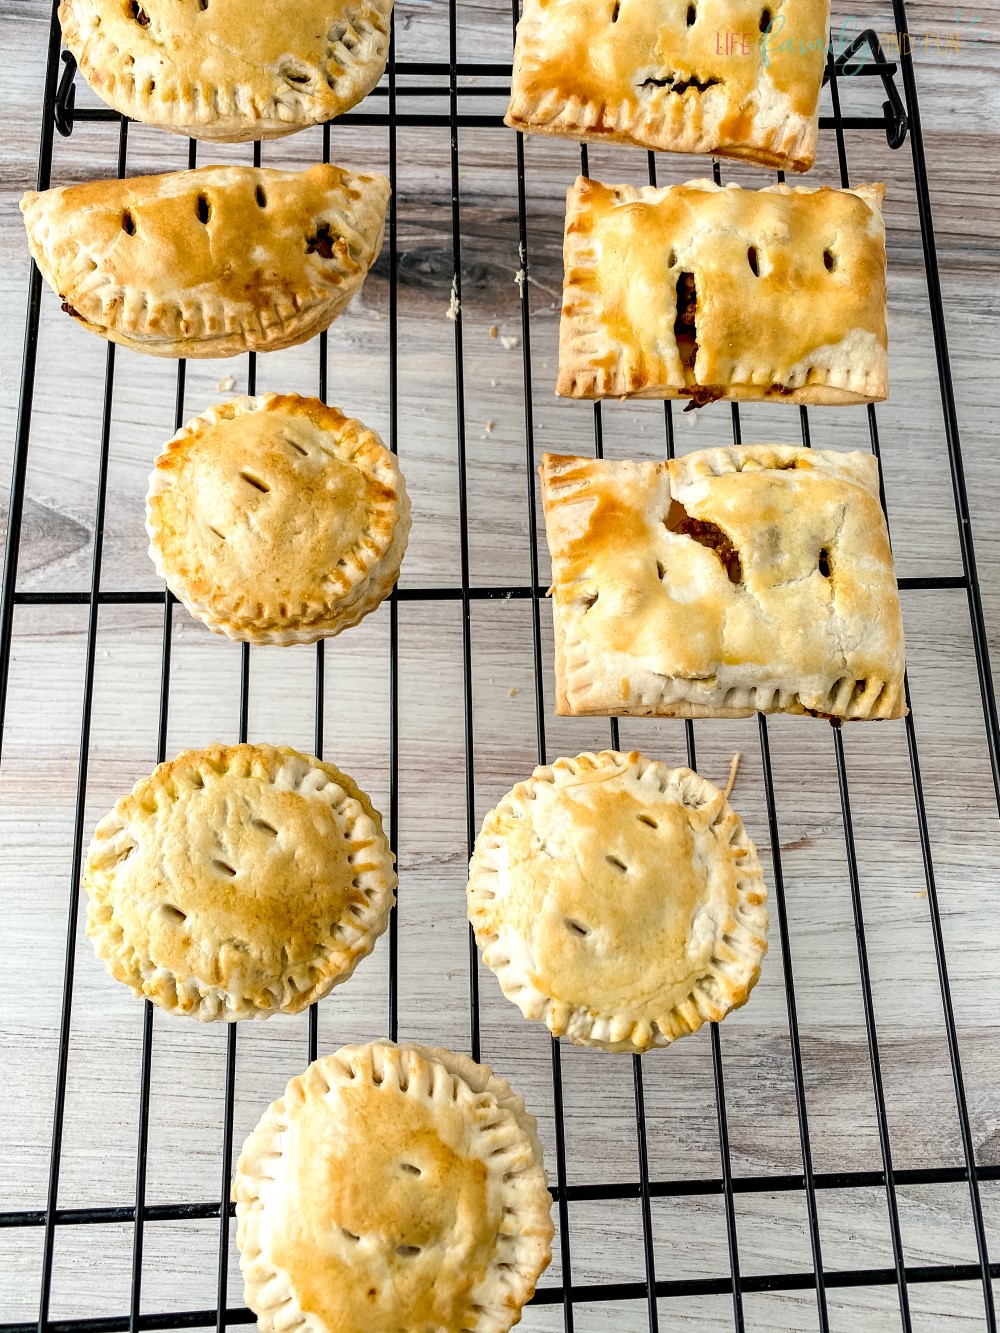
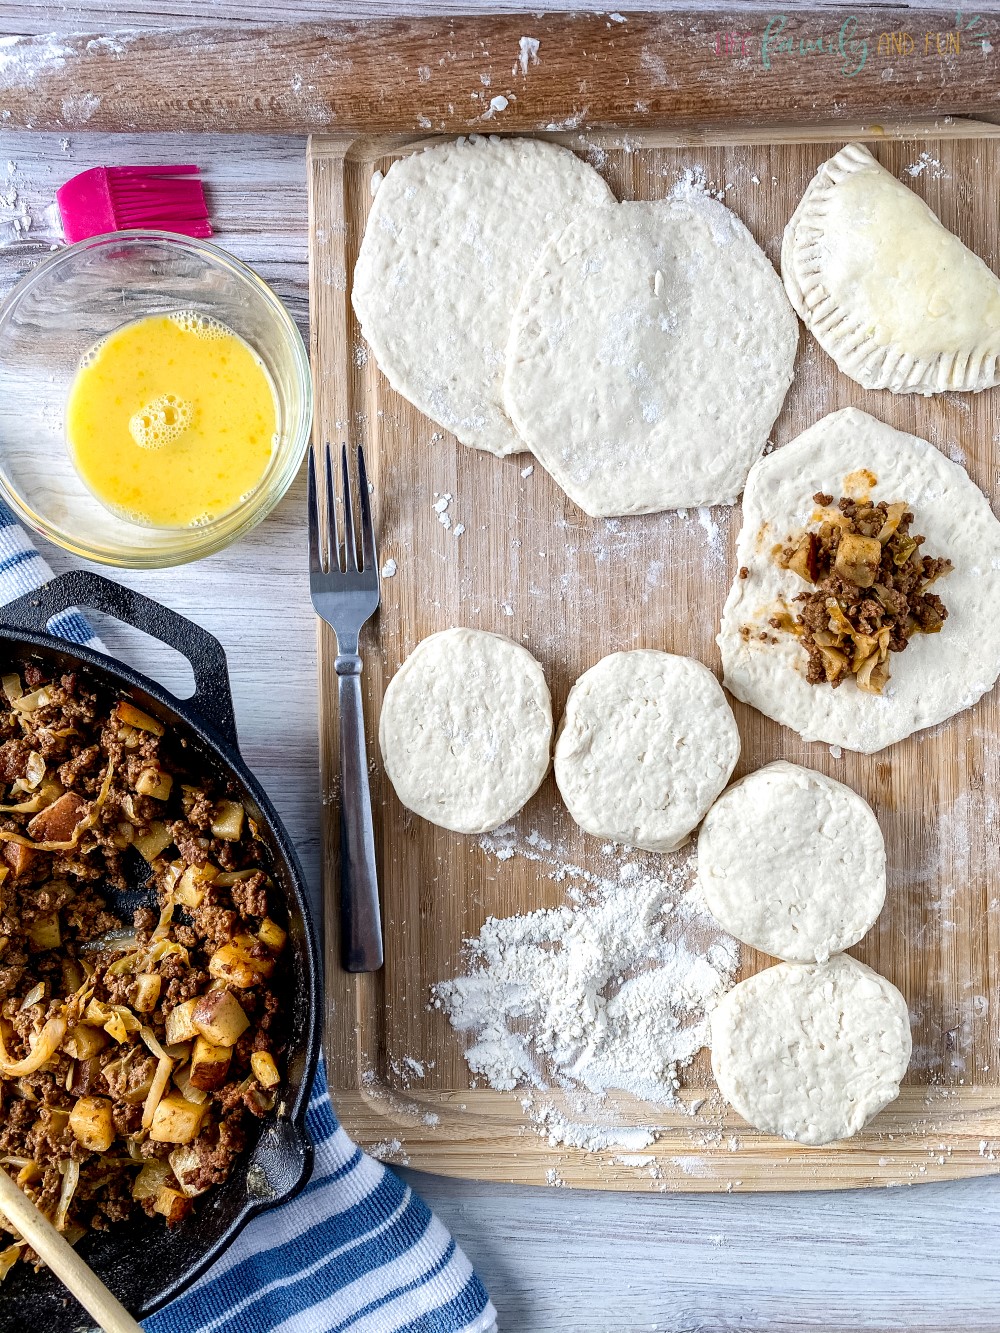
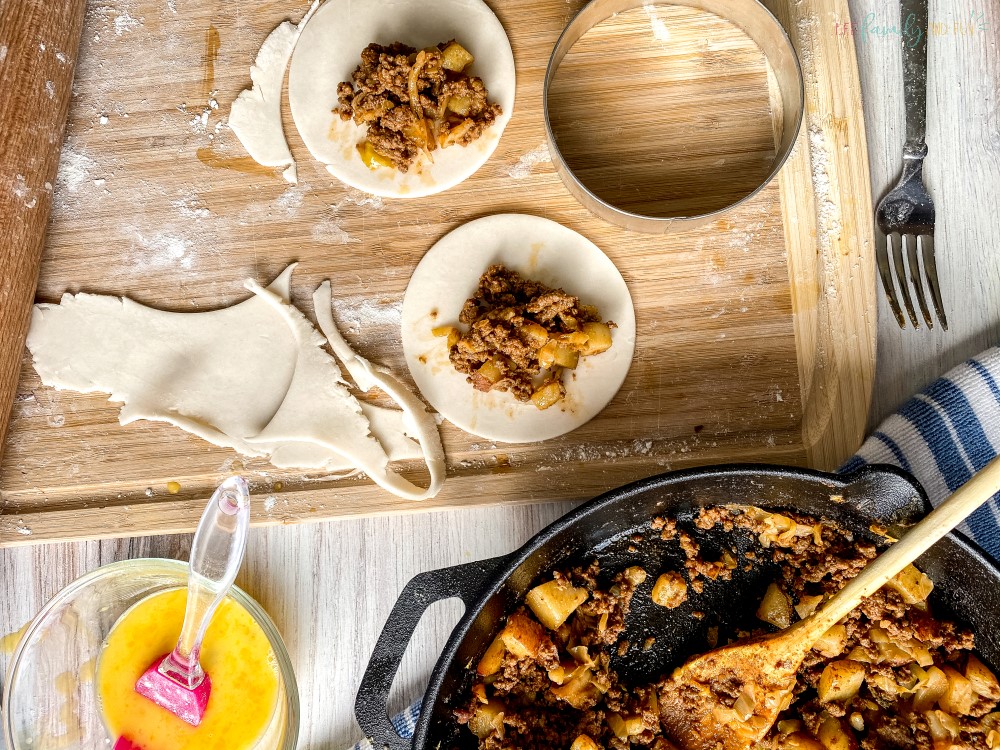
19. Using a glass or jar – cut out circles from the pie crusts. The recommended size is 3-5 inches in diameter.
*The larger the circle, the bigger the pie will be when folded. For smaller circles you can sandwich the meat mixture but enclose another pie crust on top.
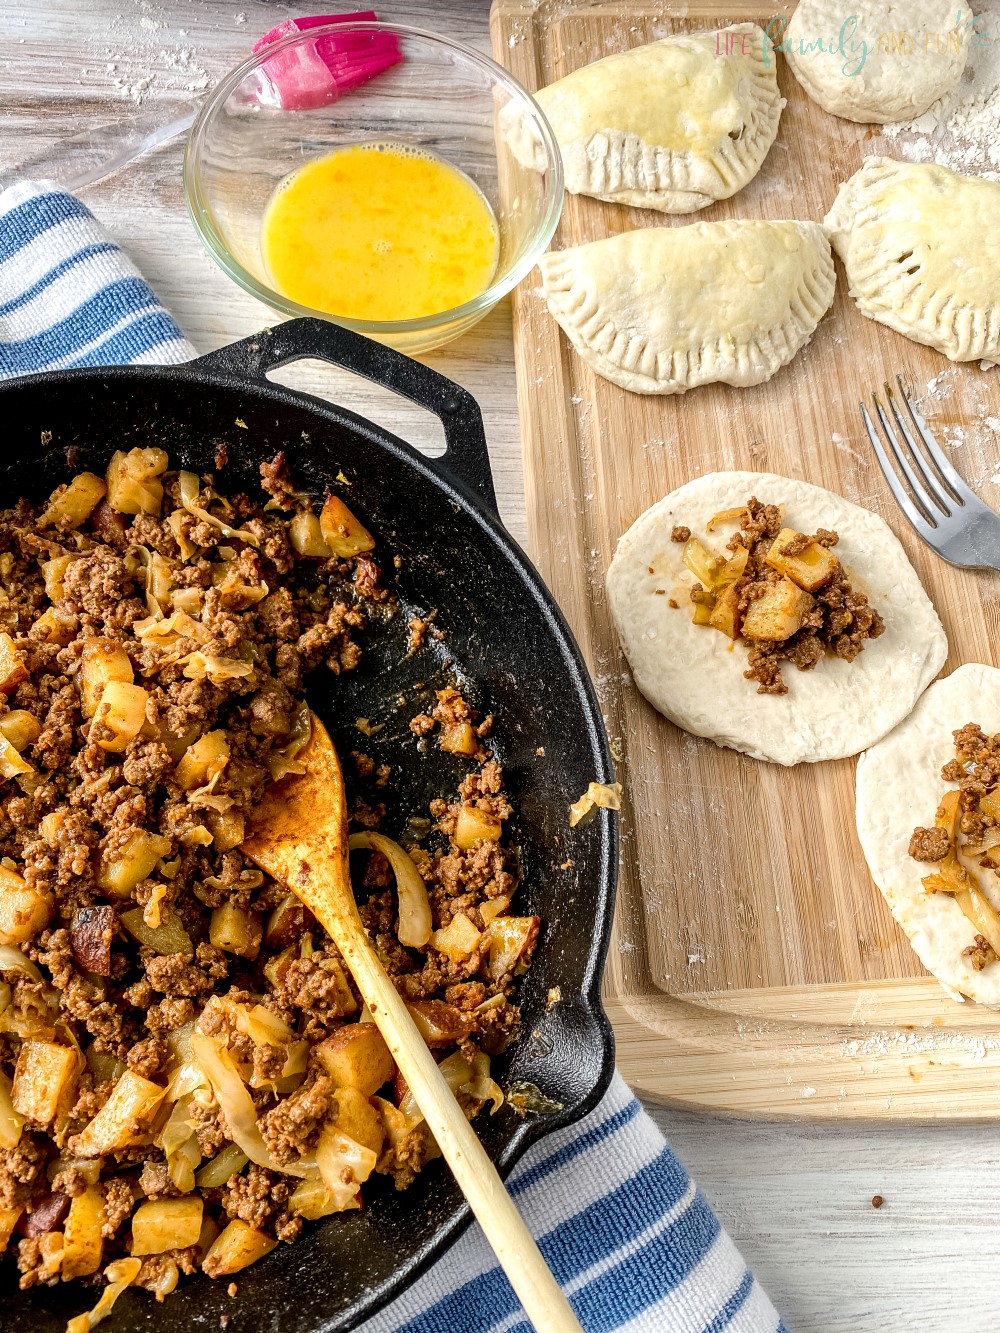
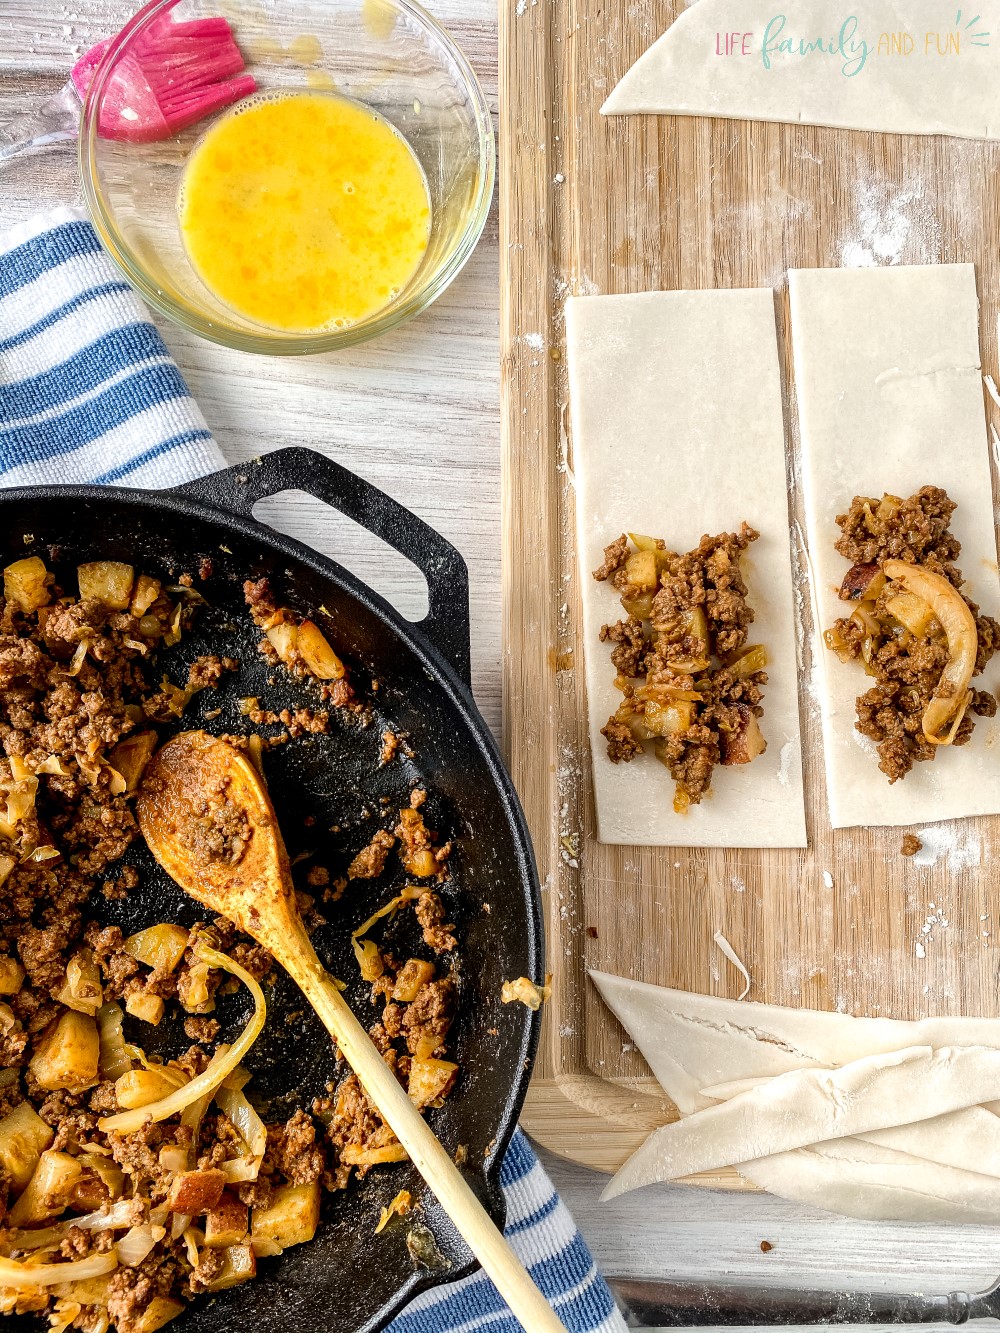
20. Scoop a hearty helping of the meat mixture onto the circles of pie crusts and fold it over to create a pocket.
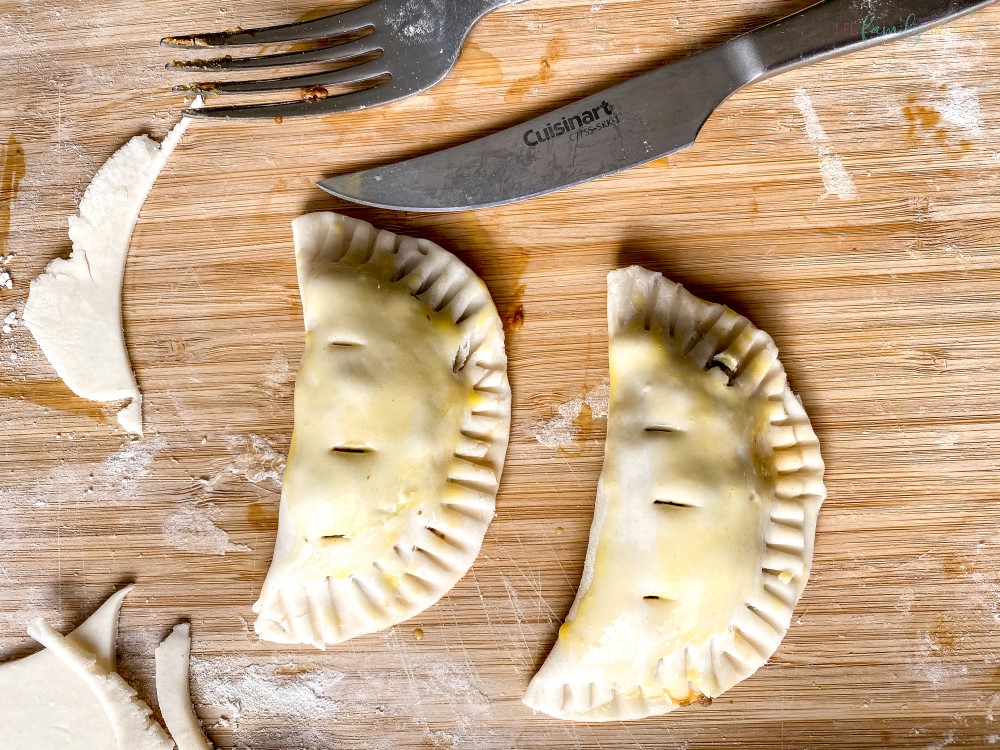
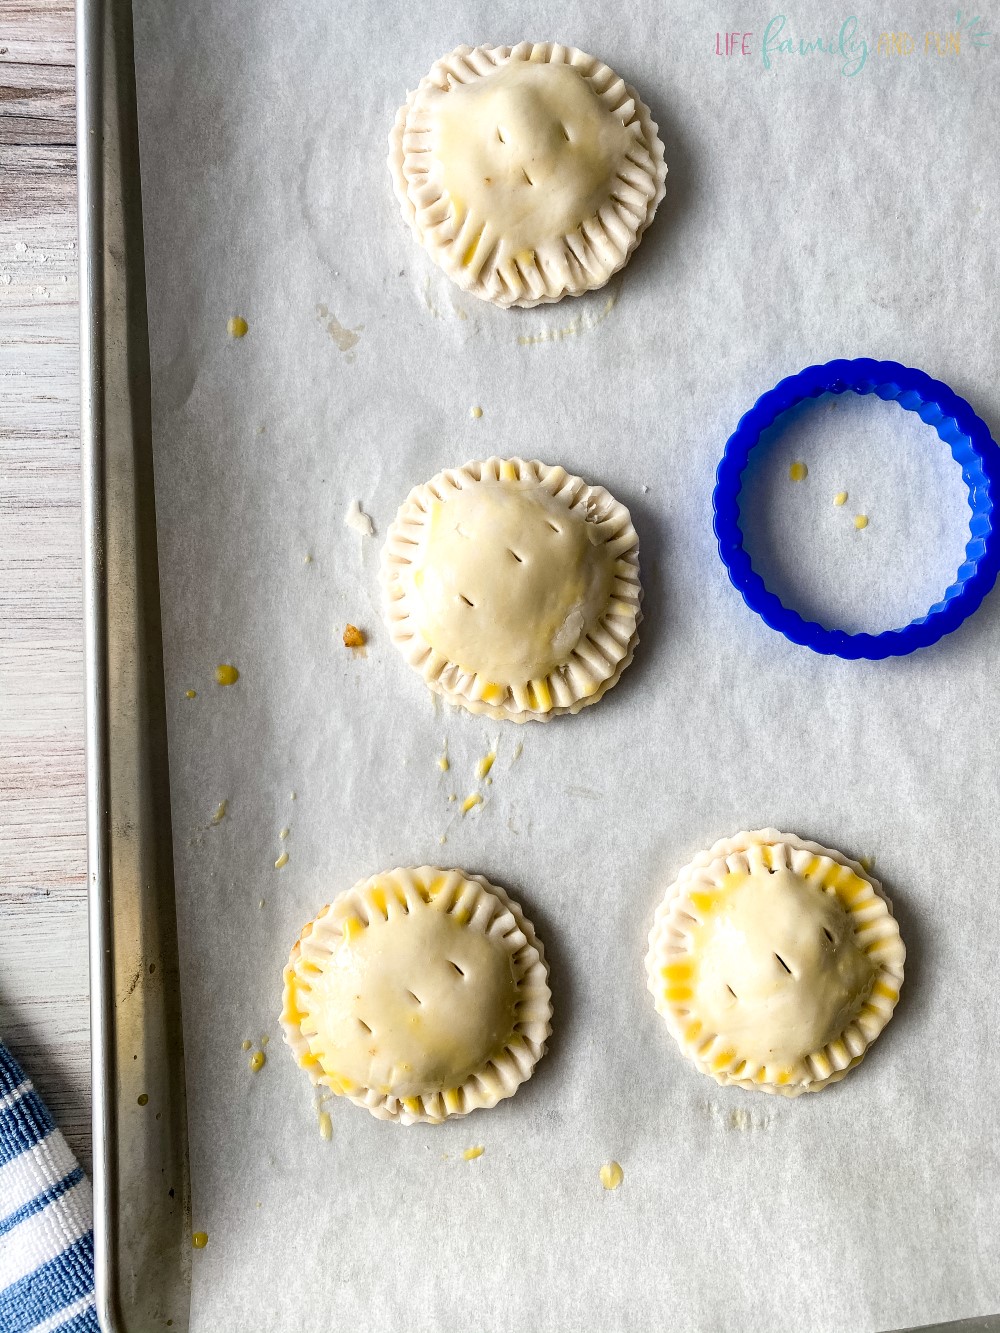
21. Using a fork, squeeze the edges of the crust together to adhere it shut. If you chose the smaller circles or sandwich method, use the fork to go around the full circle.
22. Cut 2 to 3 vent slits into the top of the pocket to allow steam and heat to escape while baking. If this step isn’t done, you are going to create an explosion of food in the oven as the heat builds up.

23. Bake the meat pies on 400° for 12 to 15 minutes, or until the tops of the pies are a golden, buttery brown.
24. Remove from the oven and place the pies on a cooling rack. Once cooled, serve with a side of vegetable and some brown gravy and enjoy.