Thanksgiving is the perfect time to learn how to draw a turkey. But this knowledge will come in handy any day of the year.
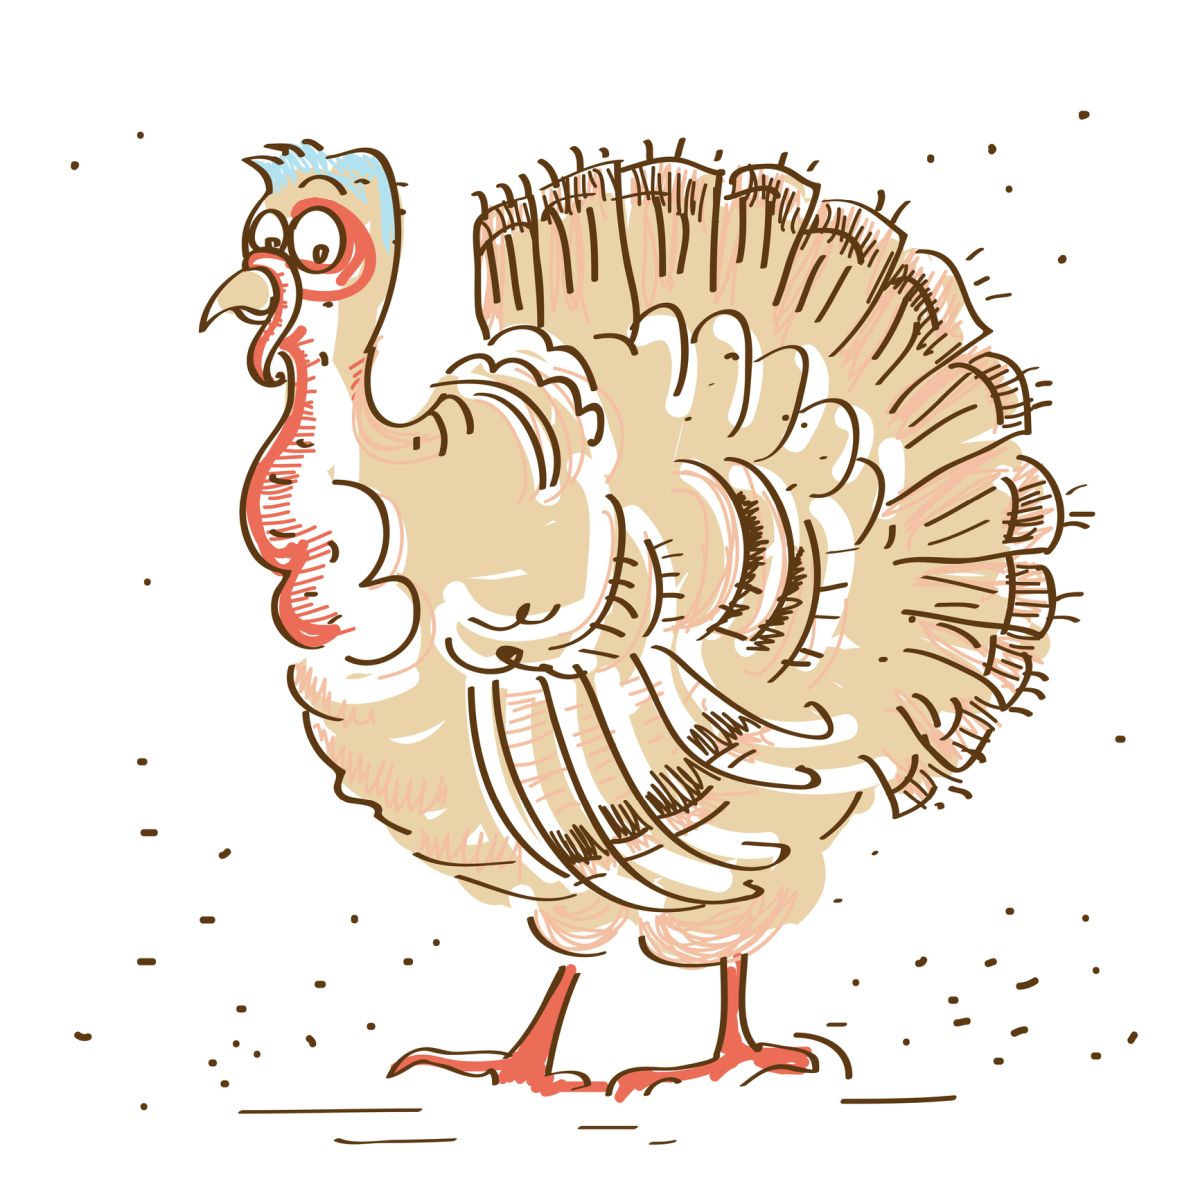
Turkeys live and wander in nature all year. So, you don’t need an excuse to draw a turkey. You can draw one today.
You may even choose to draw a turkey on a Thanksgiving table, and that’s quite alright. The turkey you decide to draw is up to you.
Types Of Turkeys To Draw
Before you draw a turkey, you must know which type of turkey you want to draw. Pick one of these to get started.
- Realistic Turkey – looks like a photo or has realistic turkey features rather than animated features.
- Cartoon Turkey – many fall under this category, including chibi turkey. This is the type of turkey you see on any cartoon show or comic.
- Hand Turkey – the hand turkey must start with tracing your hand. Then you add the details to make it look like a turkey.
- Cooked Turkey – cooked turkeys are common Thanksgiving art, but many artists neglect drawing them as the feature piece.
- Abstract Turkey – this type of turkey is colorful with a flare to it that lets you see a piece of the artist.
Tips For Drawing A Turkey
- Choose the style that suits you best – if you can’t put your heart into the art, choose something else.
- Don’t go overboard with the wattle – the hanging wattle deserves love, but make sure you tone it down so that the rest of the turkey shines.
- Keep head small – the head should be no bigger than half as big as the body unless it’s a chibi turkey.
- Tailfeathers stay 180 degrees or less – don’t fan the feathers on the tail out so that they create more than a 180-degree circle.
- Remember feet texture – turkey feet have small ridges. Don’t forget to draw them to make the turkey look more realistic.
Easy Steps How To Draw A Turkey For Kids
Kids can draw turkeys easier than many other birds or Thanksgiving-related subjects. There are easy steps anyone can take to draw a turkey.
Step 1: Draw an Oval
First, draw an oval. Make sure you leave room for the rest of the turkey. The oval should take up no more than half the page.
Step 2: Draw a Circle Above It (to the left)
Next, draw a circle to the top right of the oval. Leave room for the neck between the head and the body.
Step 3: Connect the Two
Draw two lines that will act as a neck. These shouldn’t overlap the ovals; only connect them, so the lines should be short.
Step 4: Draw a Beak
Draw a simple triangle beak on the side of the small oval/circle that is facing away from the large oval.
Step 5: Draw a Wattle (the hanging red thing)
The wattle is the hanging red thing you can draw from the bottom of the beak. You can even make it hang over the beak a little if you want.
Step 6: Draw Tailfeathers
Draw the shape of the tail feathers in the back. You can start with a simple oval and shape it later. Or, you can draw the feathers one by one.
Step 7: Draw Legs and Feet
The legs should come down from the bottom of the turkey. Draw four straight lines, then draw feet coming from them.
Step 8: Draw Eyes and A Wing
Draw eyes on the head. Then draw a partial wing on the side of the turkey. This will add depth and make it look more alive.
Step 9: Add Details
Add details to your turkey, such as pupils and lines on the tail. You can add as many as you like but don’t need to add a lot.
Step 10: Color It
Color the turkey any color you want. Traditional turkeys will be brown or grey with red details. But it’s fun to get creative.
How To Draw A Turkey: 10 Easy Drawing Projects
There are a few different types of turkeys you can draw. The first time you draw each type, it’s a good idea to follow a tutorial.
1. How to Draw a Standard Cartoon Turkey
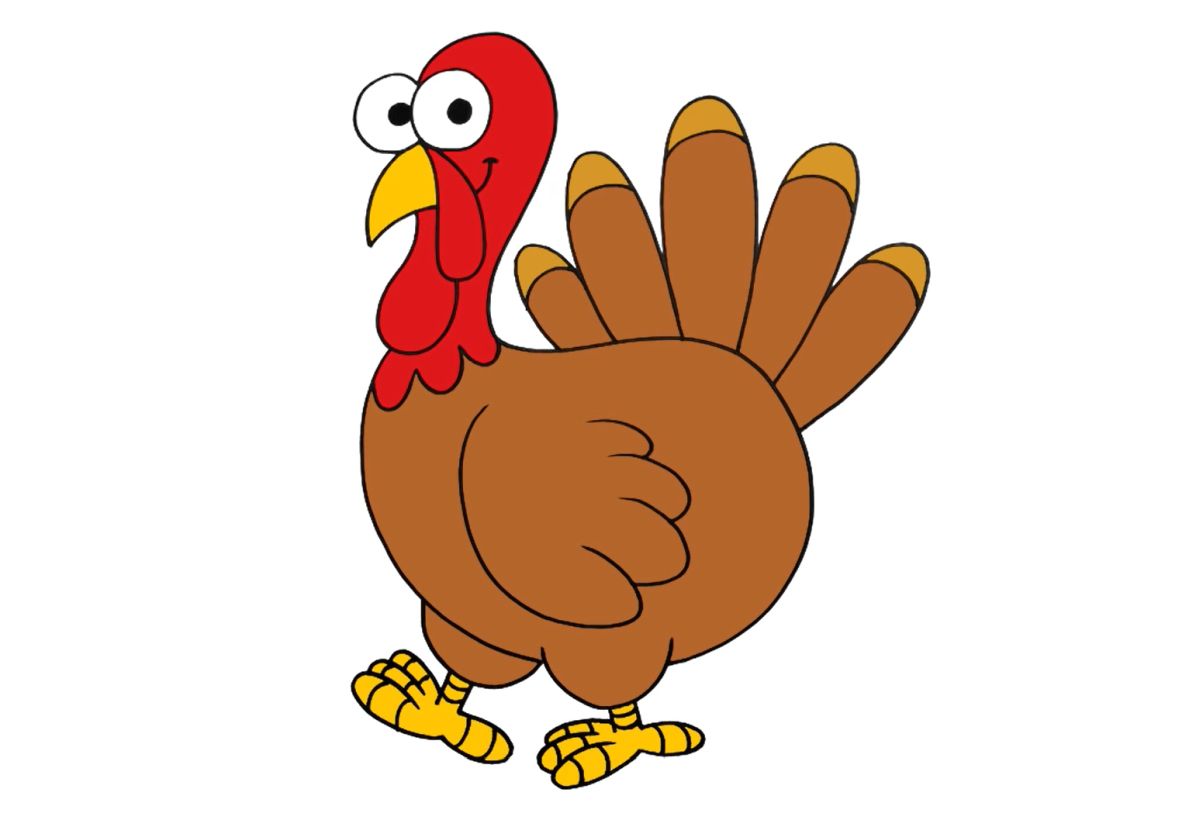
The standard cartoon turkey is simple. Not exceedingly cute, but cute enough to be in a cartoon. Cartooning Club Junior has a wonderful tutorial for this.
2. How to Draw a Semi-Realistic Turkey
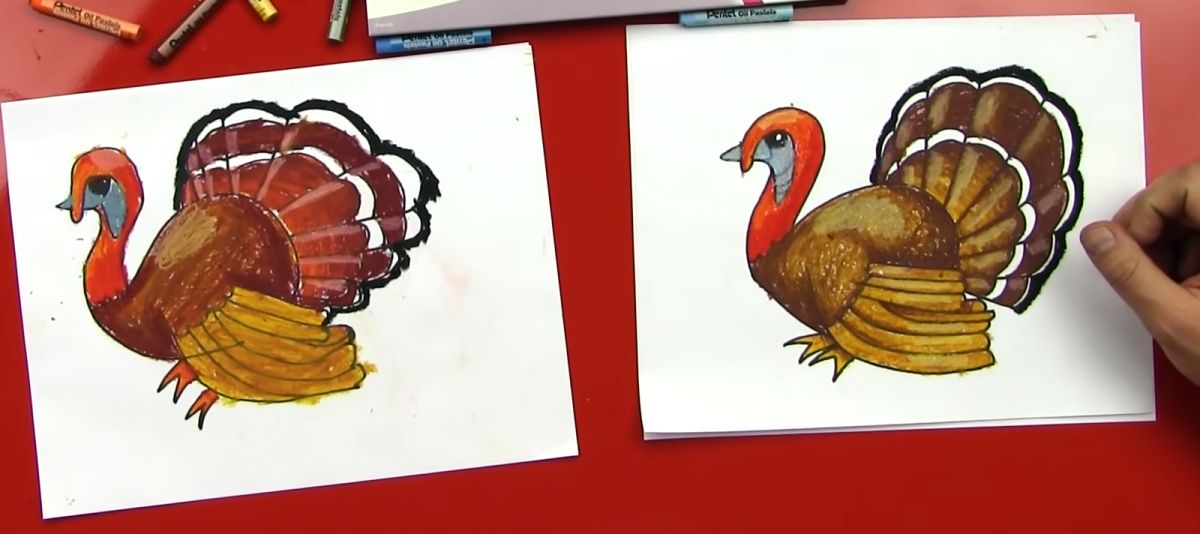
Semi-realistic turkeys are easy to draw yet look impressive. Art for Kids Hub is a great go-to for simple drawings.
3. How to Draw a Cute Cartoon Turkey
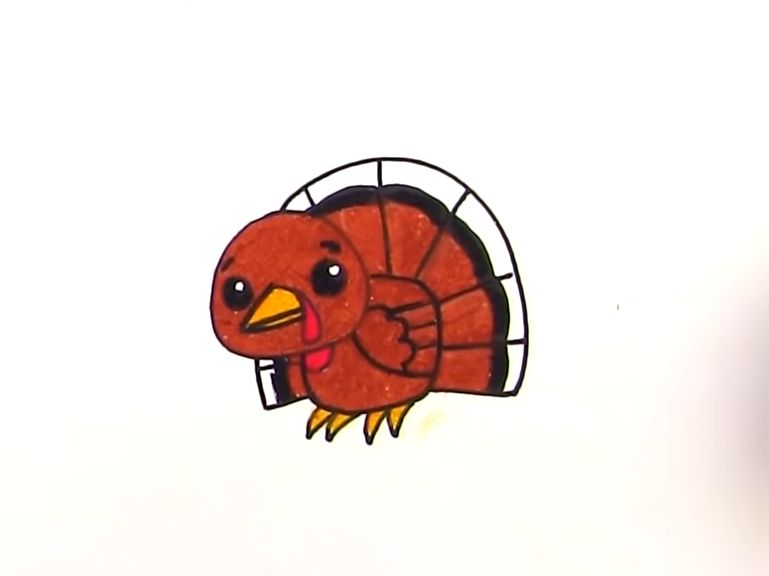
The cute cartoon turkey drawing is a favorite of families everywhere. This cute cartoon turkey by Art of Kids Hub is easy to make.
4. How to Draw a Cooked Turkey
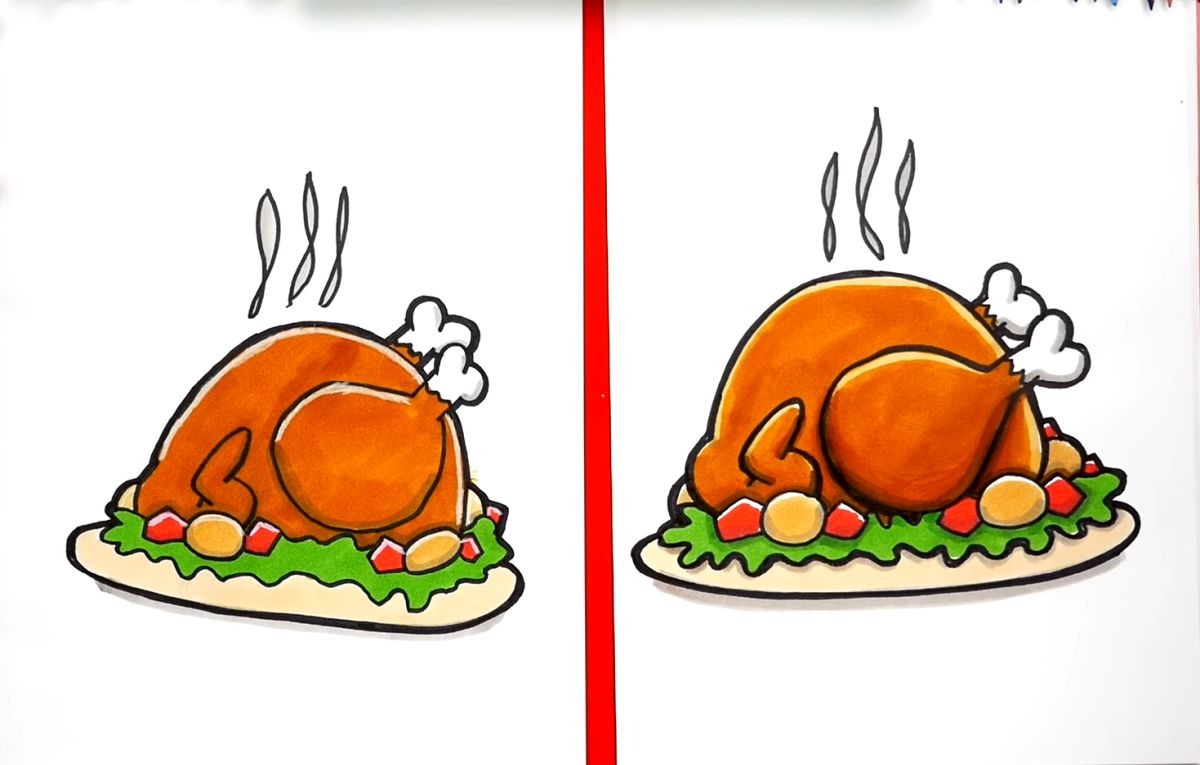
A cooked turkey is another type of turkey you can draw. Art for Kids Hub strikes again with their cooked turkey.
5. How to Draw a Chibi Turkey
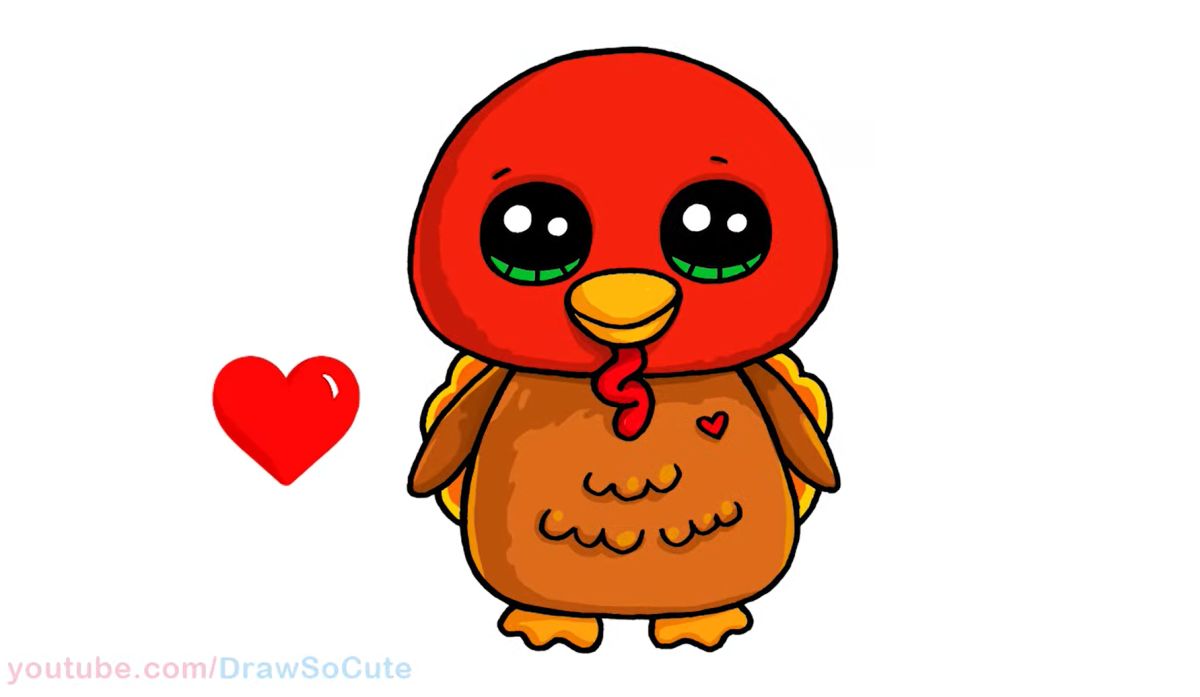
A chibi turkey is a cute turkey that takes inspiration from Japanese animation. Draw So Cute has an easy-to-follow tutorial.
6. How to Draw a Realistic Turkey
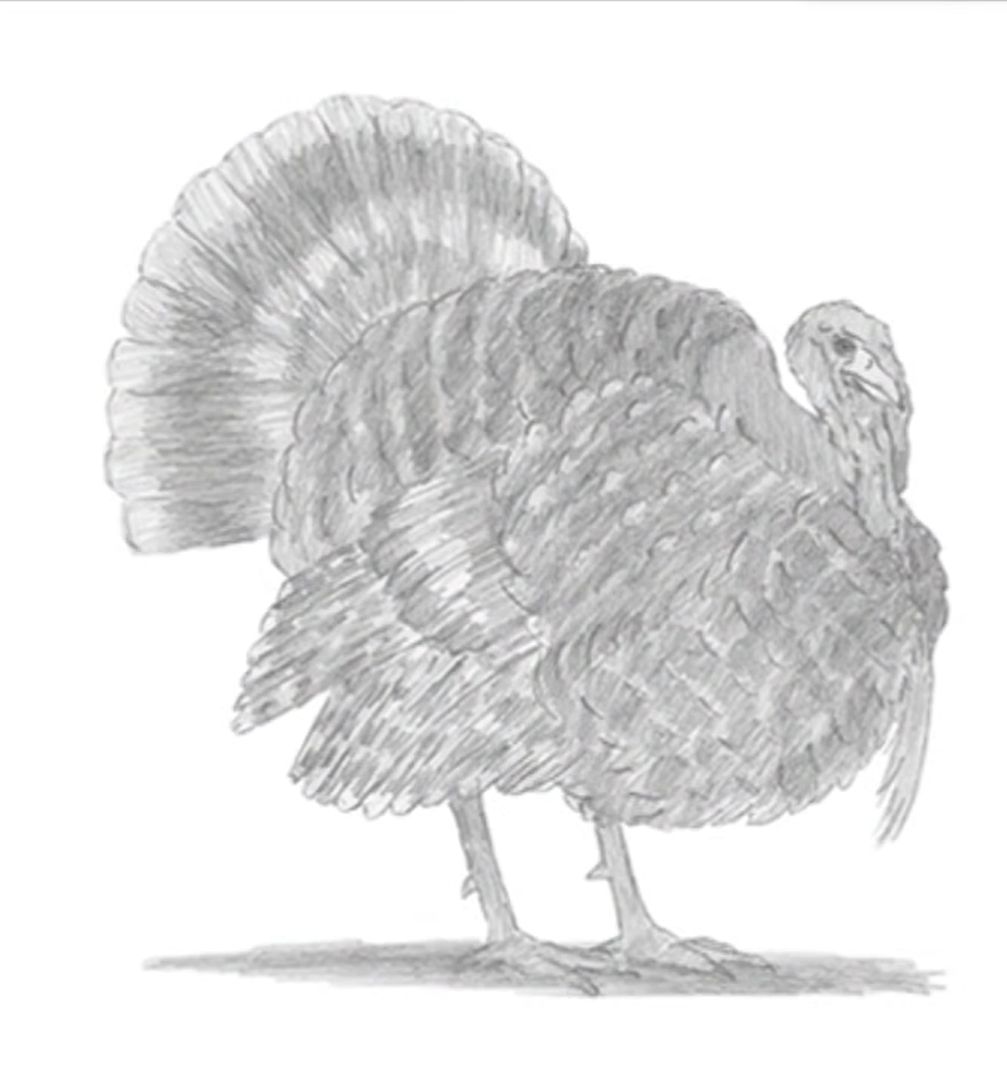
A realistic turkey is the hardest to draw but looks the most impressive. How2DrawAnimals has one of the best tutorials for realistic turkeys on the internet.
7. How to Draw an Artistic Turkey
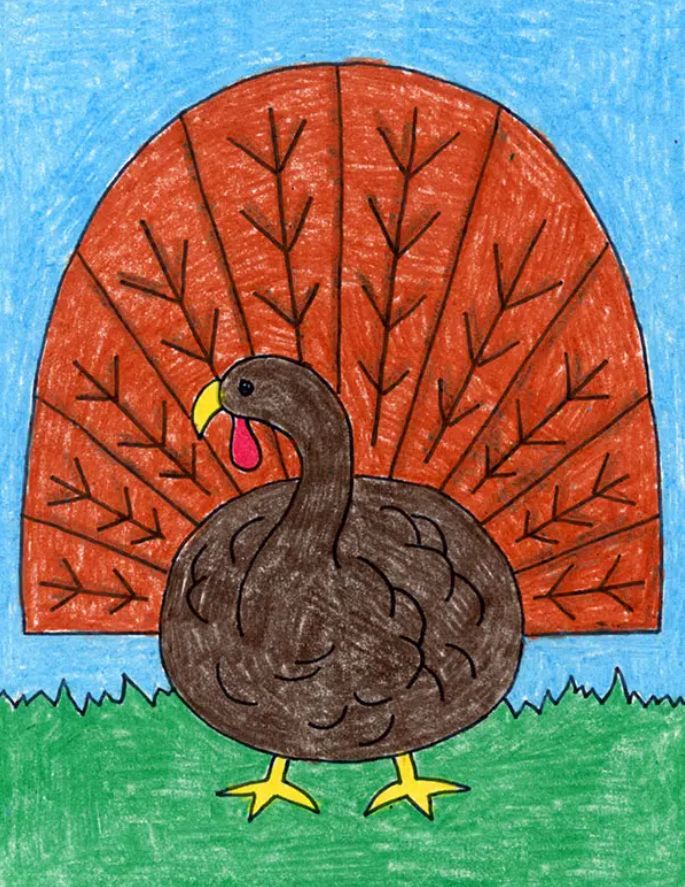
If you want to draw a turkey that few people have drawn, try something artistic or abstract. Art Projects for Kids has a peacock-inspired tutorial.
8. How to Draw a Turkey Leg
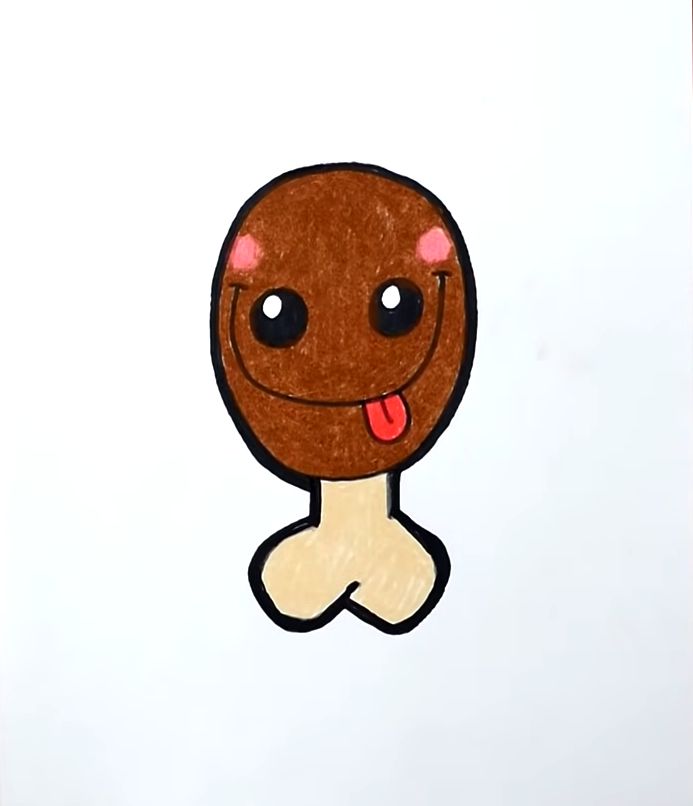
Turkey legs are cute and easy to draw. Art for Kids Hub has a cute sentient turkey leg art tutorial.
9. How to Draw the Turkey Emoji
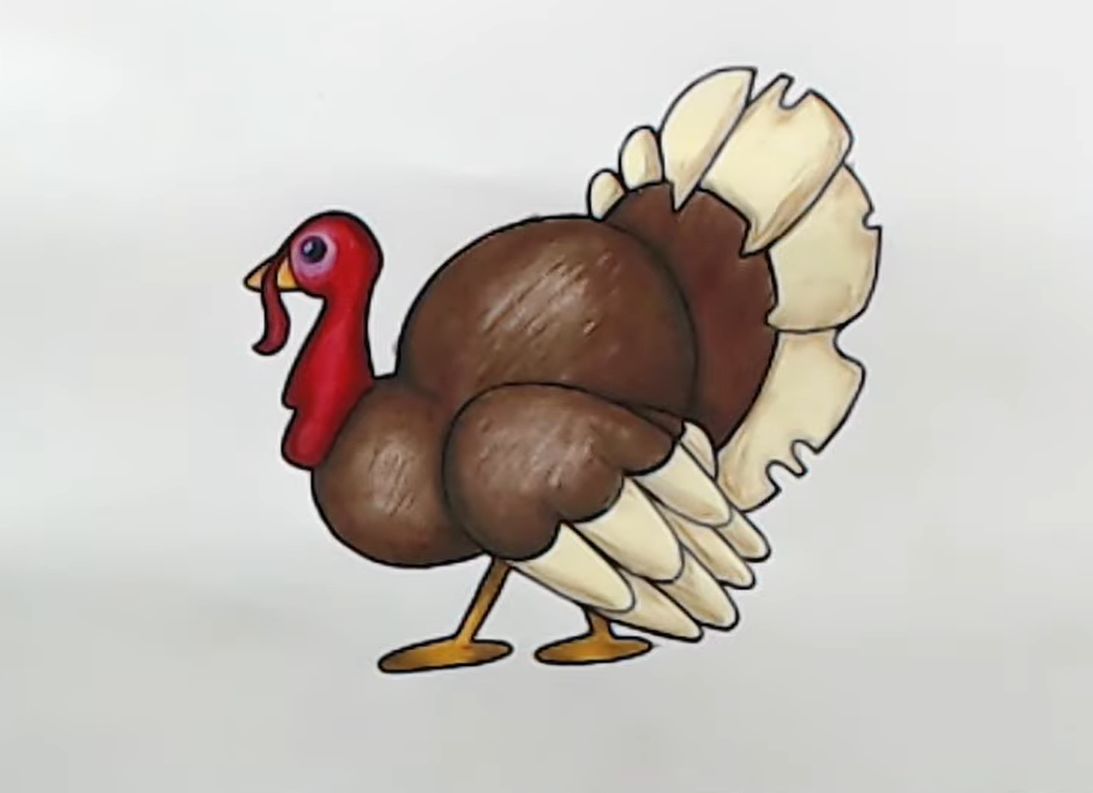
The turkey emoji is more complex than it looks, so you may need to practice it before it’s perfect. Art Land shows you how to draw the turkey emoji step-by-step.
10. How to Draw a Turkey Front View
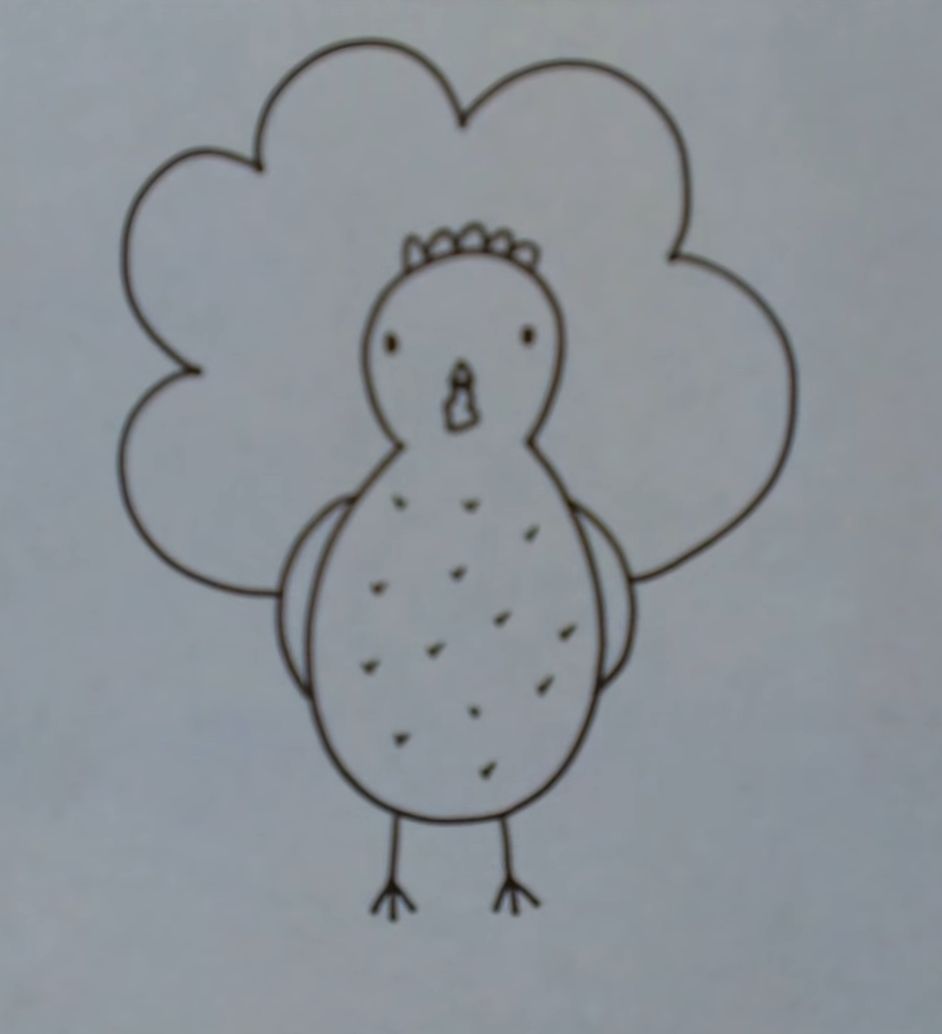
Most turkeys are drawn from the side, so it’s interesting to draw one from the front. Doodleacademy has a wonderful tutorial on how to do this.
How To Draw A Hand Turkey Step-By-Step
Hand turkeys are a classic type of turkey that involves making a turkey drawing with a traced hand drawing.
Supplies
- 2B Pencil
- Paper
- Colored Pencils or Crayons
Step 1: Use Pencil to Trace Hand
This simple step involves tracing your hand on a piece of paper. Connect the bottom after you lift your hand for the best results.
Step 3: Add Side Wings and Feet
Add a wing on the side facing you and two little feet coming down. These don’t need to be large because the drawing is simple.
Step 4: Add Beak, Eye, and Wattle
Add the simple but necessary details. This includes the beak, eyes on the face, and the wattle hanging down.
Step 5: Add Personality
Add personality to your turkey with color and your own flare. This is the best way to make your turkey stand out.
How To Draw A Cartoon Turkey
Cartoon turkeys can be easy or hard to draw, depending on the complexity. We’ll try an easy one.
Step 1: Draw Two Ovals (Head and Body)
Always start with the head and body outline. Just as with any other type of turkey drawing, you can draw one large one in the center and the head to the side.
Step 2: Connect The Ovals
Don’t skip this step. You don’t need much room, but if there isn’t any room at all, you need to erase the head and start over.
Step 3: Add Eyes, Beak, and Wattle Outline
Add eyes to the face, then a beak. The wattle is fun to add in a special way. You can make it come to the side or straight down the center of the chin.
Step 4: Draw Tailfeathers and Feet Outline
The tailfeathers and feet can both be drawn at this point. Start with the outline so you can make sure it will be well-proportioned.
Step 5: Draw Over Everything with the Correct Shape
Verify that everything looks the right size, and then start making it the right shape. This might take a while, so take your time.
Step 6: Define Everything
Now add pupils, feather lines, wings, and other details. Anything that looks left out should be added now.
Step 7: Color It (Optional)
Finally, color your turkey. Cartoon turkeys should always be colored, so keep colored pencils or crayons on hand.
How To Draw A Turkey FAQ
Are Turkeys Hard To Draw?
Turkeys are not hard to draw most of the time. But realistic turkeys are difficult to draw and to get the details right on.
What Do Turkeys Symbolize In Art?
Turkeys symbolize peace and prosperity. Although different cultures interpret the turkey’s significance differently, these symbols remain.
Why Would You Need A Turkey Drawing?
You may need to draw a turkey for a class or a Thanksgiving project. But the best reason is just that you want to.
Conclusion
All it takes to learn how to draw a turkey is time and practice. Pick an easy type of turkey to draw so you won’t get overwhelmed. Then, you can learn to draw each type of turkey one by one.
Drawing turkeys is a fun project. They are perfect for a Thanksgiving art class for kids or an adult who wants to decorate with them. Either way, the guests will gobble them right up!
