Have you ever wanted to learn how to draw a rose? Maybe you aspire to be a great artist one day, painting frescoes like the old Italian masters. Or perhaps your dreams are less elaborate.
Whether this is a first step toward the career of your dreams, a fun way to fill an afternoon, or just something you always wanted to try, we’ve got all the information you need to get started.
Types of Roses
There are many roses, but they are most commonly categorized using a system developed by the American Rose Society.
- Hybrid Tea Roses: Most popular, featuring 30-50 petals and long stems
- Grandiflora Roses: Very tall, with blooms appearing in clusters
- Floribunda Roses: Grows in large clusters and blooms continuously
- Polyantha Roses: Shorter plants with smaller blooms
- Miniature Rose and Minflora Roses: Shorter, more compact, growing only 15 -30 inches
- Shrub Roses: Known for their sprawling growth, they can grow 5-15 feet
- Climber/Rambler Roses: A subcategory of roses that can be trained onto fences or trellises
Tips for How to Draw a Rose
There are a few tips to keep in mind when tackling the task of drawing roses. The first thing to consider is what type of rose you want to draw – one that’s open or closed?
How strong are your flower drawing skills? You may want to start with rosebuds if you’re a novice, as they are easier to create. If you have been drawing for a while or have the patience to learn slowly and practice, you could start with open roses.
Are you looking for a basic version, or something more advanced, that has shading?
Some tips to consider? Create a basic sketch or outline of the outside of your rose first. A simple hexagon or circle will do.
Create small rose petals at the center, and make them wider as you move outward.
Don’t be afraid to add shading. Or to remove it if it feels too dense. A Q-tip can also help blend or craft gradients of color in your sketch.
Remember that roses come in all different shapes, sizes, and colors. Keep an open mind when learning and practicing this craft.
Supplies You Need to Draw a Rose
There are certain things you will need to start practicing this particular skill. What do you need to draw a rose? Obviously, a piece of paper, but what else?
Well, a pencil sharpener, for one. And a couple of different types of pencils.
If you’re trying to create a realistic drawing of a rose, you will need a hard pencil (HB), a medium soft pencil (2B or slightly lower), and a soft pencil (5B or lower). And, of course, a pencil sharpener.
But if you’re a novice, you probably don’t know what these denominations mean. HB stands for hard and black. Hard pencils are used for technical drawing. Softer pencils marked with a B are used in artistic renderings.
The B symbol indicates the amount of graphite. Graphite pencils are made from graphite and clay, allowing the user to create realistic lines and shading.
Graphite pencils come in two forms. A standard one, with a core of graphite and clay, encased in wood, like a traditional pencil, and solid graphite pencils, which do away with the outer wood core.
Ways of Shading Roses
Shading is essential but one of the more challenging aspects of drawing roses. Once the basic sketch is completed, there are a few different ways to shade your rose drawing.
There are two ways to approach the shading process:
- Dark to Light: Start with the darkest areas of the rose, typically the center, and move outward, toward the lighter sections
- Light to Dark: Begin with the lighter areas, and apply pressure to create darker shading as you move inward
- Blend: No matter which way you choose to move, you can use a Q-tip to blend the graphite and create a soft look that works incredibly well in rose drawings. You can use an eraser to lighten any areas that are too dark.
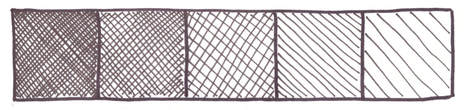
And several techniques can be used to create shading in your rose drawing:
- Hatching/Parallel Hatching: This is the most straightforward technique. Your lines can go in any direction you like – horizontal, vertical, or diagonal – so long as they all move in the same direction. This works well for lighter shading areas.
- Cross-Hatching: Just like it sounds, this technique starts with hatching, then adds a second set of lines running parallel over them. This is an excellent way to begin your darker shading.
- Contour Hatching: This is a trickier tactic, to be sure, but a striking one if you can get it right. In contour hatching, you follow the natural lines of whatever you’re drawing. This is why it works so well when learning how to draw a rose. There are natural curvilinear lines to roses and their petals that make this one of the best ways to shade your work.
- Stippling: This is a series of dots, creating a shaded effect. It does take some practice to continue creating dots without letting them merge into lines.
- Tick Hatching: This technique uses short lines instead of the dots used in stippling.
- Woven Hatching: Woven hatching is a bit like cross-hatching. However, this technique creates shorter lines that do not intersect. A series of short lines in different directions creates a look similar to woven baskets, giving it the name.
- Scribbling: This is just what it sounds like. And the wonderful thing about using scribbling to shade your work is that it also adds texture.
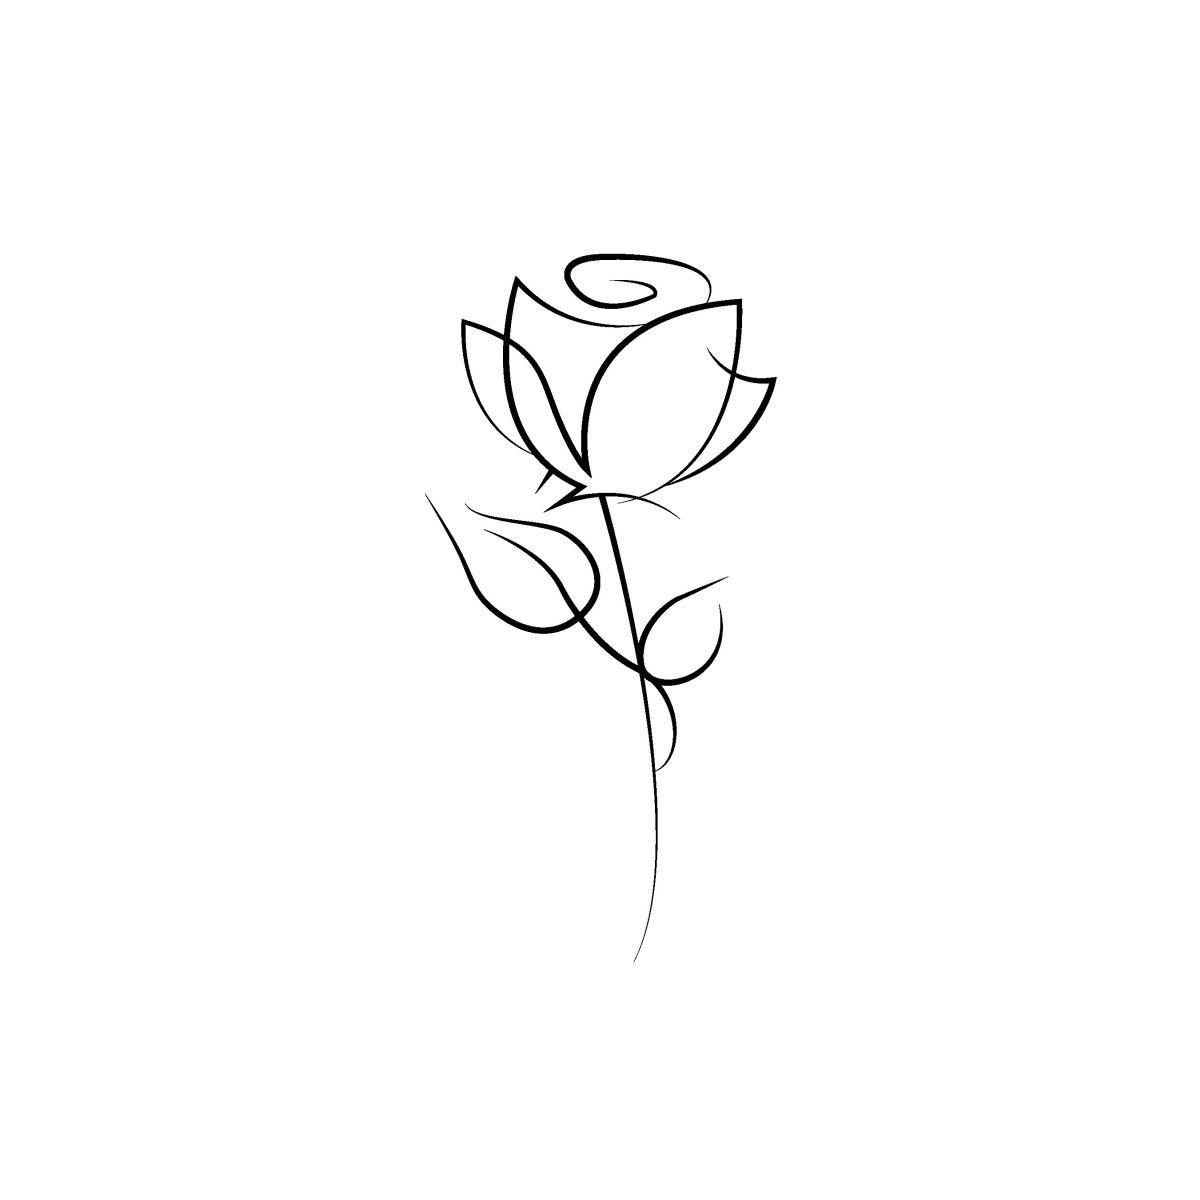
Easy Steps How to Draw a Simple Rose for Beginners
Step 1
Begin by drawing an oval shape. Nature isn’t perfect, so your oval doesn’t need to be.
Step 2
Draw a spiral inside the oval. It should be small, but the direction and how many turns it contains are up to you.
Step 3
Draw a heart around the spiral. The cleft of the heart should touch the top of the oval. Like your oval and spiral, the heart doesn’t need to be perfect.
Step 4
From the top of the heart, draw a line following the shape like a loose “S.” This line should extend a couple of inches past the bottom of the heart. Form a “V” shape up to the bottom of the heart.
Step 5
Draw a shape similar to the previous one on the other side of the heart. Instead of ending it in a “V” shape, connect this one directly to the middle of the previous shape.
Step 6
Draw a “U” shape extending from the two sides and connecting them.
Step 7
Add some details by connecting the bottom of the “V” shape to the bottom of the “U.” If the heart doesn’t already touch the oval on the sides, draw lines connecting it.
Step 8
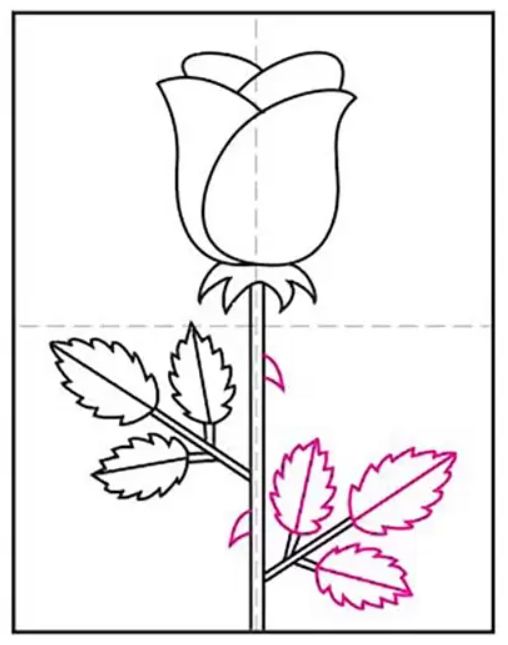
Draw some leaves at the bottom of the “U.”
Step 9
Draw a stem from the bottom of the rose and a leaf attached at the side.
Step 10
Shade or color your rose drawing.
15 How to Draw a Rose: EASY Drawing Projects
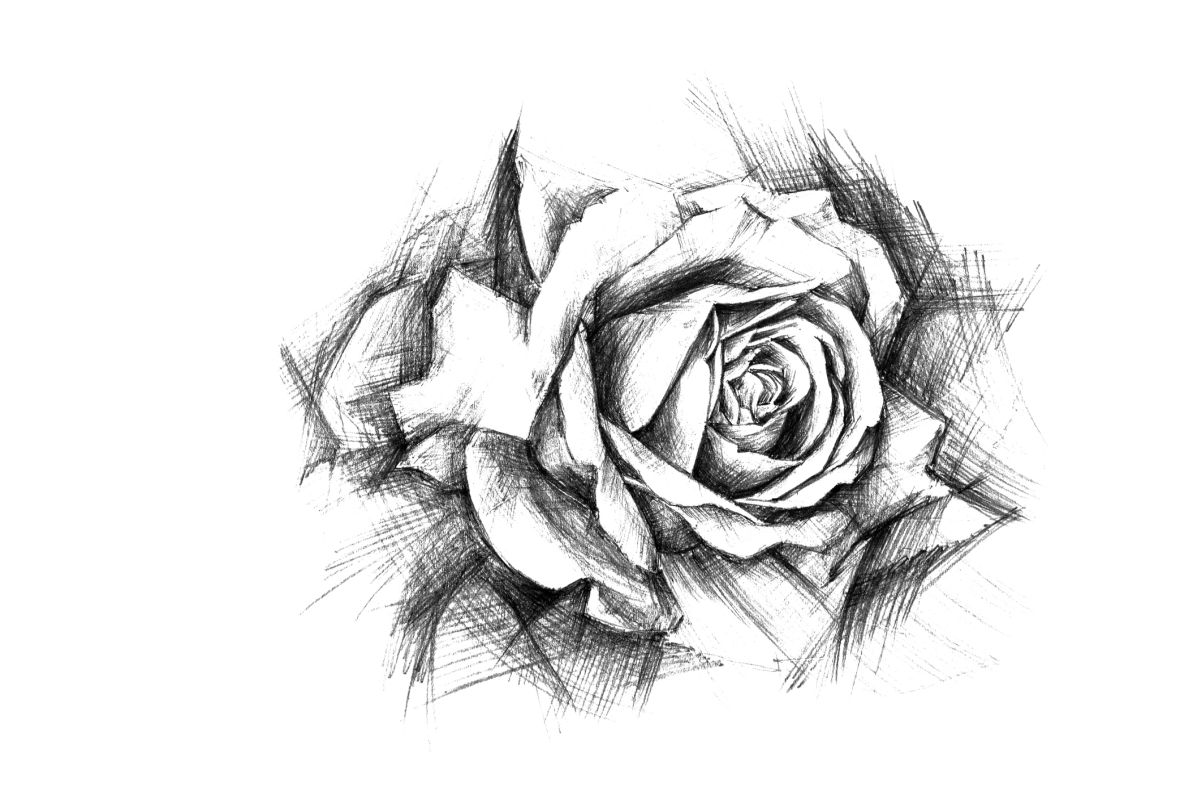
1. How to Draw a Realistic-Looking Rose

One of the more challenging aspects of drawing roses is adding all the petals to make the flower look realistic. This step-by-step tutorial will guide you through this difficult process and provide some insight into proper shading techniques.
2. Beginner and Advanced Tips from a Pro
Professional artist Thomas Fluharty offers tips on how to draw a rose for both the novice and the aspiring artist.
Creative Bloq has five tips and three videos that walk you through the simpler and more complex tasks involved in this process. One even includes advanced techniques.
3. Shading Rose Drawings
Erika Lancaster has all the tips you could need for shading and some background on why and how this technique works.
She discusses how you can shade a drawing in pencil or pen and ink and the best times to use each of these techniques.
4. How to Draw a Rose in 9 Steps
This is a simple step-by-step video and set of instructions kids can use to create a card. But an adult with limited drawing skills could also use these directions.
The trick is in drawing an unopened rose rather than one with all its petals open.
5. How to Draw a Rose for Beginners and Kids
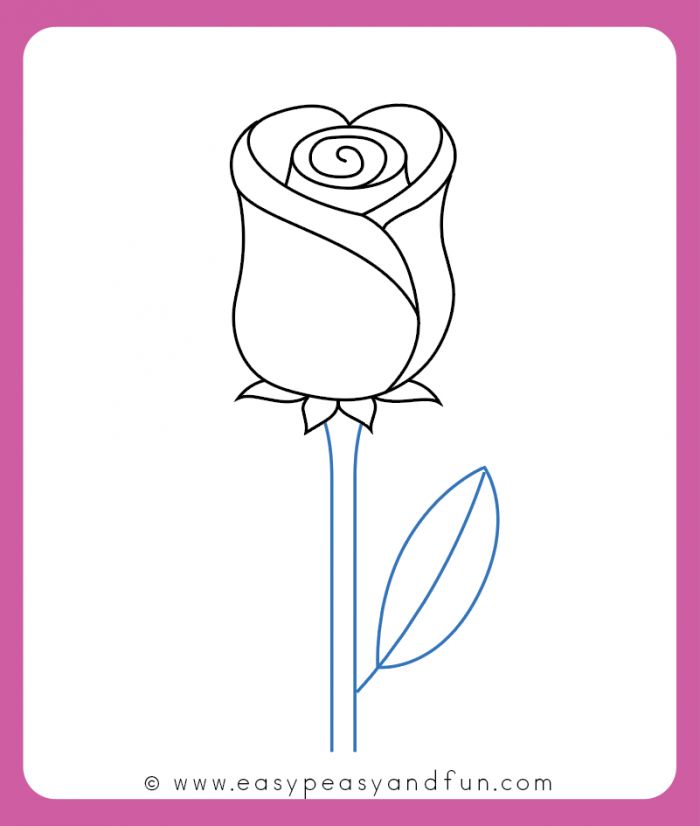
Here’s another tutorial from Easy, Peasy, and Fun that is so simple that both children and adults can follow it to create a basic rose drawing. You won’t find easier instructions on how to draw a rose.
6. How to Draw a Rose with Tools You Have at Home
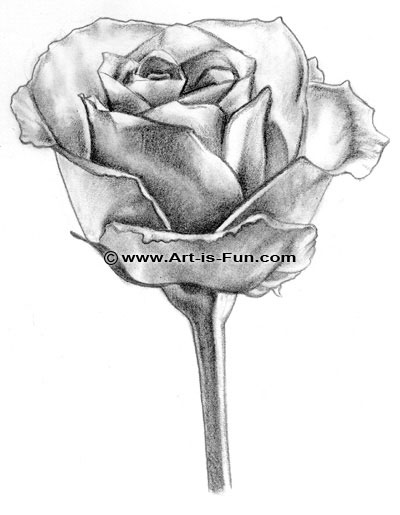
This tutorial from Art is Fun will teach you how to draw a rose with petals and shading, and it requires no special art supplies. All you need is a regular pencil and paper, an eraser, a pencil sharpener, and a Q-tip.
7. How to Draw a Rose Bud

Rosebuds are usually simpler to draw than their counterparts in full bloom because they don’t have as many petals. But Yedraw walks you through 7 simple steps to create a realistic-looking rosebud, complete with layers of petals.
8. Draw a Rose in 5 Simple Steps
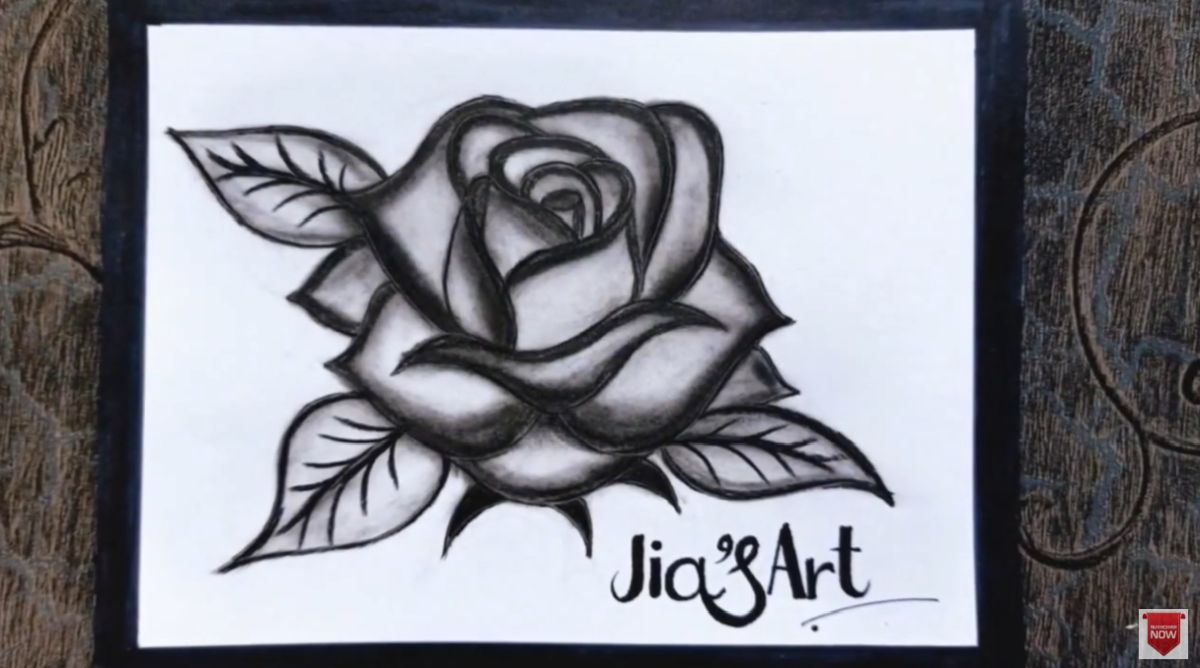
Jia’s Art doesn’t so much give you five steps to create a drawing of a rose as it does explain the things you need to know to be successful.
9. Draw a Rose on Paper or in a Program
Design Bundles has instructions you can use on a piece of paper or in a sketching program. It is six steps that include both coloring and shading.
10. Three Ways to Draw a Rose
How Joyful offers up instructions on three different styles of roses and easy ways to draw each one. Options include a simple or more elaborate rose from the top and one from the side.
11. A Beginner’s Guide to Drawing Roses
This 9-step tutorial from Artist’s Network even tells you the types of pencils to use and recommends dull ones because they glide more efficiently on the paper.
12. How to Draw a Rose in Pen and Ink

When most people hear the word drawing, they expect pencils and erasers. But you can create extraordinary drawings with pen and ink.
Online Art Lessons walk you through all the steps required to create a beautiful, realistic rose. They even teach you how to properly shade your rose drawing to ensure the picture you create looks just like the real thing.
13. Drawing White Roses
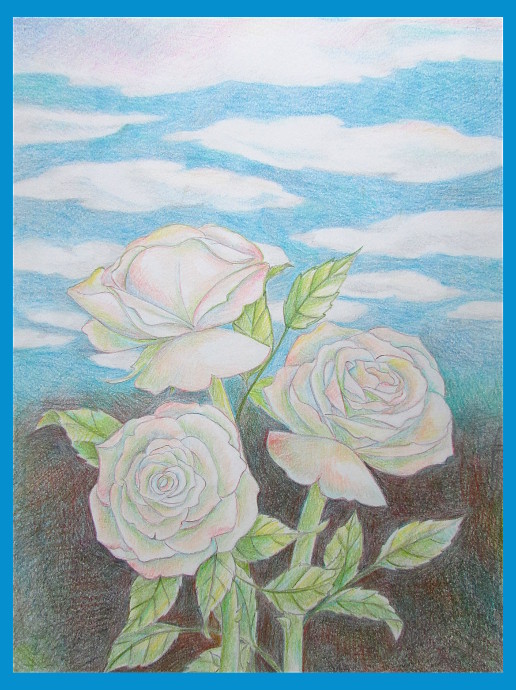
Think that all rose drawings are black and white renderings or colorful affairs in bright reds, yellows, and pinks? They don’t have to be. This tutorial teaches you how to draw three roses step-by-step and then color them white.
One of the tricks to creating stunning white roses is to remember that white doesn’t often appear on its own in nature. Highlight with some pinks, tans, and yellows to make your roses look stunning.
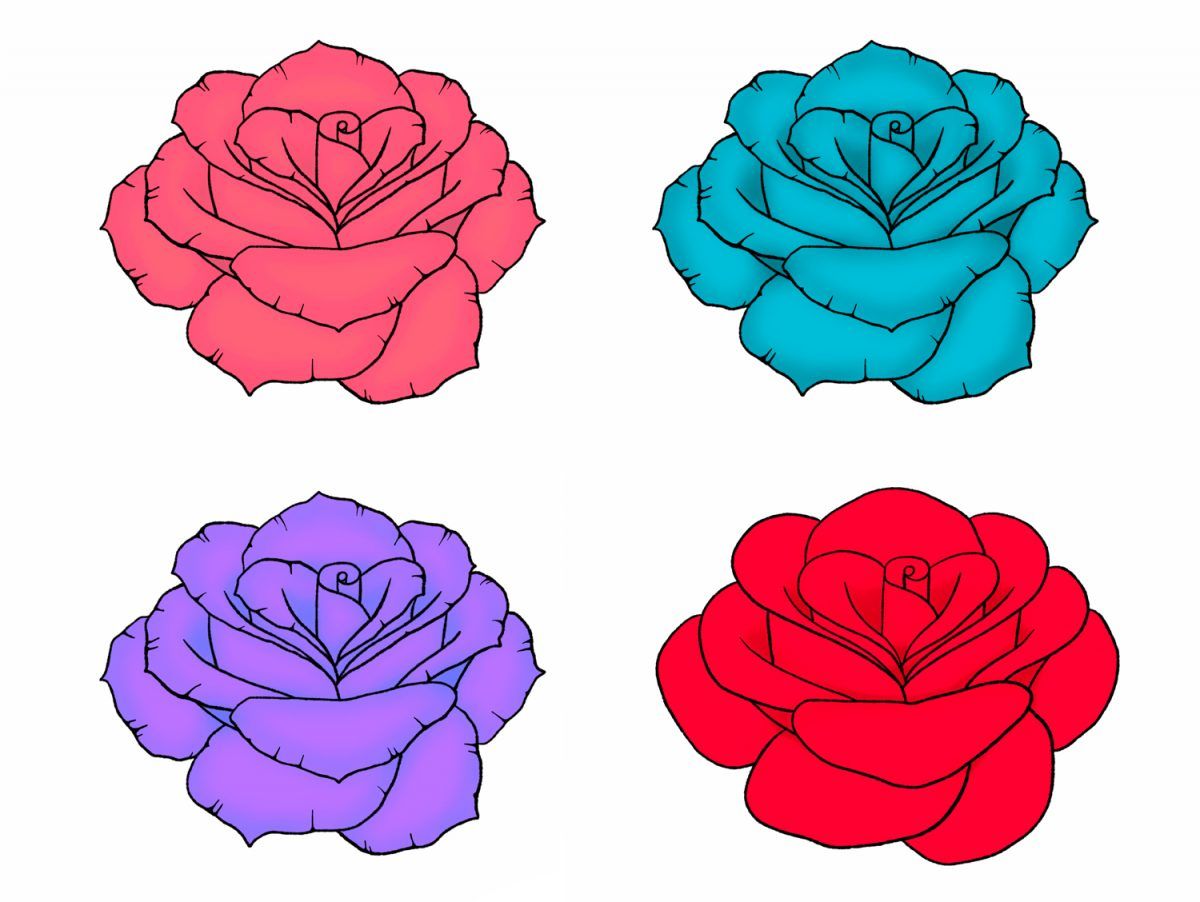
14. Create Colored Roses
The Artist’s Network has a wonderful tutorial for drawing roses in more than just black and white. Shading and tinting are both extremely important in colored rose drawings.
Using similar but darker colors can help create shading that is true-to-life. And many types of roses are multicolored. Adding a second color can really make your roses stand out.
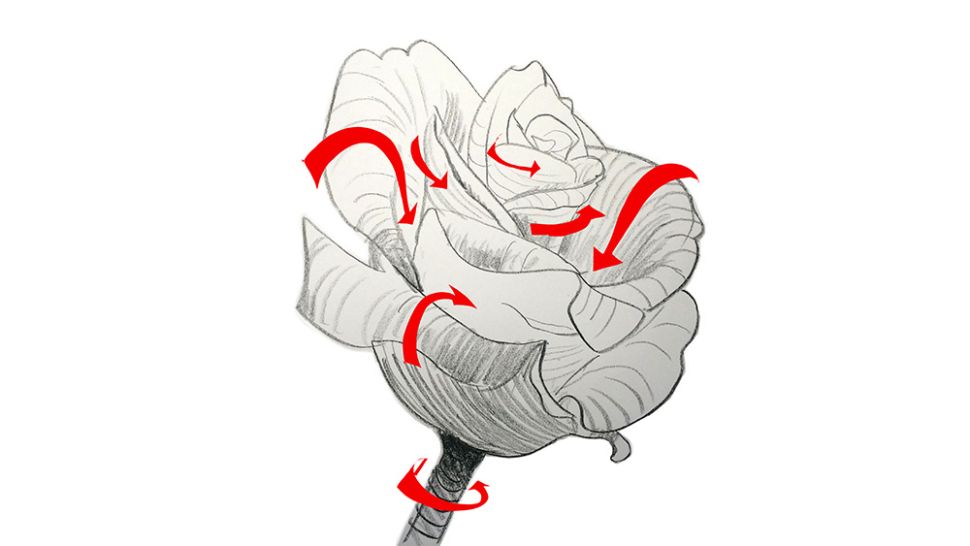
15. How to Draw an Open Rose from Scratch
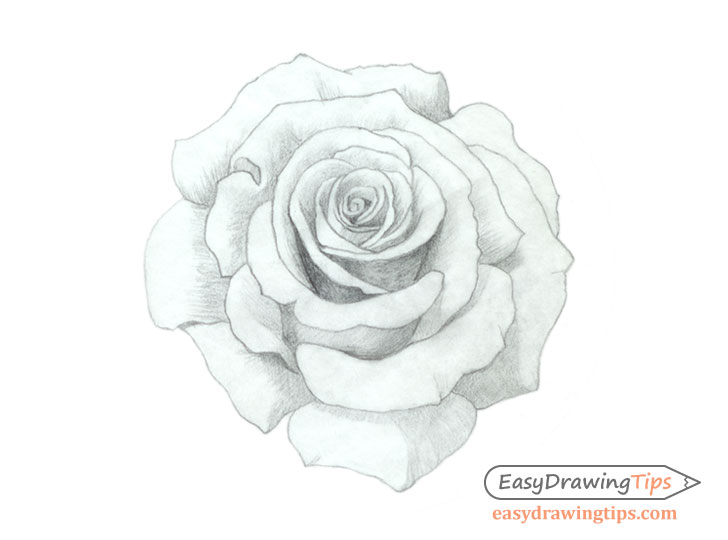
Open roses are notoriously difficult to draw, especially for beginners. But you can learn and develop your skills with this lesson from Easy Drawing Tips.
They advise you to start from the inside out, creating larger petals as you progress outward. Any guidelines you created while drawing can be removed at this point or at least blended for a more natural look.
How to Draw a Realistic Rose Step by Step
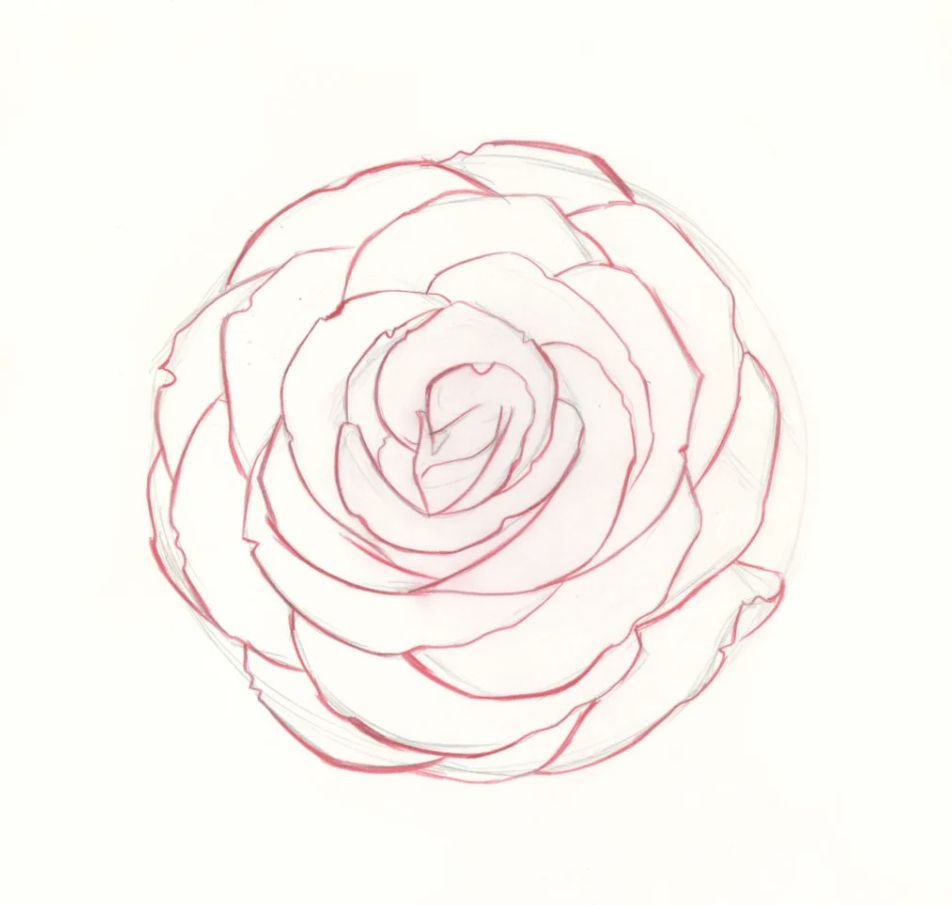
Step 1. Start with a Circle
Use a light touch to create a circle-type shape. It shouldn’t be perfect, just roughly circular.
Step 2. Add Small, Tight Petals
Start in the center of the circle creating small, tight petal shapes.
Step 3. Adding C and D-Shaped Petals
As you move outward in the circle, the petals get larger. You can create these using wide “C” and “D” type shapes. They overlap and grow randomly, so try not to be too uniform.
Step 4. Continue Adding Petals
As you get closer to the outside of the circle, the petal shapes should get more prominent and less uniform.
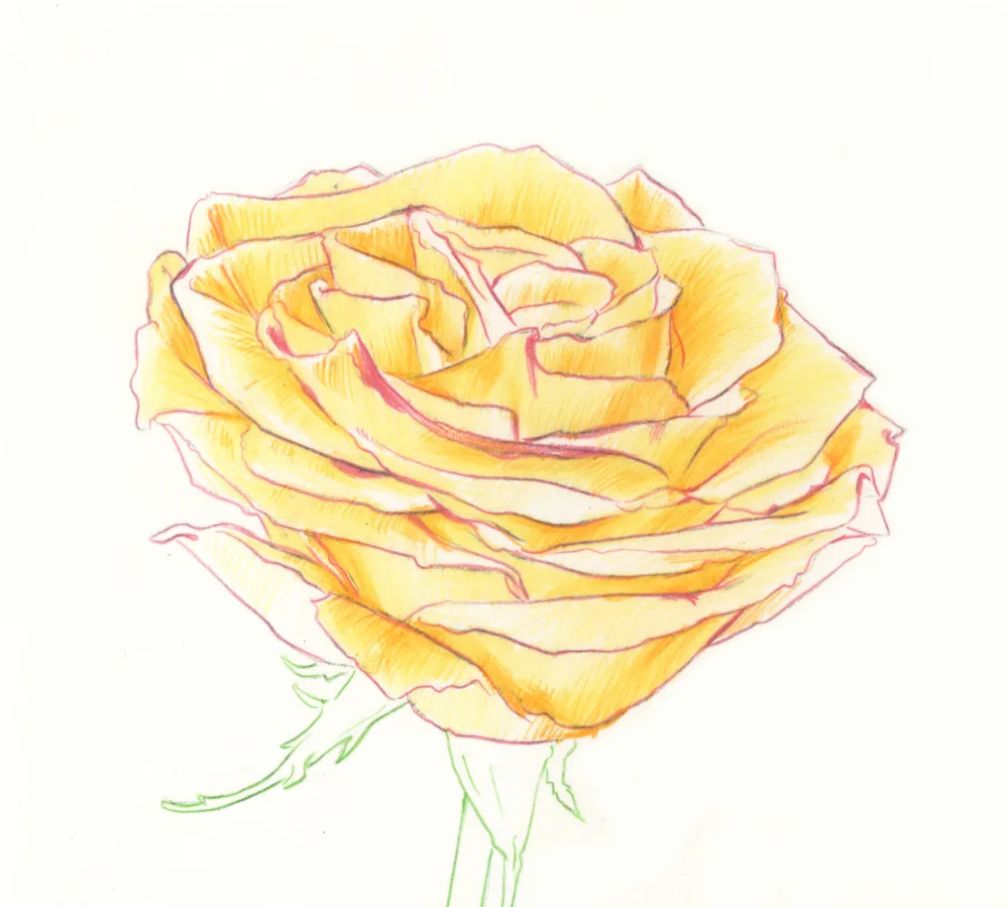
Step 5. Add Color
Use a red pencil to add detail to your existing lines and petal shapes. Start inside and work out the same way you did when you started your drawing.
Step 6. Add Detail
The character in a rose comes from all the little details. Petals grow in different sizes and overlap, but some also have tears or striations. Some are rounded or curved, and some are pointed. They crinkle.
Adding these details will help your rose look even more realistic. And adding heavier lines in some sections will create the appearance of weight and depth.
How to Draw a Rose FAQ
Is it hard to draw a rose?
Roses can be tough to draw. There are many petals on this type of flower and many layers of petals. Once each layer has been completed, the entire structure must be shaded.
What does a rose symbolize in art?
Roses are most commonly symbolic of love. But they also represent power, royalty, beauty, sensuality, and mysticism. They have symbolized Christianity, religion, and the Greek gods.
Aphrodite was commonly associated with roses. But stories in the bible refer to them as well.
Roses in the garden of Eden were said to be thornless, but the crown of thorns used in the crucifixion was also said to be a rose vine. And, of course, they have long been symbols in fairy tales and literature of love and longing.
Why would you need a rose drawing?
There are many reasons you might need a rose drawing. It might be for yourself to symbolize beauty or self-love. Or you might be creating a piece of art for a loved one.
Perhaps you’re just looking for a way to hone your skills or a new decoration for your home office or dining room. The reasons are nearly limitless.
Conclusion
We’ve talked about many different approaches for how to draw a rose. Which one you choose is up to you. Your level of skill and patience will be the first determiner. How elaborate you want to go will be next.
But like anything else, practice makes perfect. So keep at it, and before you know it, you can create gorgeous, professional-looking roses all on your own.