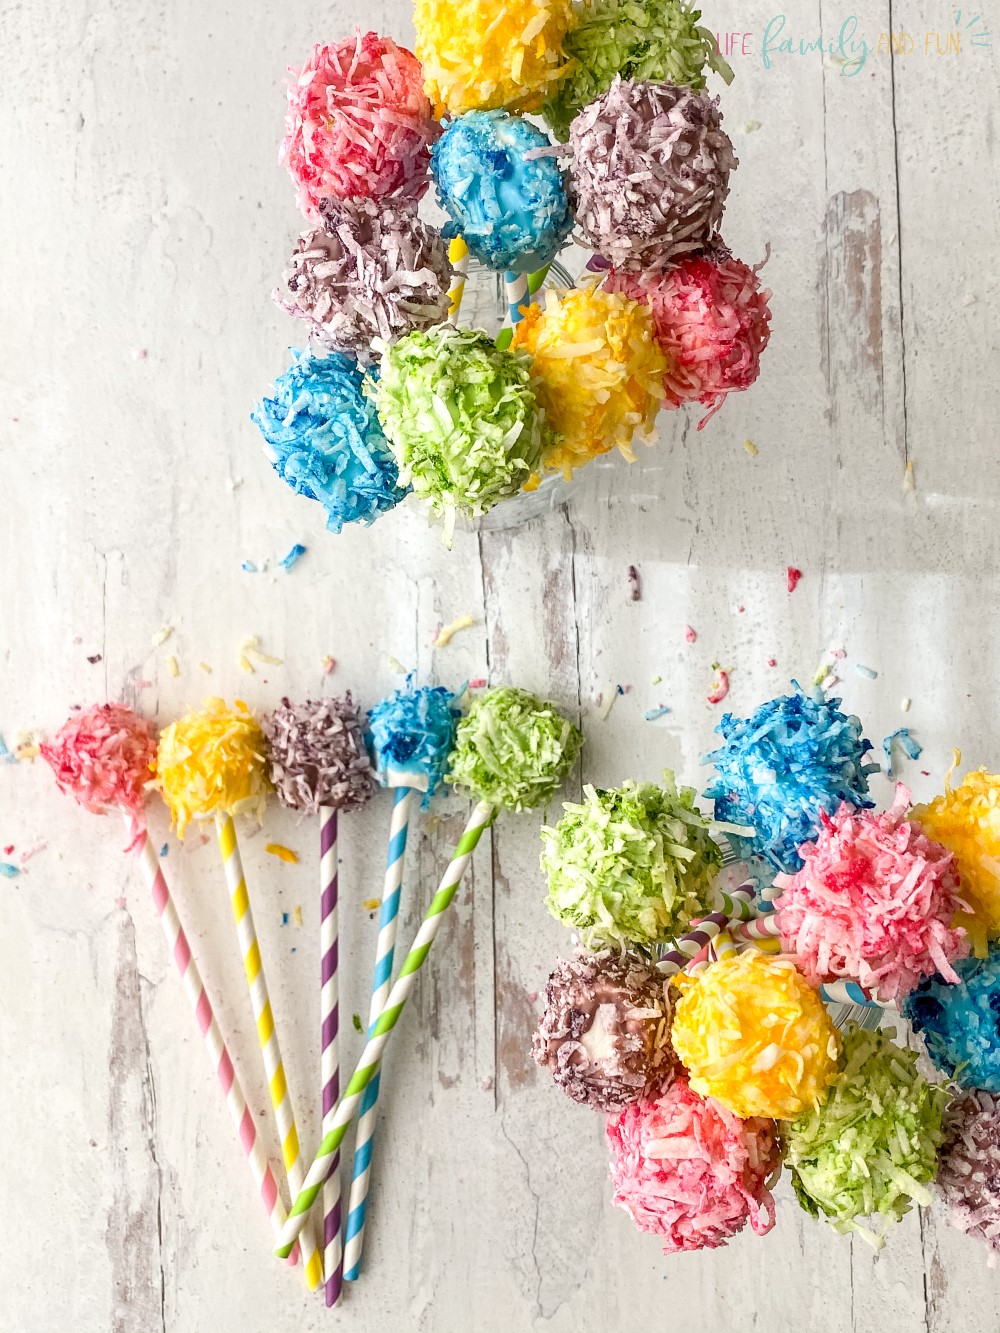
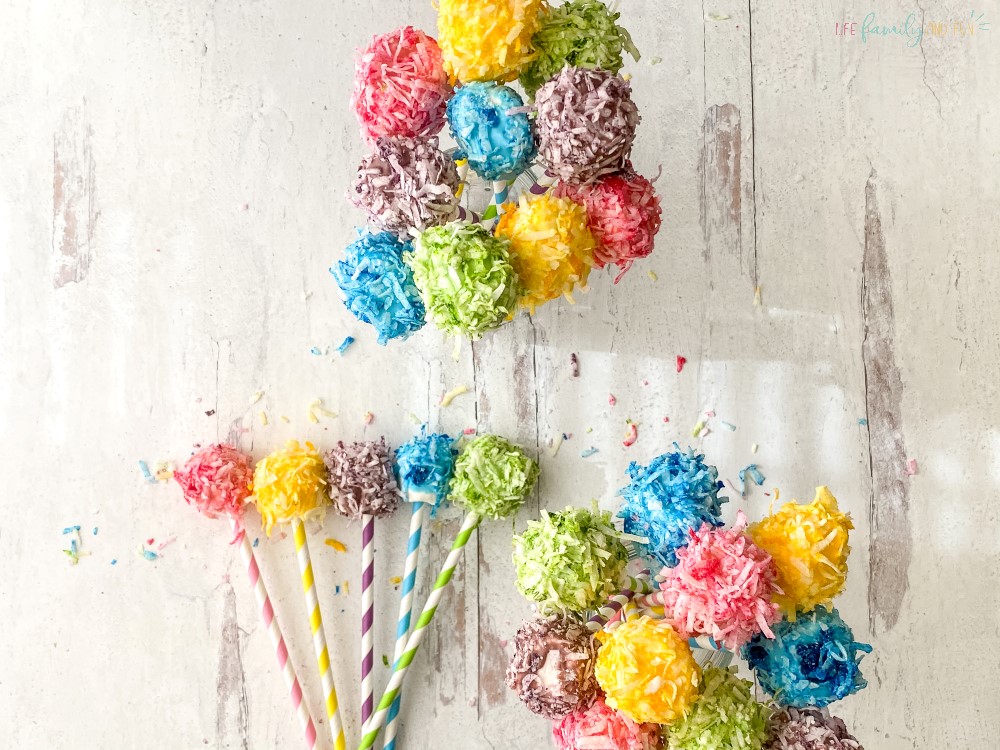
Eager to find the perfect decorative but edible accompaniment to your food table at the next social function? Want to find a hostess gift that is creative, practical, and something they won’t expect? How about a different type of treat for your children’s friends to bring home after their birthday party?
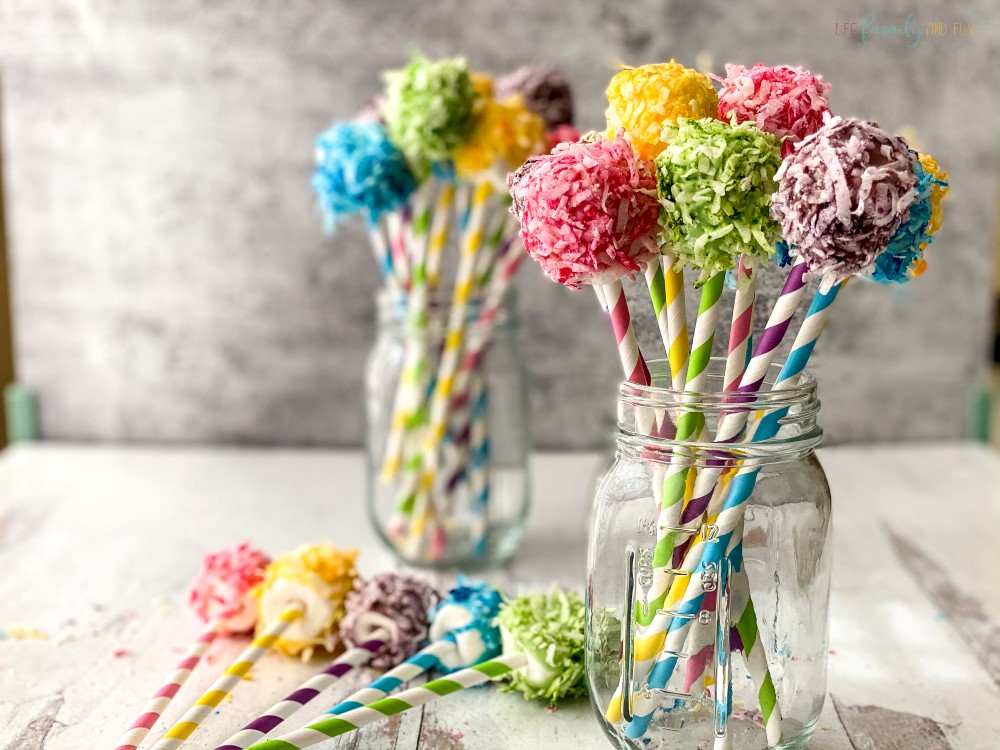
Then you’ve found it with Lorax Truffle Trees! Easy and simple to make, beautiful and stylish to display, and great for the taste buds – these little treats will definitely get people talking in a good way!
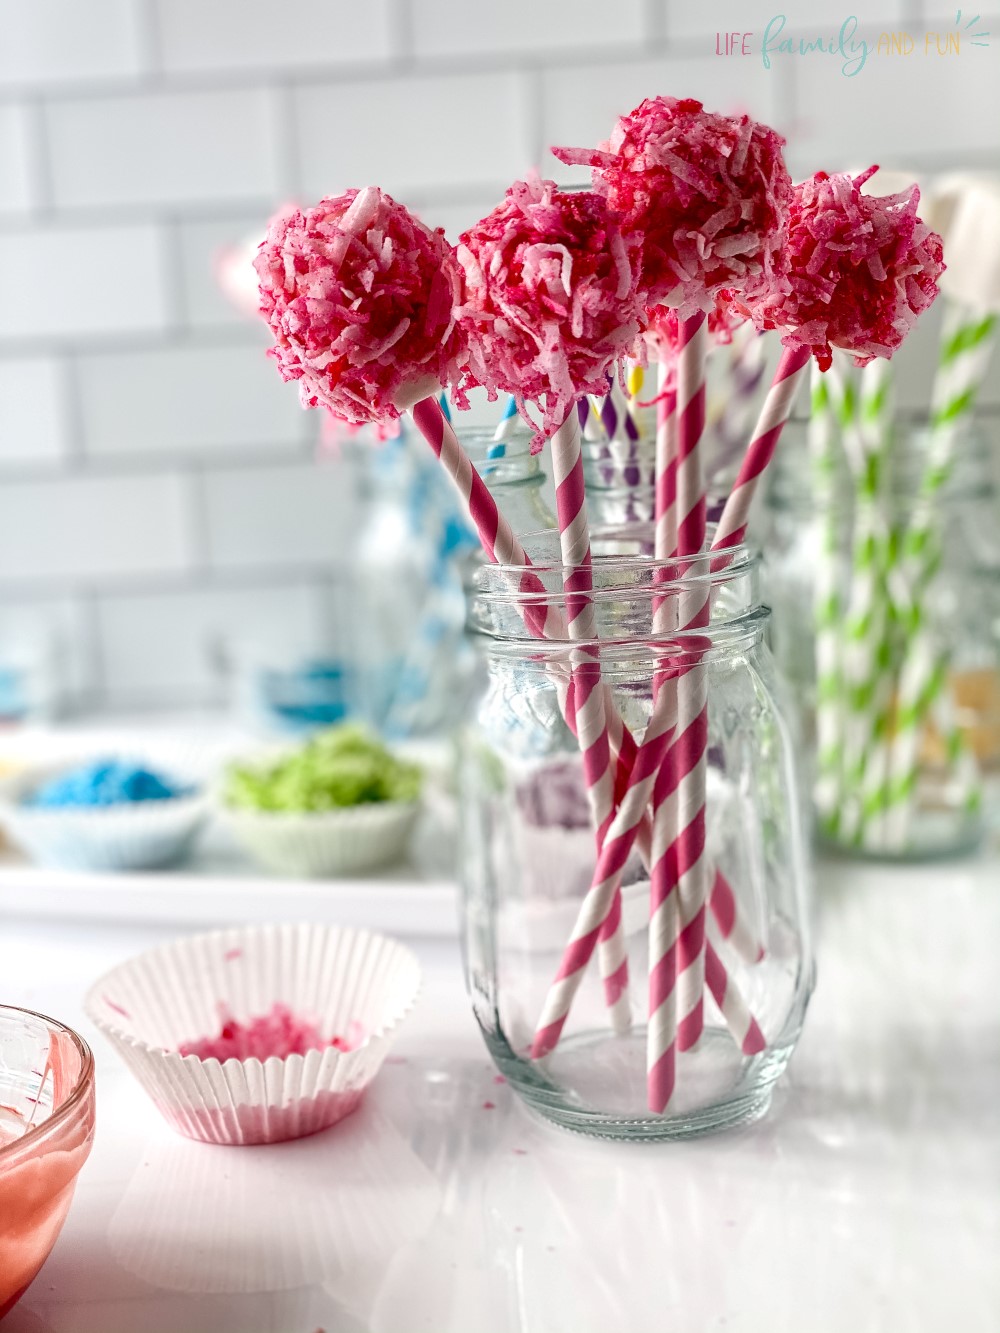
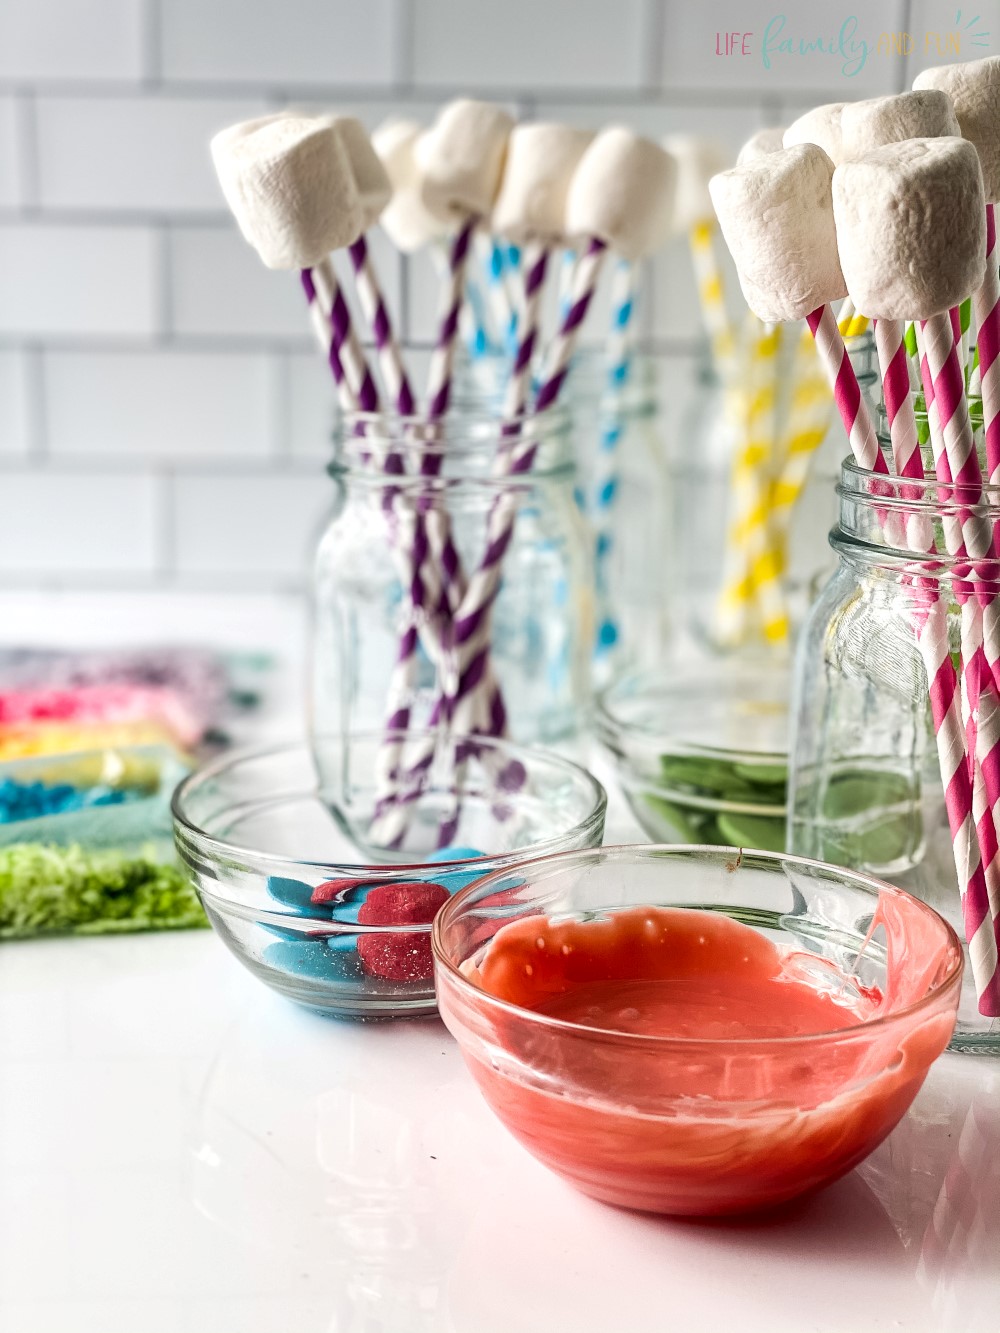
Why Use Paper Straws
As you start going through this recipe and gathering the equipment/supplies needed; you’ll notice that paper straws are on the list. This is how you will stand your truffles upright and make the “tree” portion.
You might be asking why paper straws when plastic could potentially be sturdier – well it’s because of the environment. Plastic straws can take numerous years to break down and then they still leave small microplastics that penetrate the air, the soil, and the water surrounding the landfill. These microplastics can damage the ecosystem and create even more pollution in the atmosphere.
The paper straws, however, are recyclable and 100% biodegradable so they are not only good for the environment but they can be turned into other paper objects through a bleaching and restoring process. And the design of these straws are guaranteed to be just as strong, if not stronger, than plastic straws.
Equipment & Supplies Needed
- Small bowls
- Spoons
- Snack-sized Ziploc bags
- Electric or Neon gel food coloring
- Decorative paper straws
Ingredients for truffula tree lorax:
- Candy melts – make sure to pick up the colors of the truffle trees you want to make
- Shredded coconut – the sweetness level is your choice on how sugary you want your truffles to be
- Large marshmallows

How to prepare the truffula tree lorax:
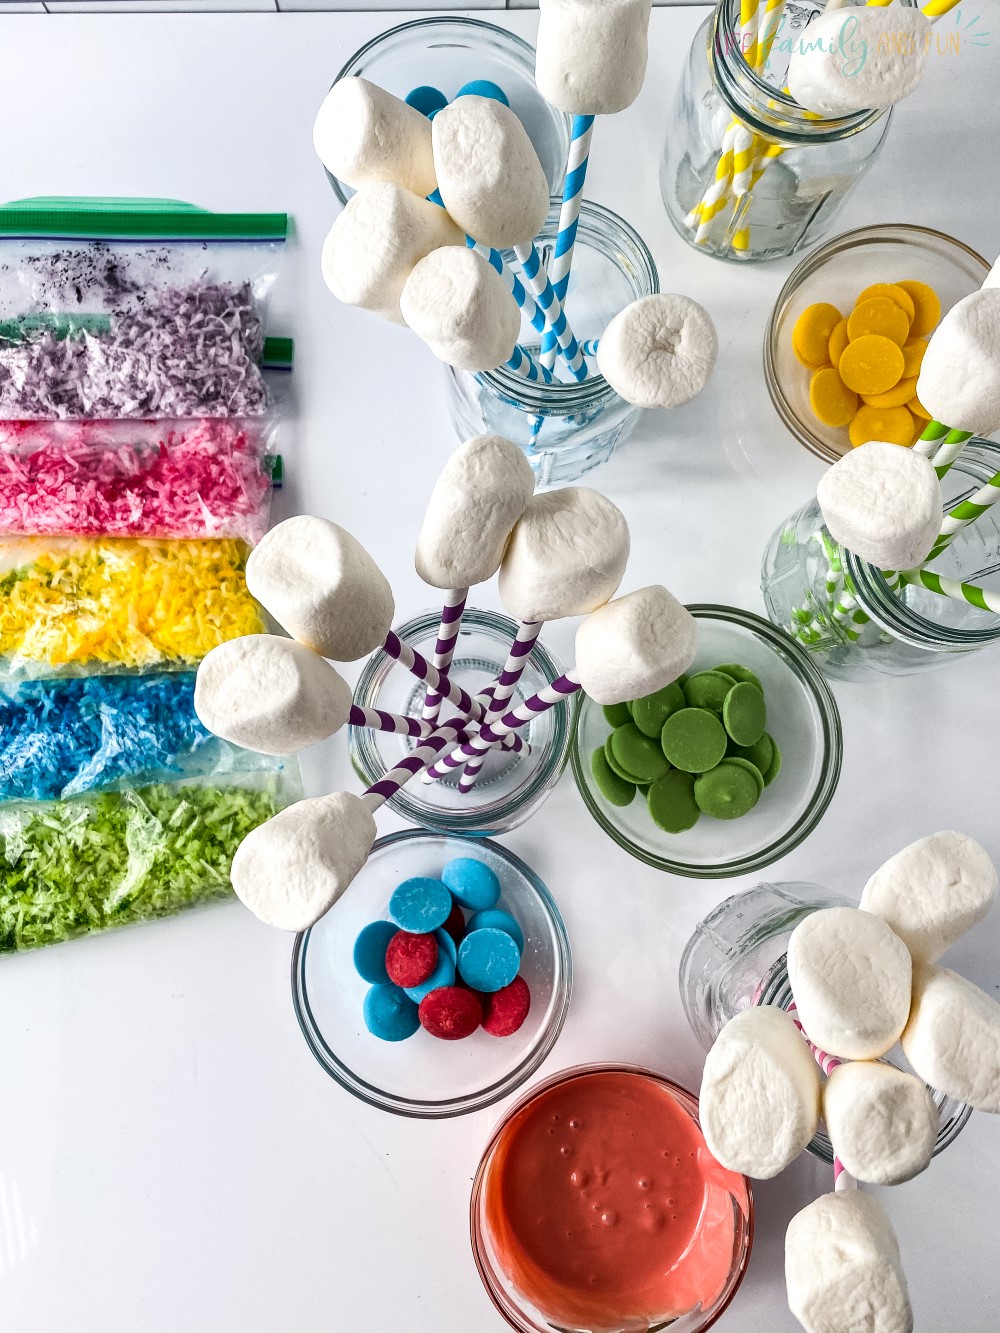
Step One: Prep
Assemble all your ingredients on your countertop and lay down either parchment paper or paper towels to catch any potential mess as you will be using food coloring in this recipe.
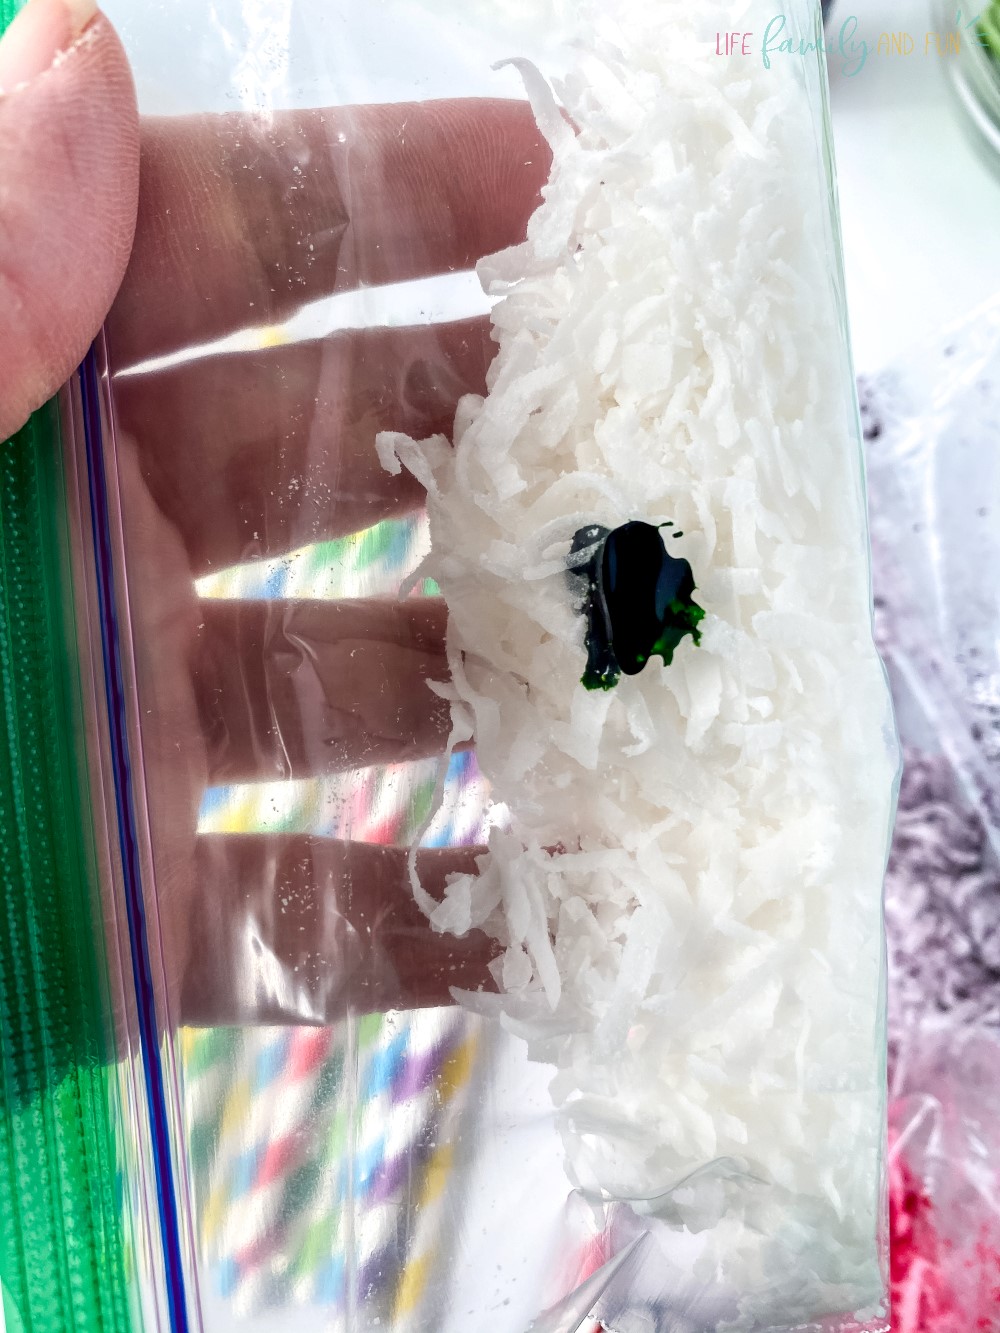
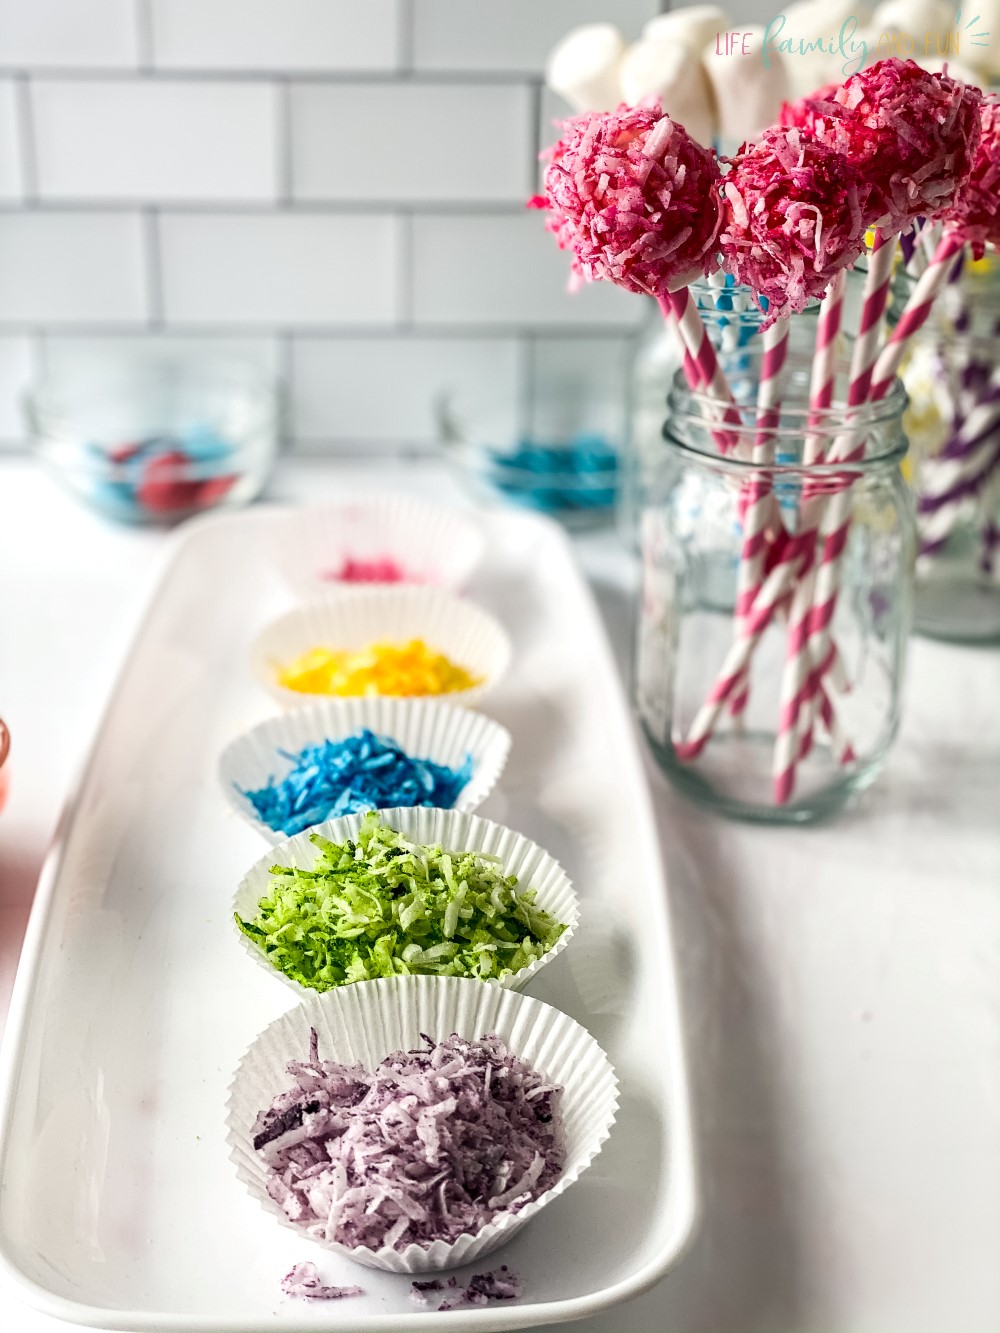
Step two: color your coconut
Add shredded coconut to each of the small Ziploc baggies – you’ll want to determine what color truffles you are making first to ensure you have enough baggies and coconut. Add a fair drop of gel food coloring to the baggie and seal close! Make sure the baggie is sealed before starting the next step. Shake and squeeze the color throughout the bag, allowing it to be absorbed by the coconut (see why you had to make sure the baggie was closed?).
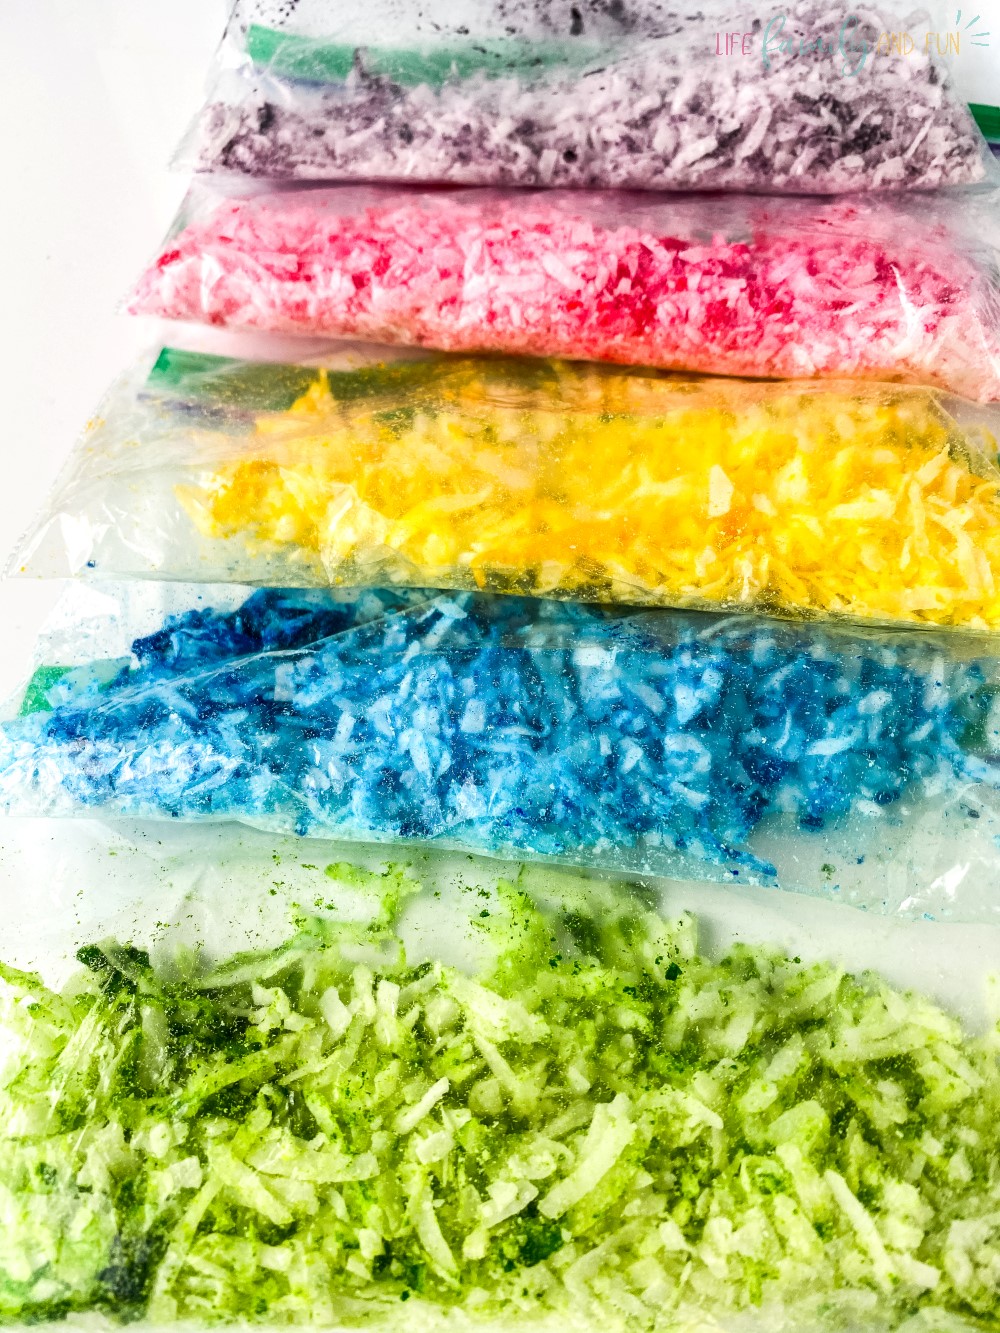
Step three: dry coconut
Once you have assembled all the required baggies of coconut, slowly pour the coconut out into the small bowls to allow it to air dry. This step also prevents the coconut from clumping together as it will be moist due to the gel food coloring.
Step four: prep candy
While the coconut is air-drying, you can start prepping your candy coating as per the package directions. If you don’t have directions on the candy melts – the generic way most people complete this process is to melt it in a microwave-safe bowl on high heat for 30 seconds. Remove the bowl, stir, and repeat the process only 2 or 3 times more to prevent the chocolate from burning.
Only put the chocolate back in the microwave if you have stirred it as even though the chocolate might not look like its melting – it is, and the stirring motion helps send the residual heat throughout the bowl. Once the chocolate is smooth to the eye; then it is melted, and you shouldn’t microwave it anymore.
Step five: prep marshmallows
While the chocolate is melting, you can prepare the marshmallows by inserting the paper straws gently into one end. You don’t want to force the straw through the marshmallow but instead apply light pressure to allow it to pierce through on its own.
Forcing the straw through runs the risk of the straw breaking and slivers of paper getting to the inside of the marshmallow – and we definitely don’t want that!
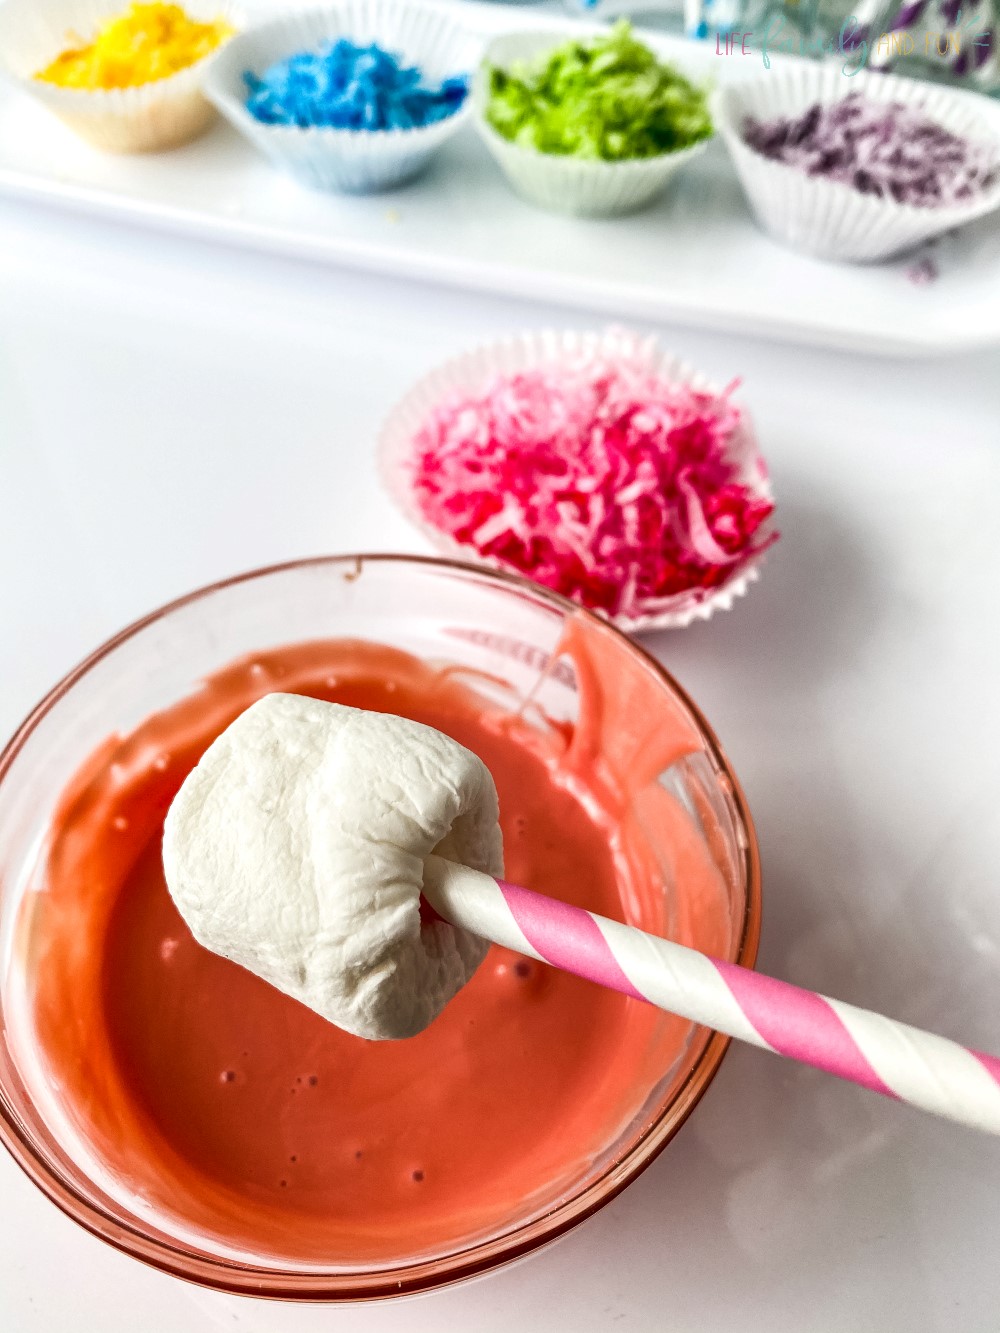
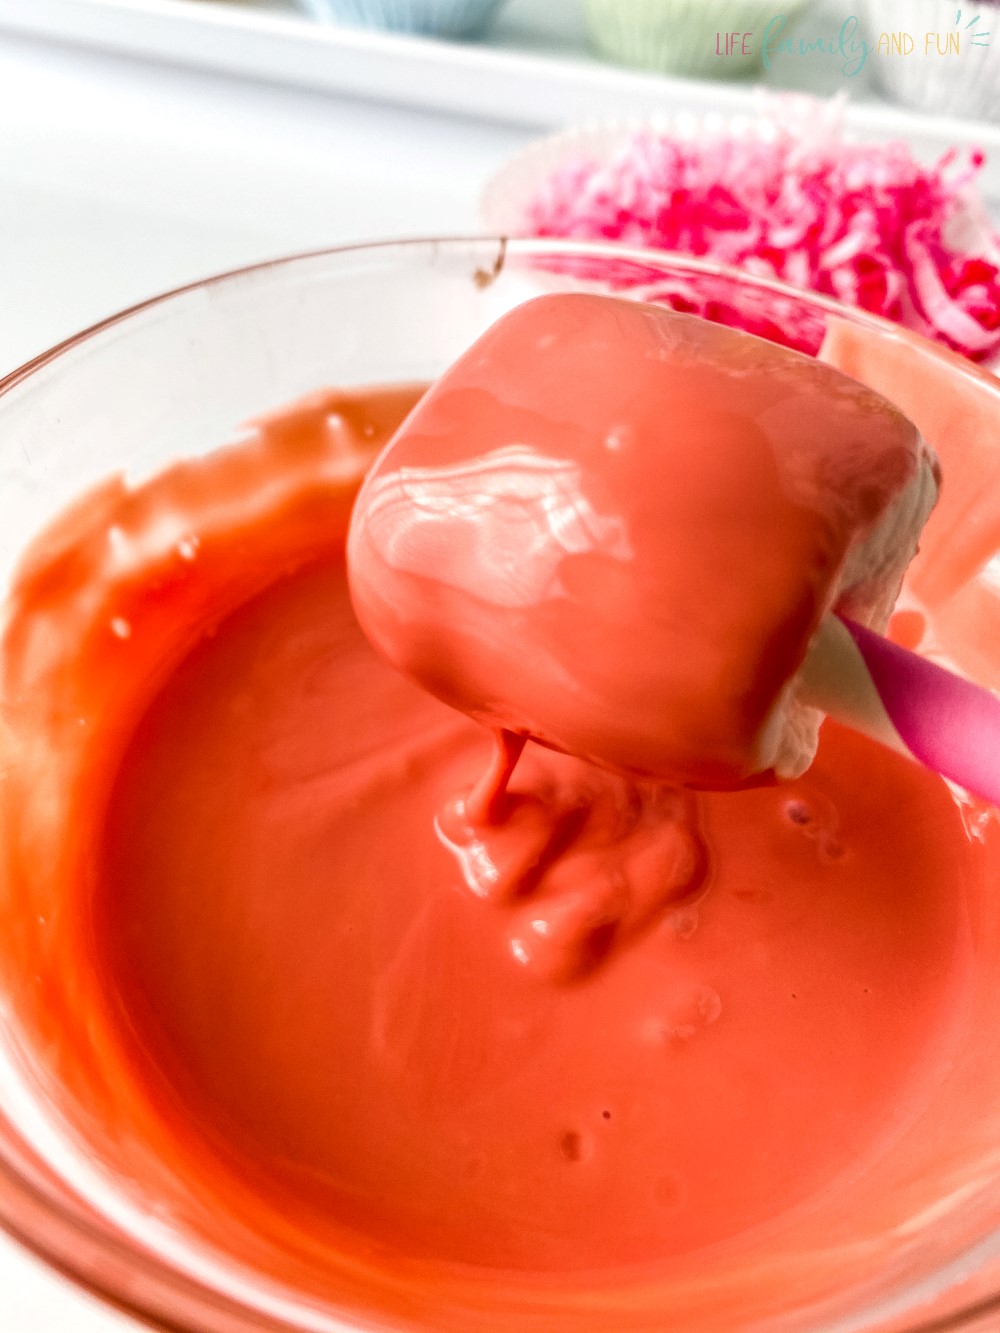
Step six: dip in chocolate
Once all the marshmallows are ready to go; you can start dipping them into the corresponding colored chocolate. Roll the marshmallow gently around the sides of the bowl as well to coat all sides and the top of the marshmallow.
If you are using lollipop sticks or something similar instead of the paper straws; you want to dip the stick into the chocolate first, then insert it into the marshmallow to prevent it from ripping it apart.
Gently shake off the excess chocolate without using a lot of force that could send the marshmallow flying across the countertop.
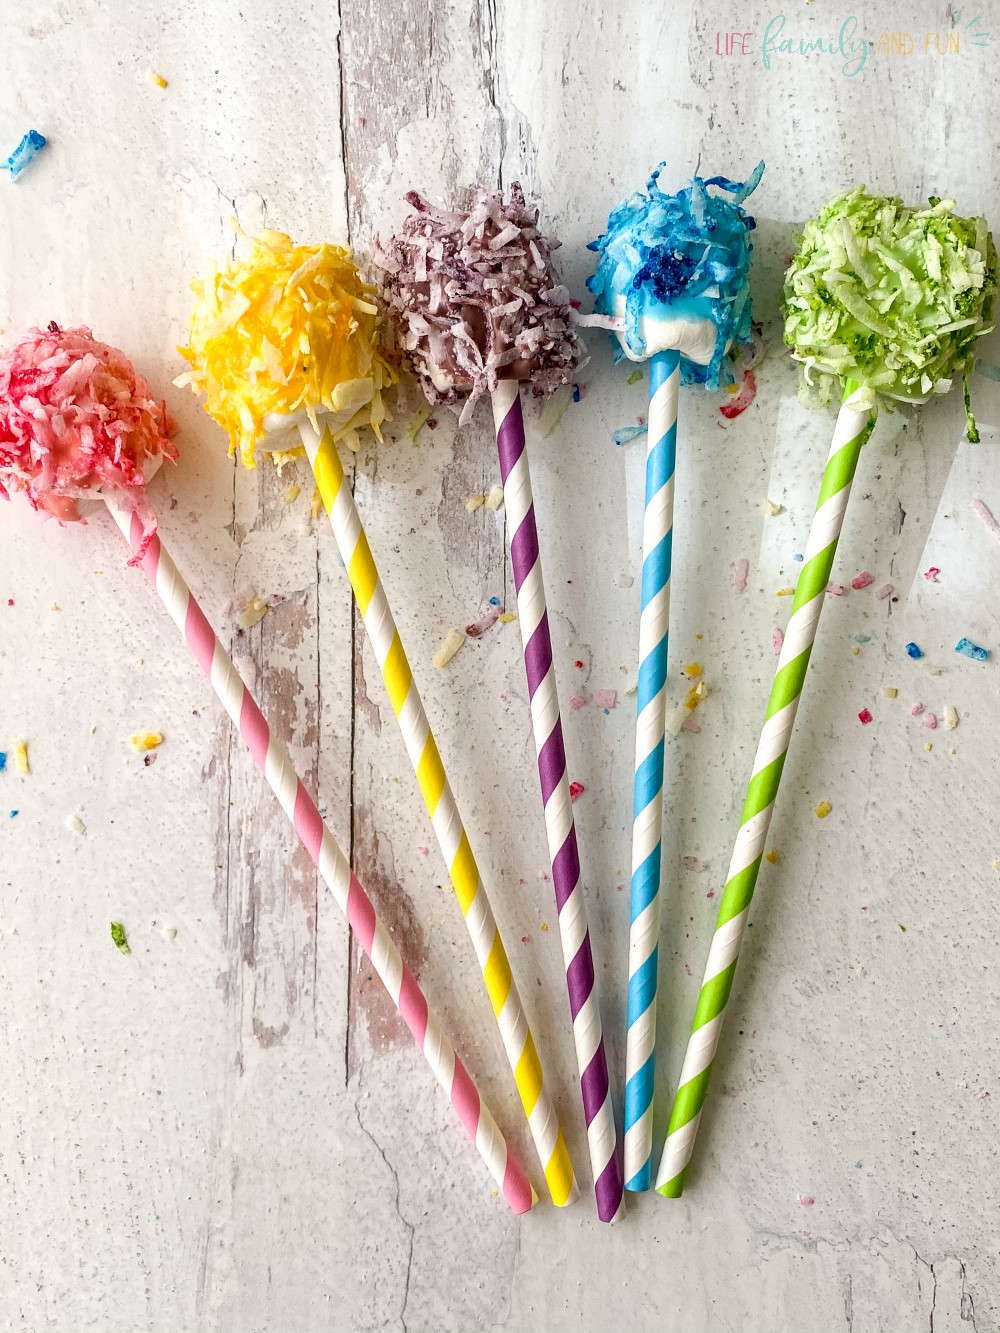
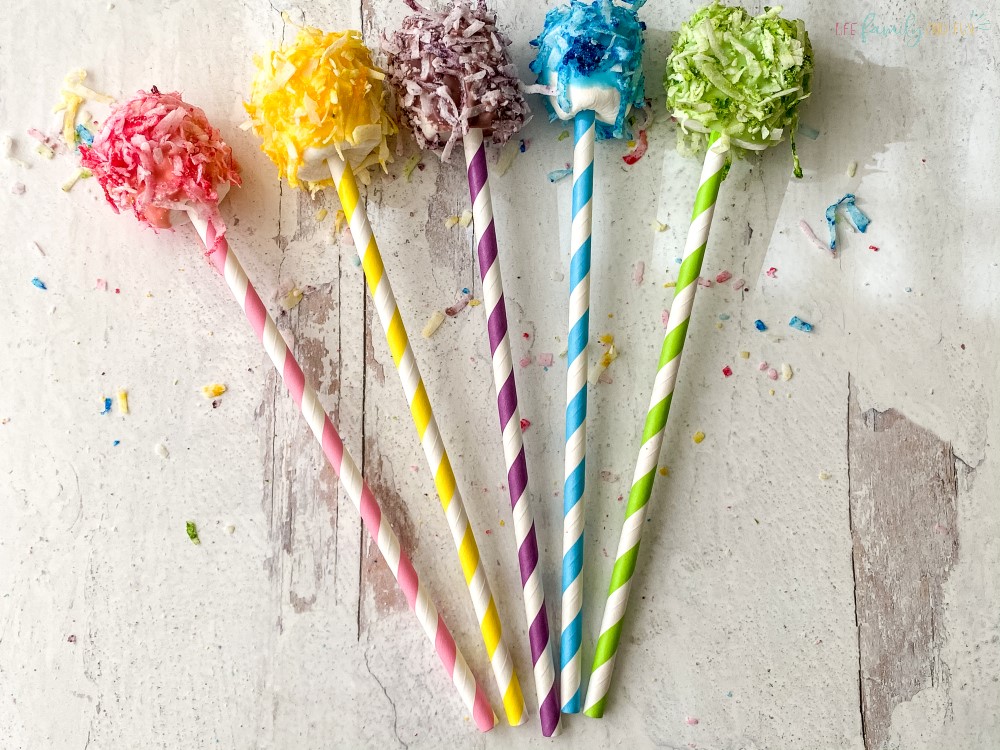
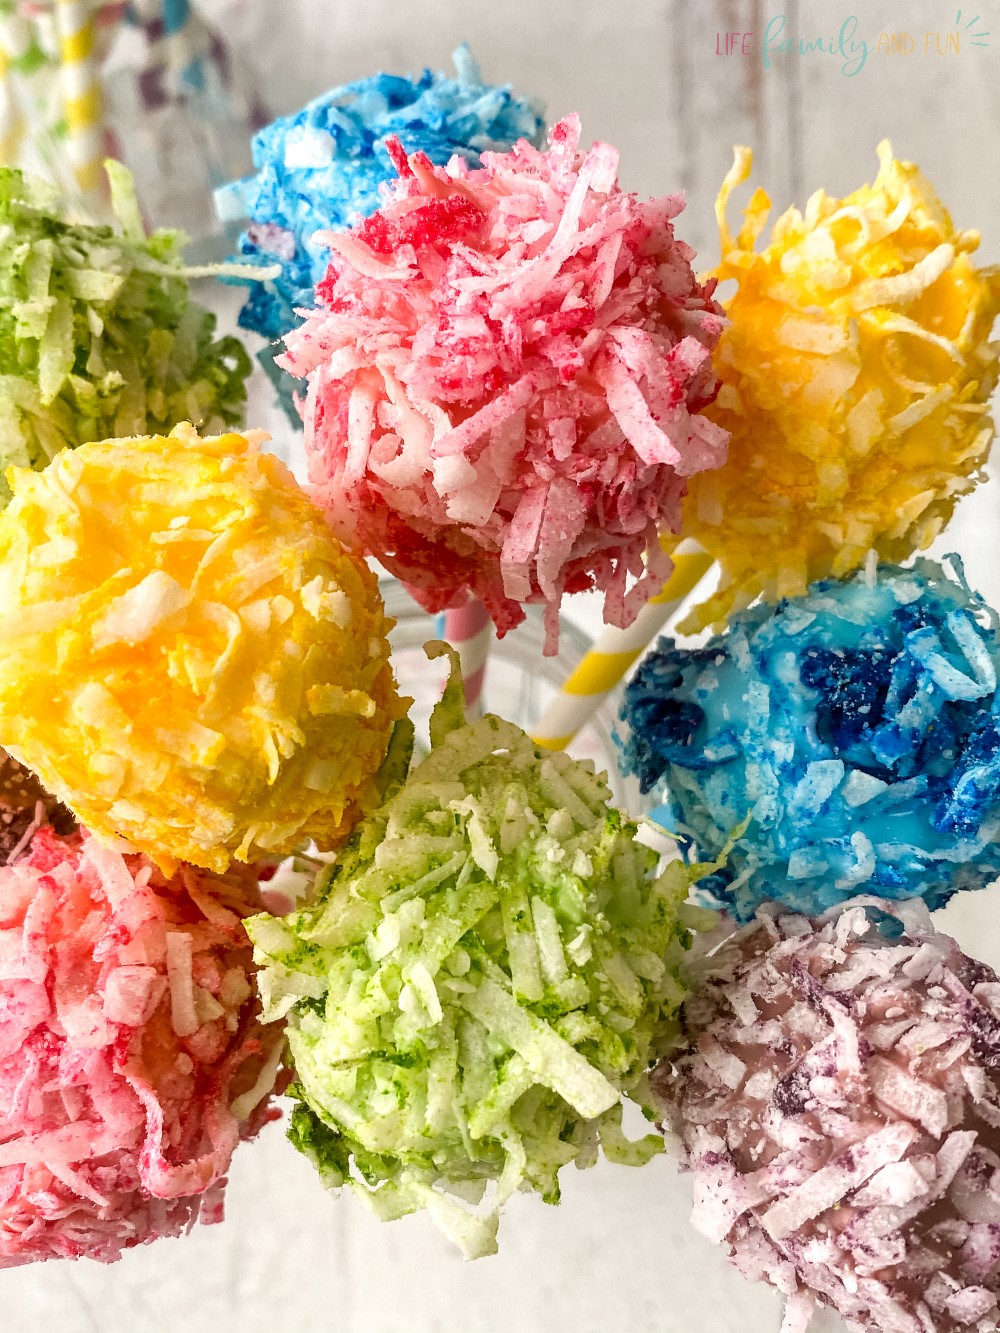
Step seven: coat in coconut
Roll the coated marshmallow into the corresponding coconut shreds until fully coated. Gently shake off loose and excess coconut.
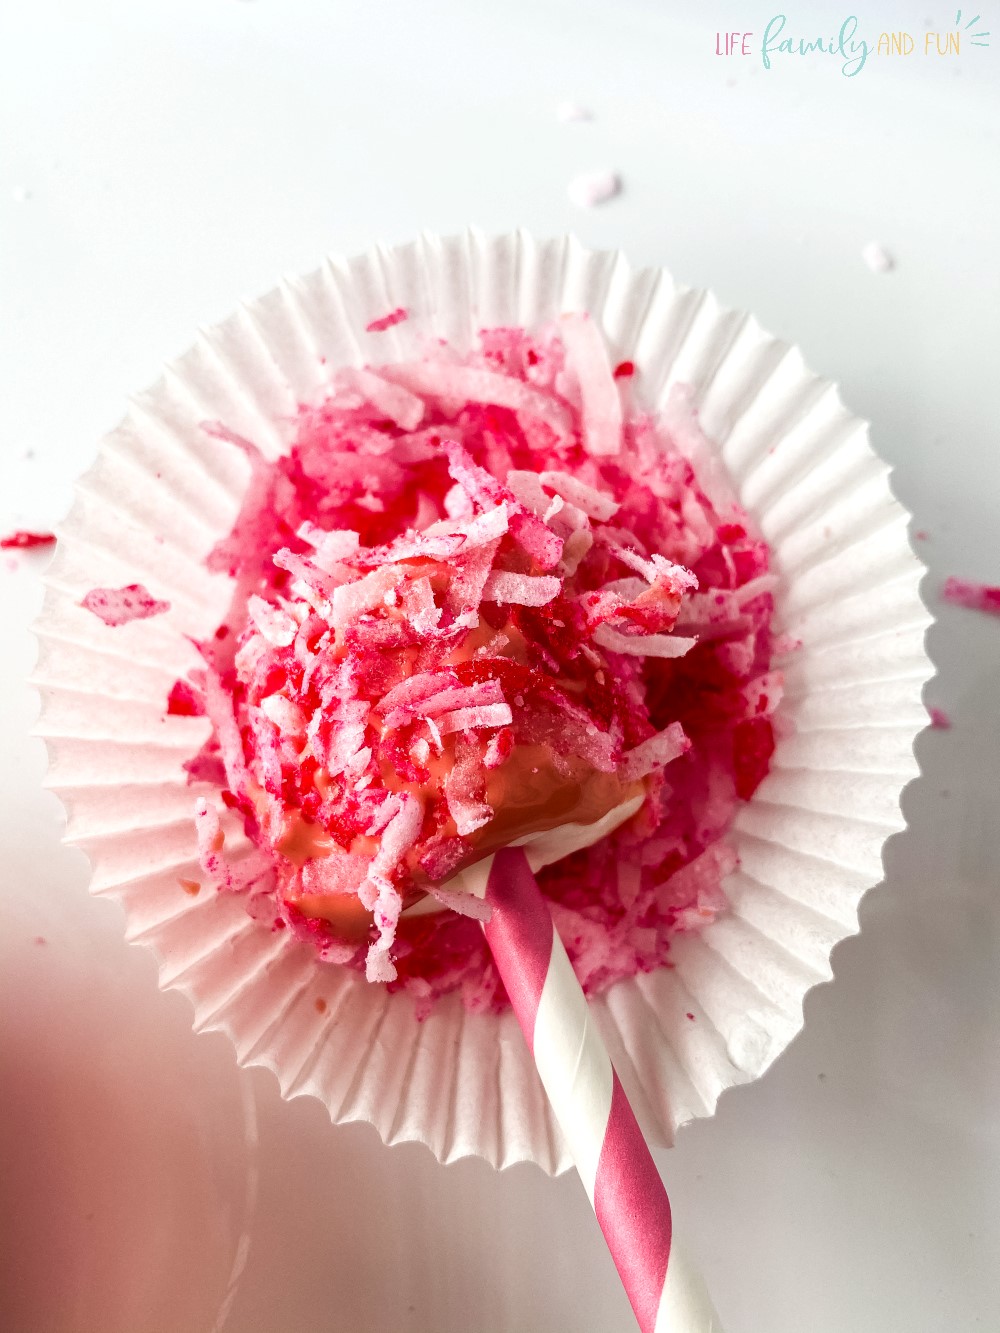
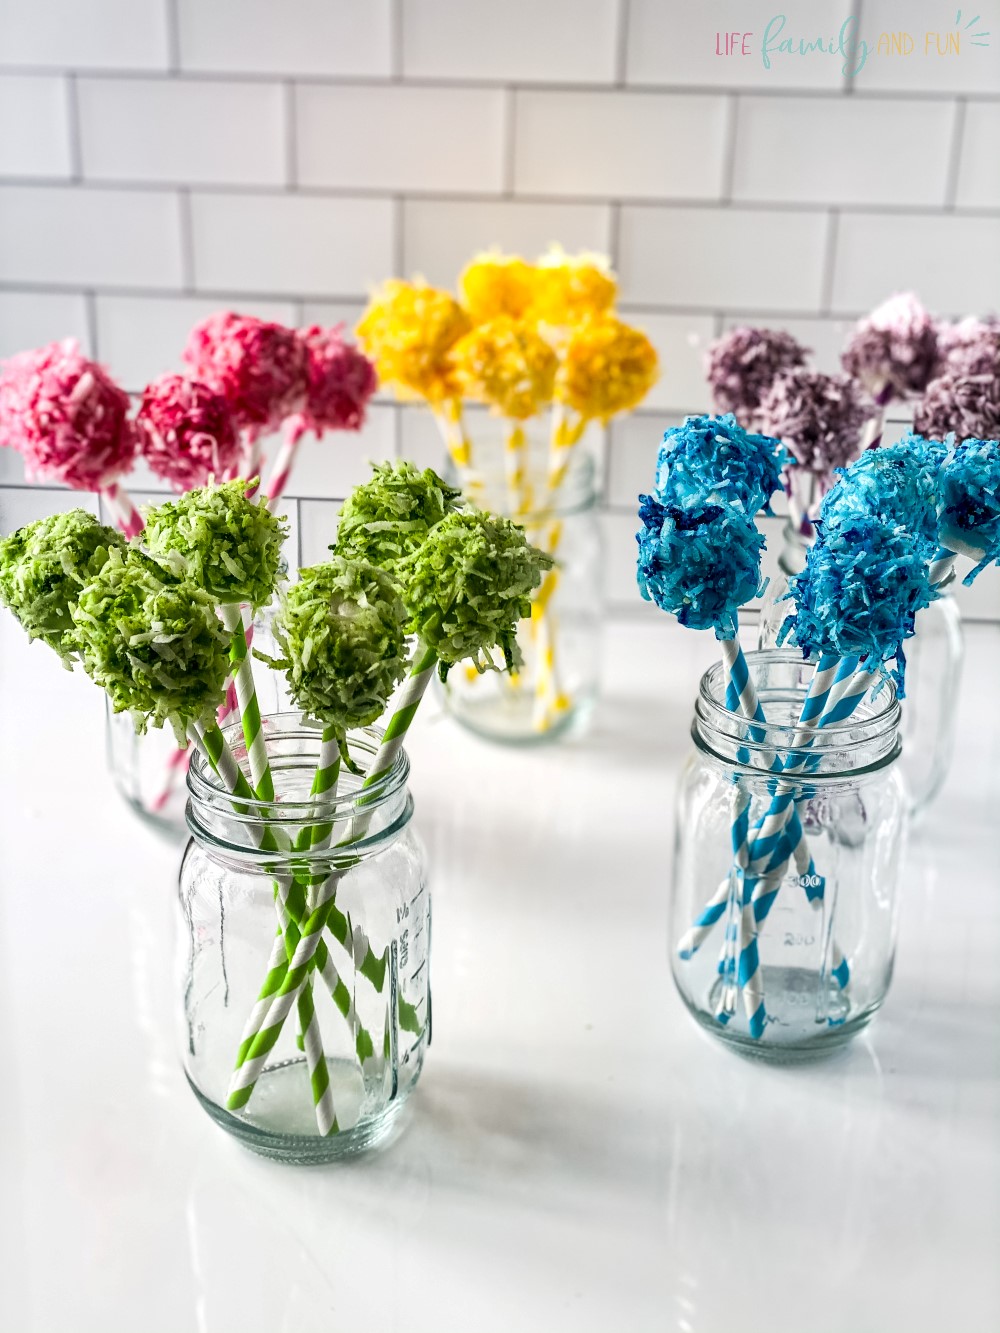
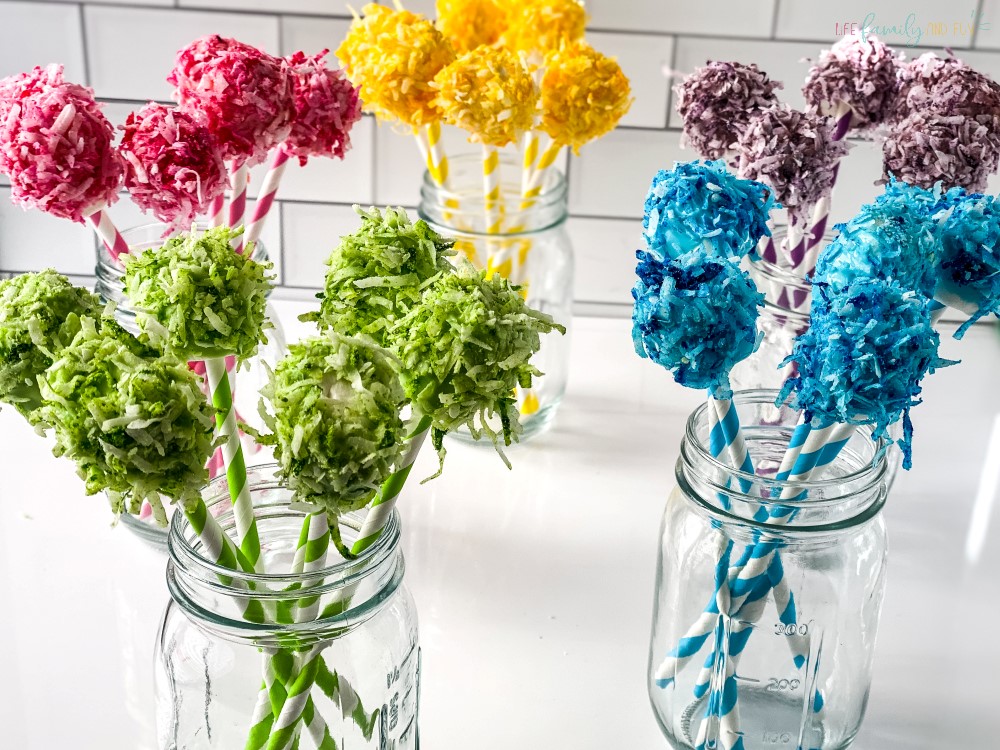
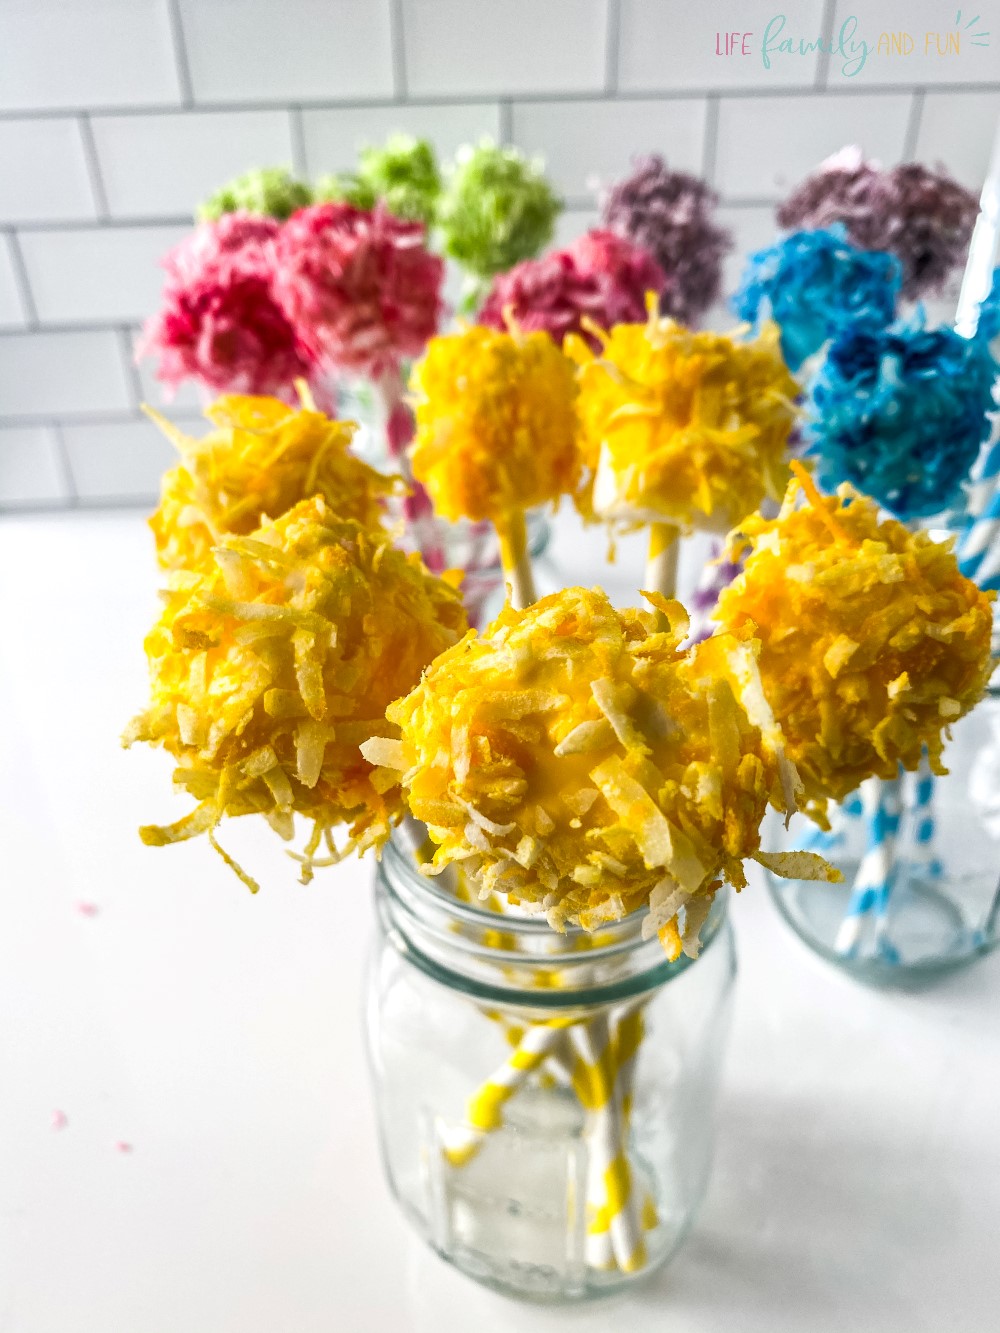
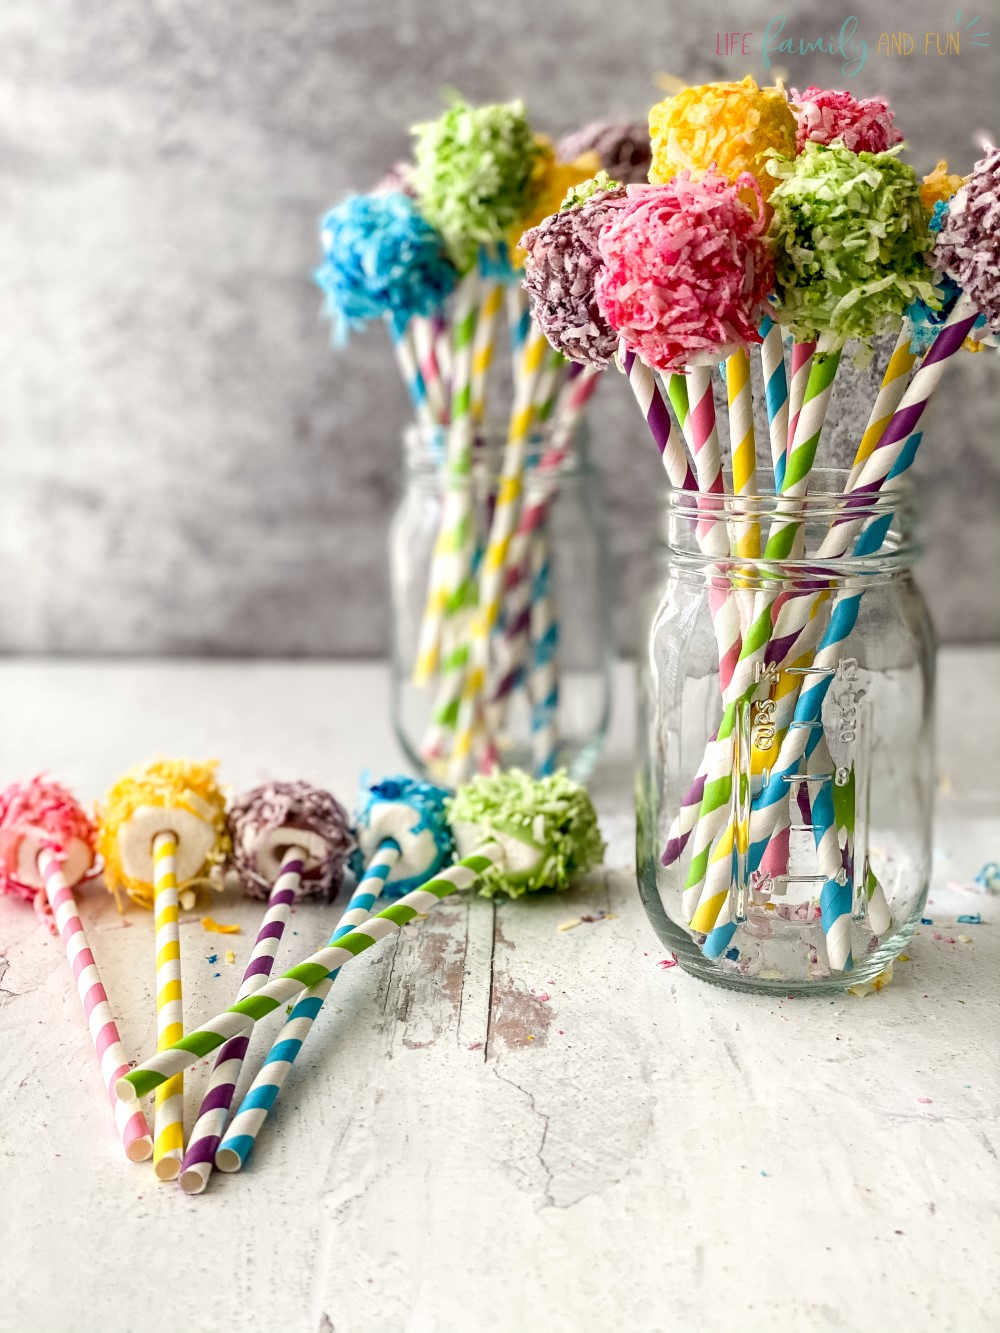
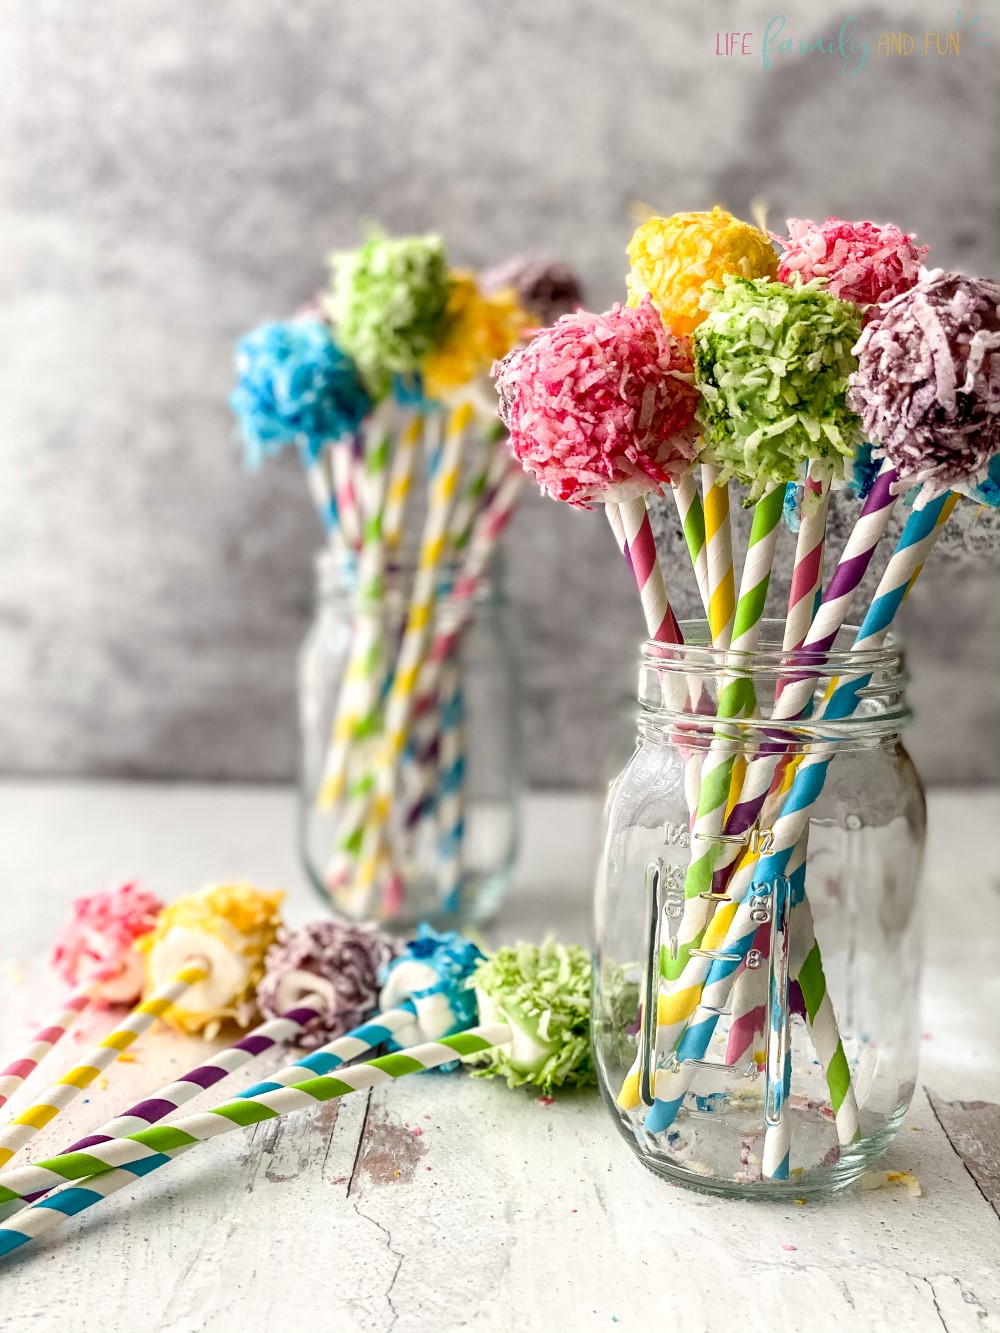
Step eight: let dry
Stand the straws of coconut covered marshmallows into a jar or glass to keep them upright. Allow them to air dry for approximately 15 to 20 minutes. Avoid placing them in the fridge as this can cause the marshmallow to harden and ruin the texture of the dessert. Once dry – display, serve, enjoy!