Who doesn’t remember the classic series of stories that came from the mind of Dr. Seuss? Especially “Green Eggs and Ham” – this is one of the stories that it doesn’t matter how old or young you are; you’ve heard those words and can pinpoint the source of them.
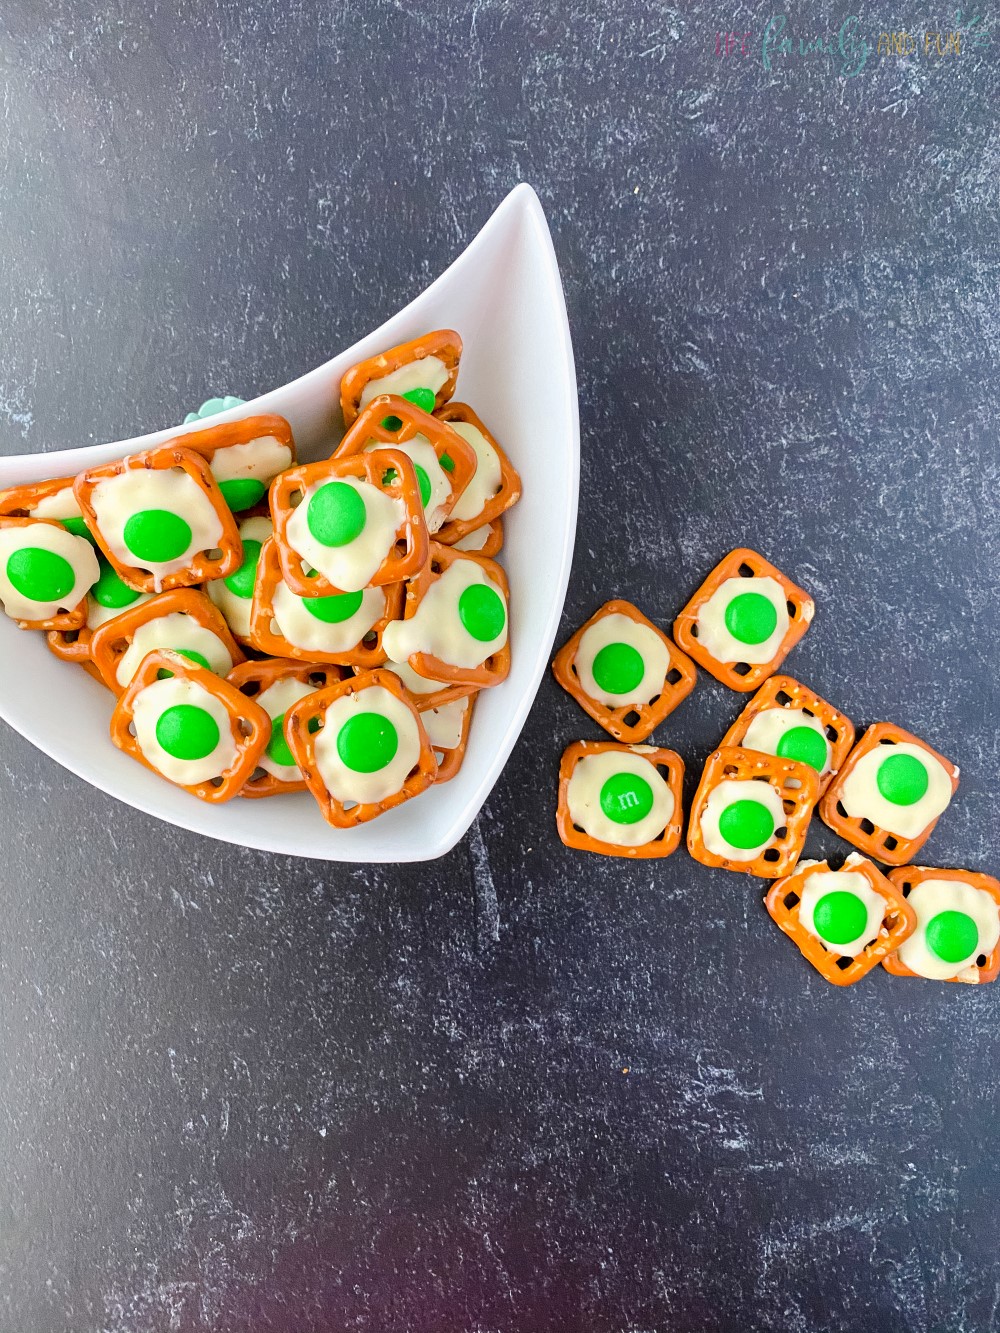
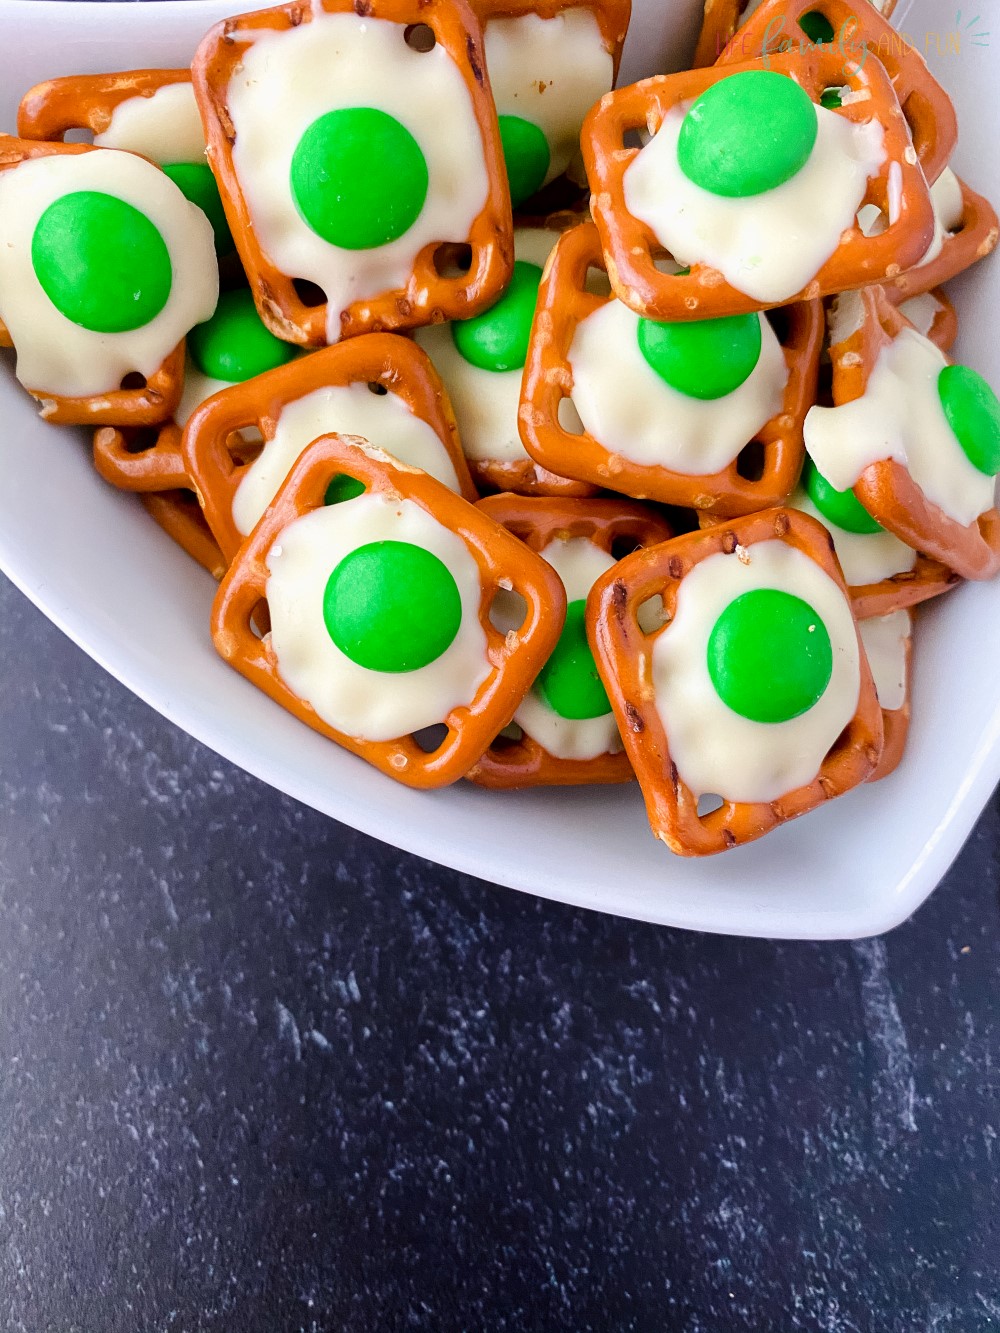
Recreate this sense of wonder and teach your children about how reading can be fun by making your own version of this treat with Green Eggs and Ham Chocolate Covered Pretzels. These little treats are perfect for lunches, treat bags, and road trips with a classic spin that puts a smile on everyone’s face. Another bonus about these? They are easy to make and there is no baking involved.
The History of Green Eggs and Ham by Dr. Seuss
Beloved for decades now, the original version of Green Eggs and Ham was published on August 12th, 1960 and has sold over 8 million copies worldwide (after being translated into multiple languages) to date.
Marketed as a beginner reading book for children, it is full of rhyming language and easily remembered words with a simple vocabulary style such as “Sam-I-Am”. Used in classrooms and by parents, the ironic thing is that this book didn’t start out this way but it was the result of a bet between Dr. Seuss and his publisher – the publisher bet him that he couldn’t write a book that didn’t exceed 50 words in the entire text. Dr. Seuss knew he could do it, especially if it was a children’s book (which is what he was known for) so that is how this story was born to be loved by millions.
Equipment Required:
- Small Microwave Safe Bowl
- Spoon (Wooden or Silicone is the best)
- Parchment Paper
- Baking Sheet (Optional)
- Piping Bag or Small Ziploc Bag (Snack Size is easiest to control)
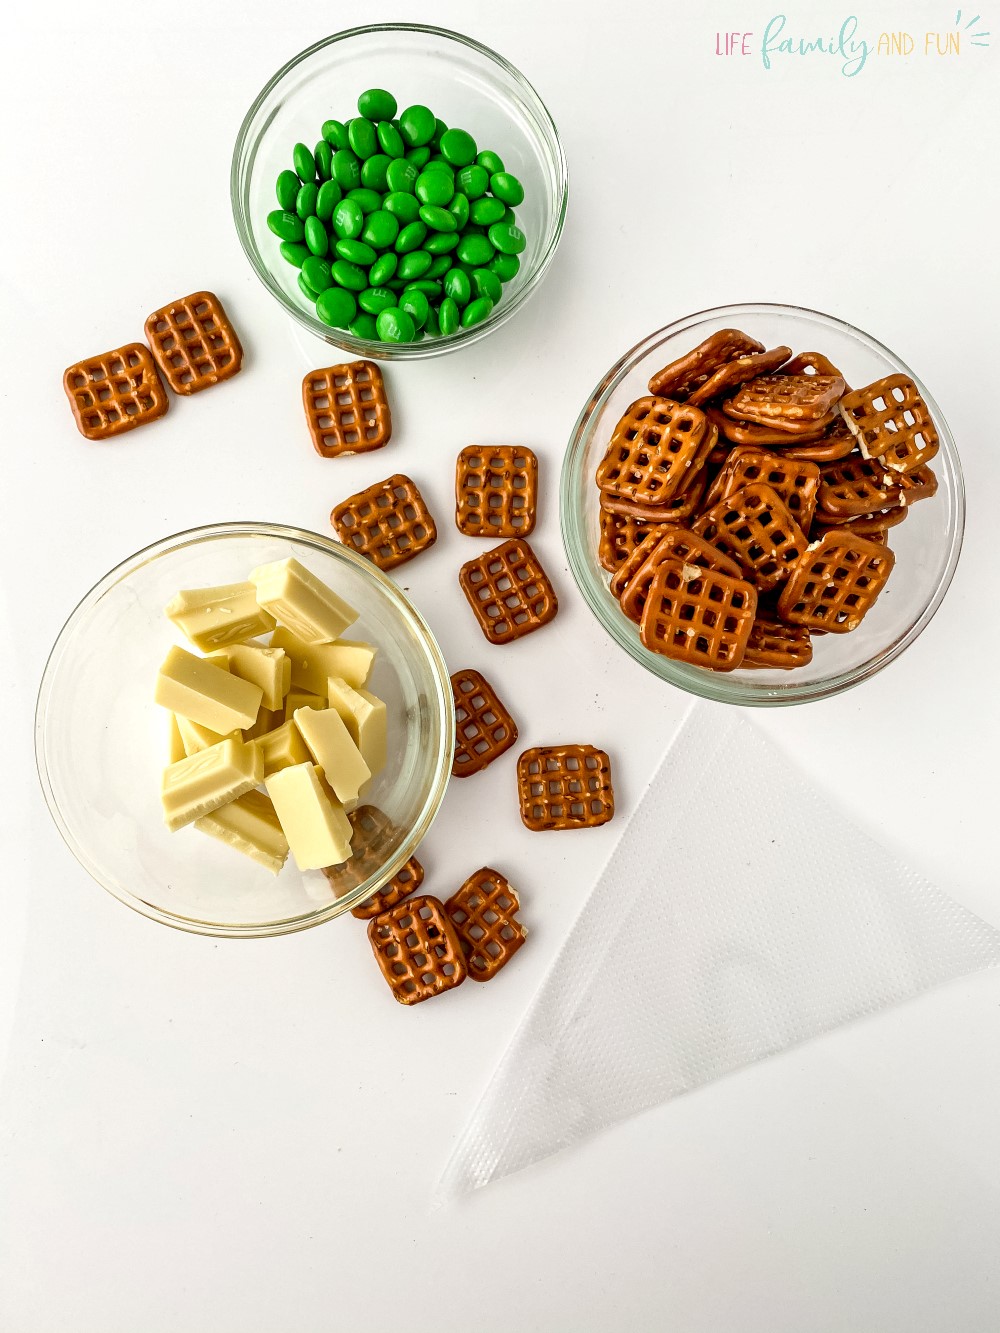
Ingredients for the chocolate covered pretzels:
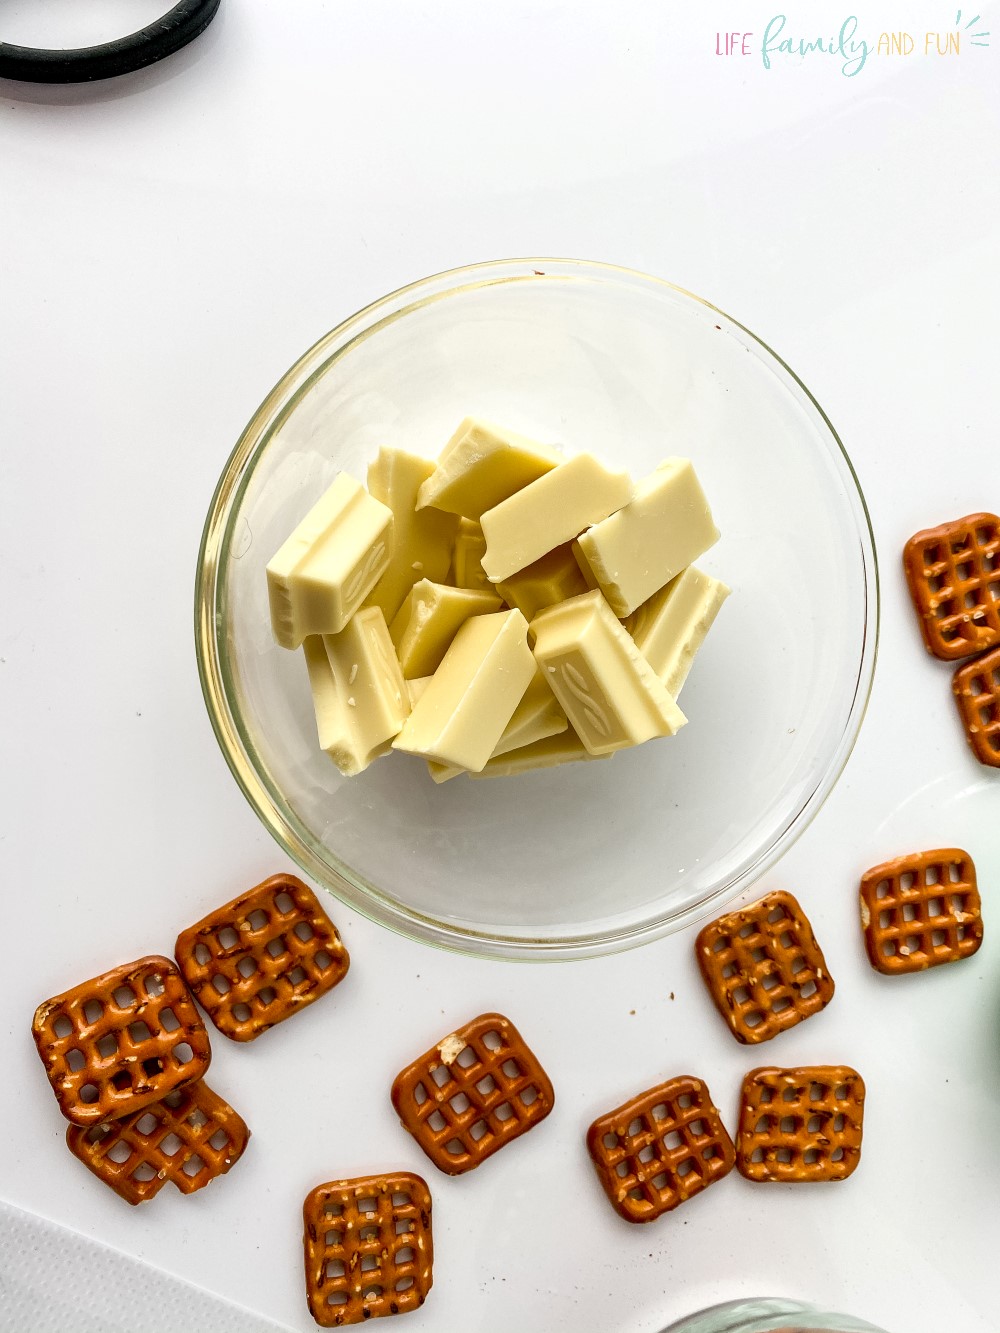
- White Chocolate, Almond Bark, or White Candy Melts – choose your favorite option
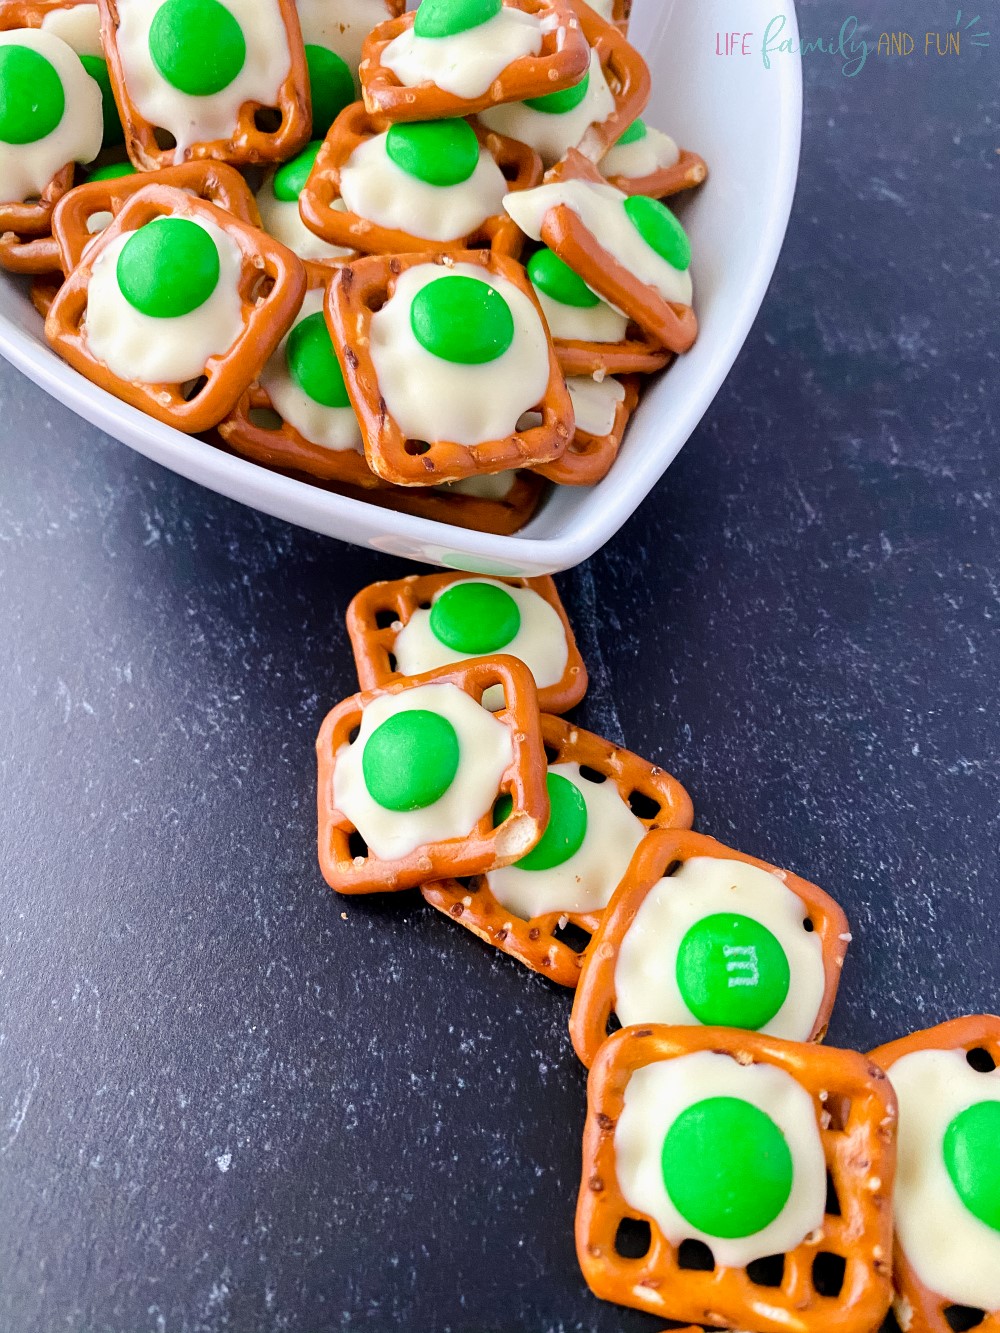
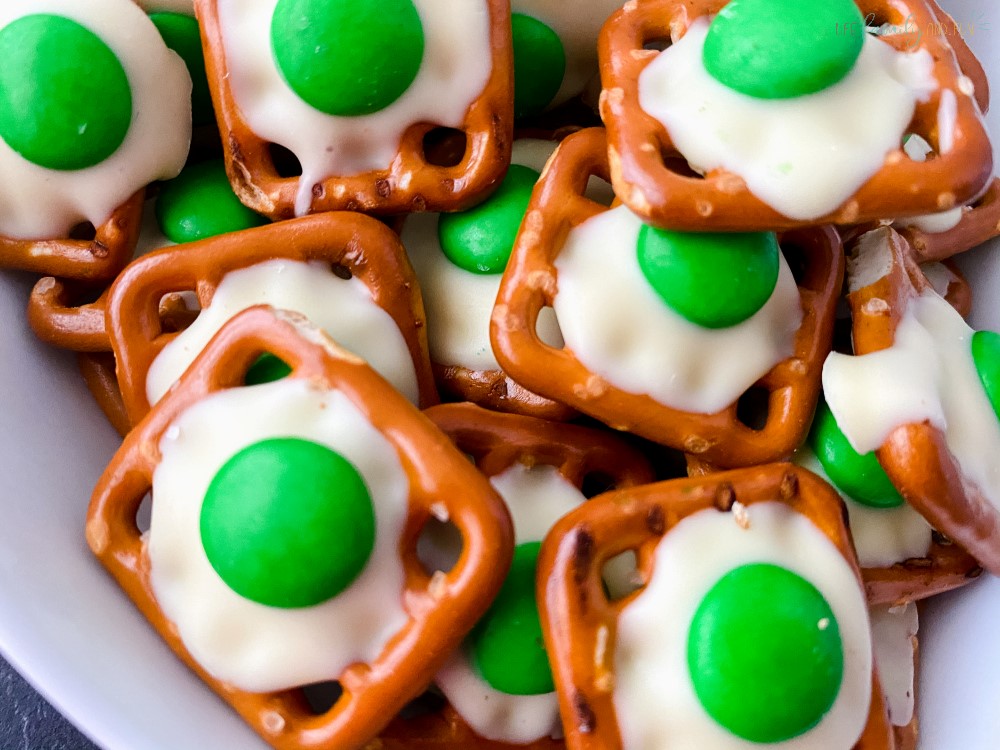
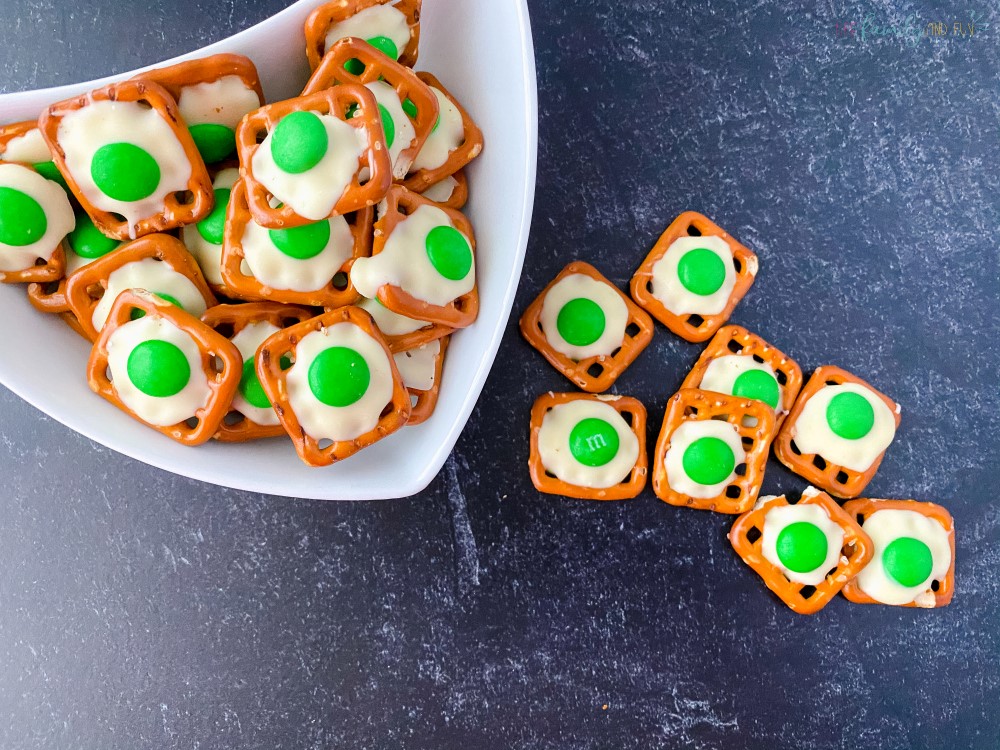
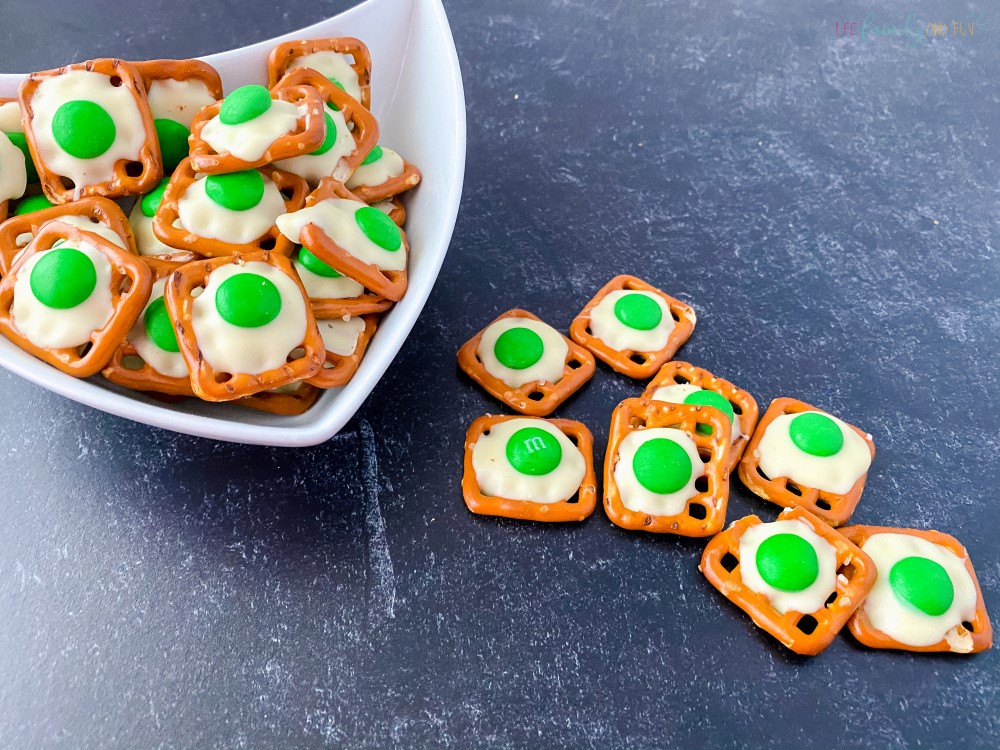
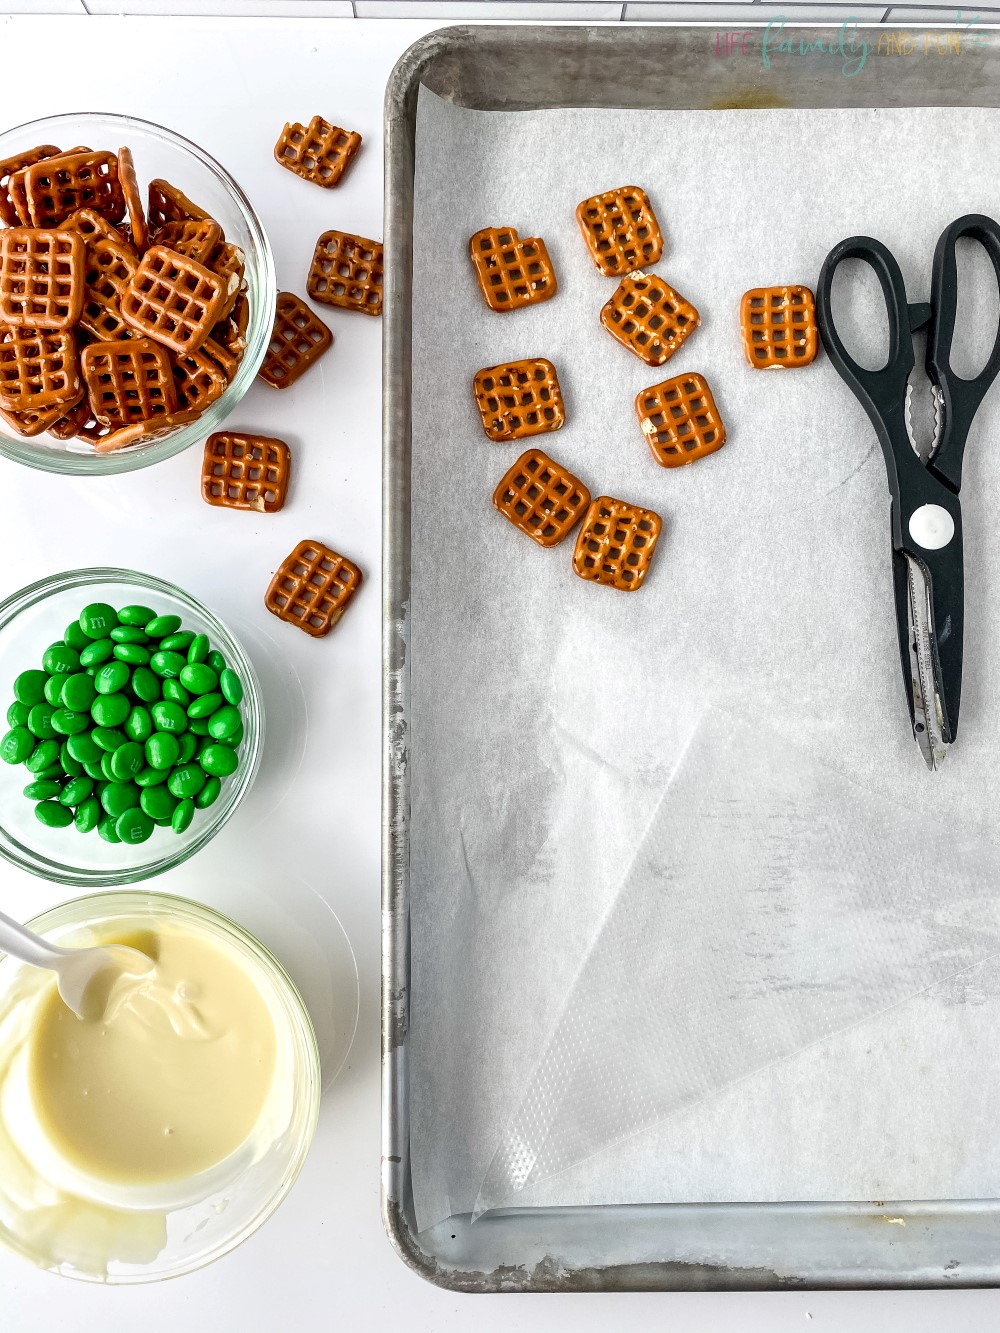
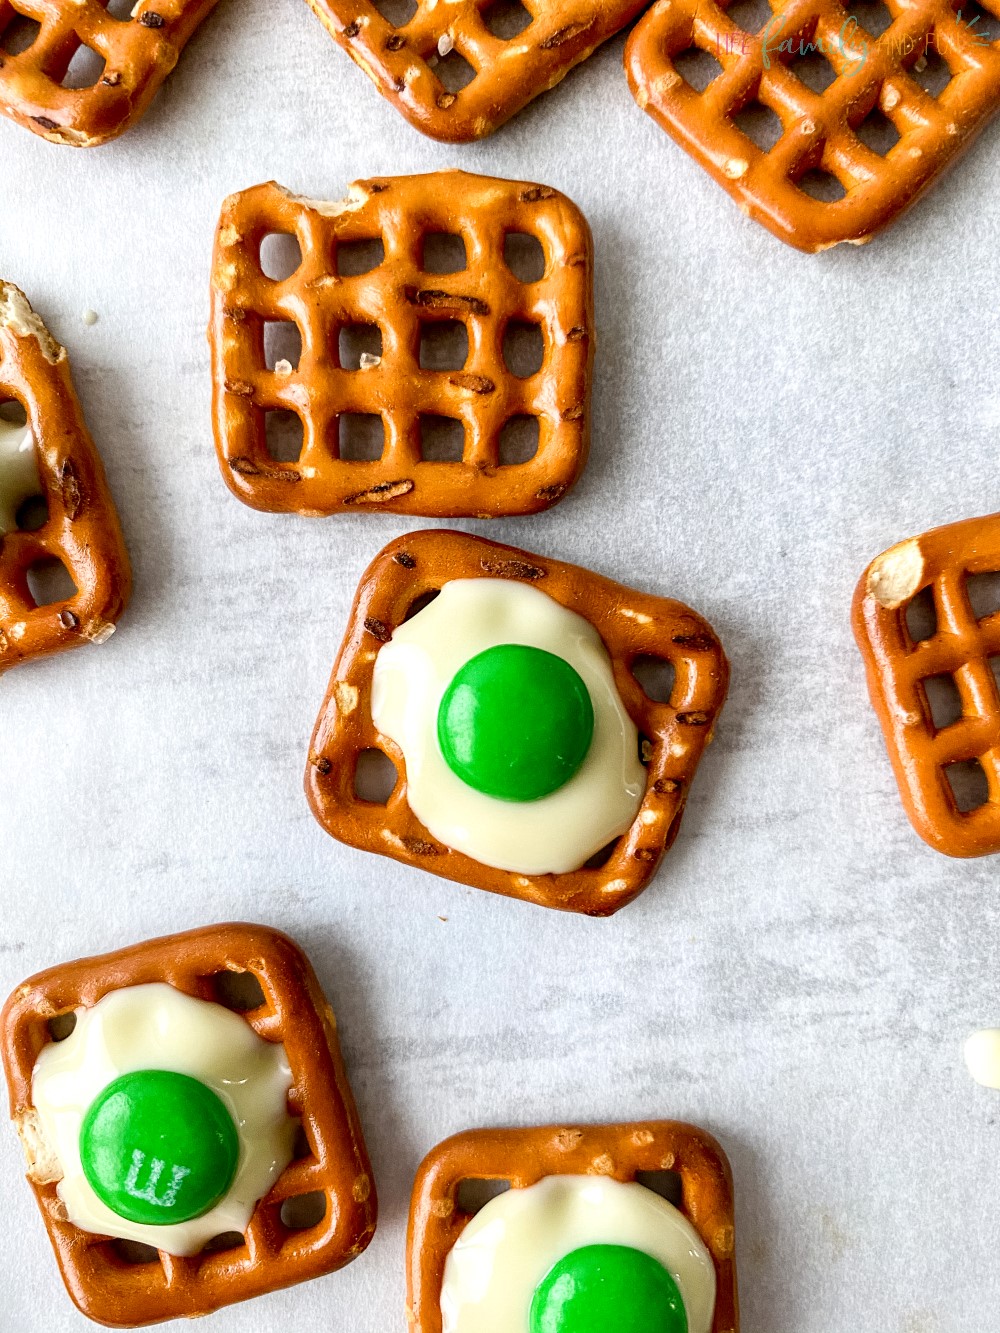
- Snaps Pretzels – they are shaped like a grid instead of spiraled together
- Green Chocolate Candies (M&Ms or baking candies)
How to make chocolate covered pretzels
Step one: prep work
Line the baking sheet with parchment paper. This will help eliminate any mess from the process.
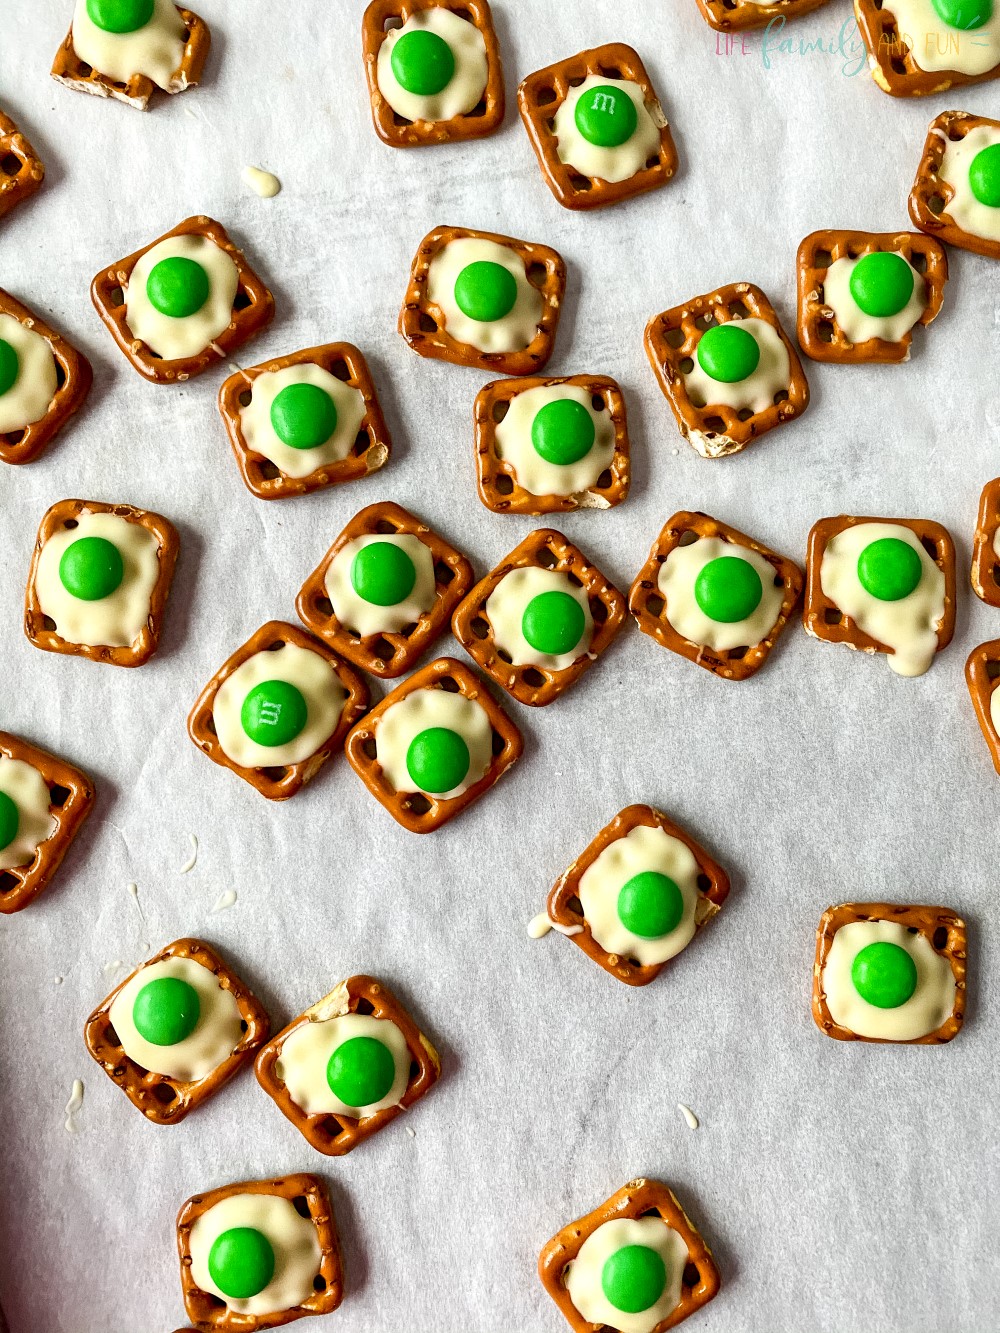
Spread the Snaps pretzels out on the parchment paper, arranging them so there is no overlapping or touching as they are going to be drizzled with melted chocolate. You don’t want them sticking together which can ruin the final result.
Put the white chocolate (or chosen type) in the small microwavable bowl to start the melting process.
Melt the chocolate on high power for 30 seconds only. Remove the chocolate from the microwave, stir to disperse the heat, and microwave again on high power for another 30 seconds.
Stir the chocolate for 30 to 45 seconds to allow the residual heat to finish the melting process. You don’t want to microwave it too much as this can cause the chocolate to burn and the taste will definitely show that.
If the chocolate isn’t smooth after stirring and there are still pieces of chocolate that are solid – return it to the microwave and use 15-30 second intervals, stirring and checking the chocolate after each 15 second interval.
Longer intervals than 15 to 30 seconds will increase the chance of the chocolate burning a lot.
Step two: fill piping bag
Once the chocolate is fully melted, give it on final stir and transfer it to the piping bag (or Ziploc bag). Cut off the tip of the bag once all the chocolate has been poured in the bag.
If using the Ziploc bag method – tilt the bag so that all the chocolate runs to a single corner. Cut this corner on an angle to create your own piping bag.
Squeeze out a test amount to ensure that the amount of chocolate that is coming out of the bag is enough without being skimpy or an abundance which can create quite the mess to clean up.

Step three: squeeze onto pretzels
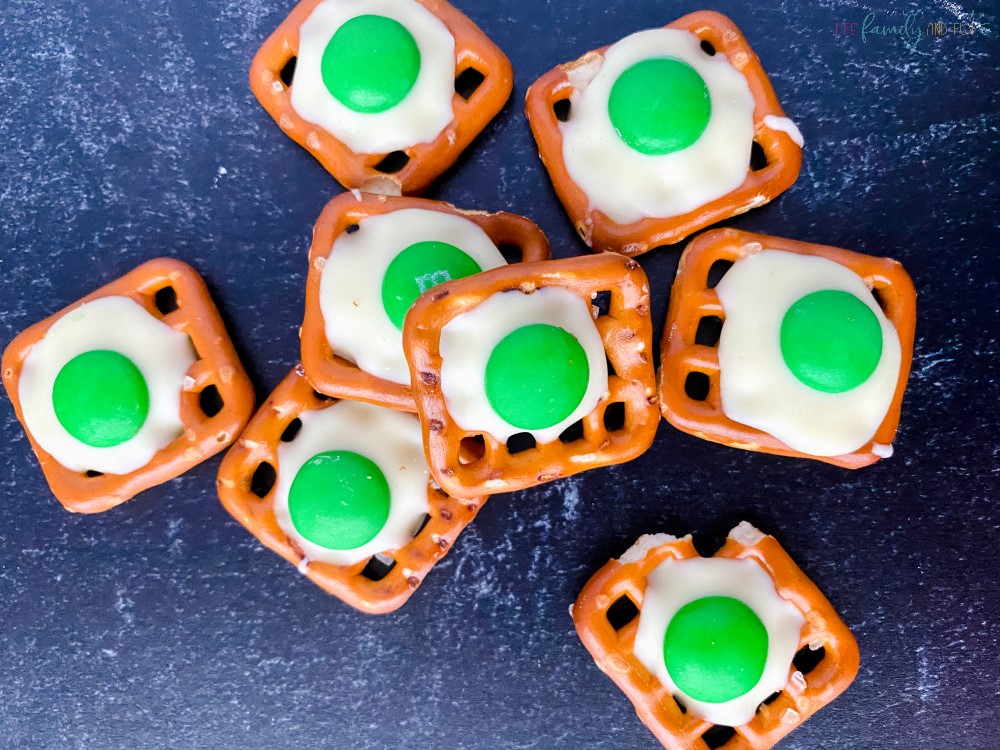
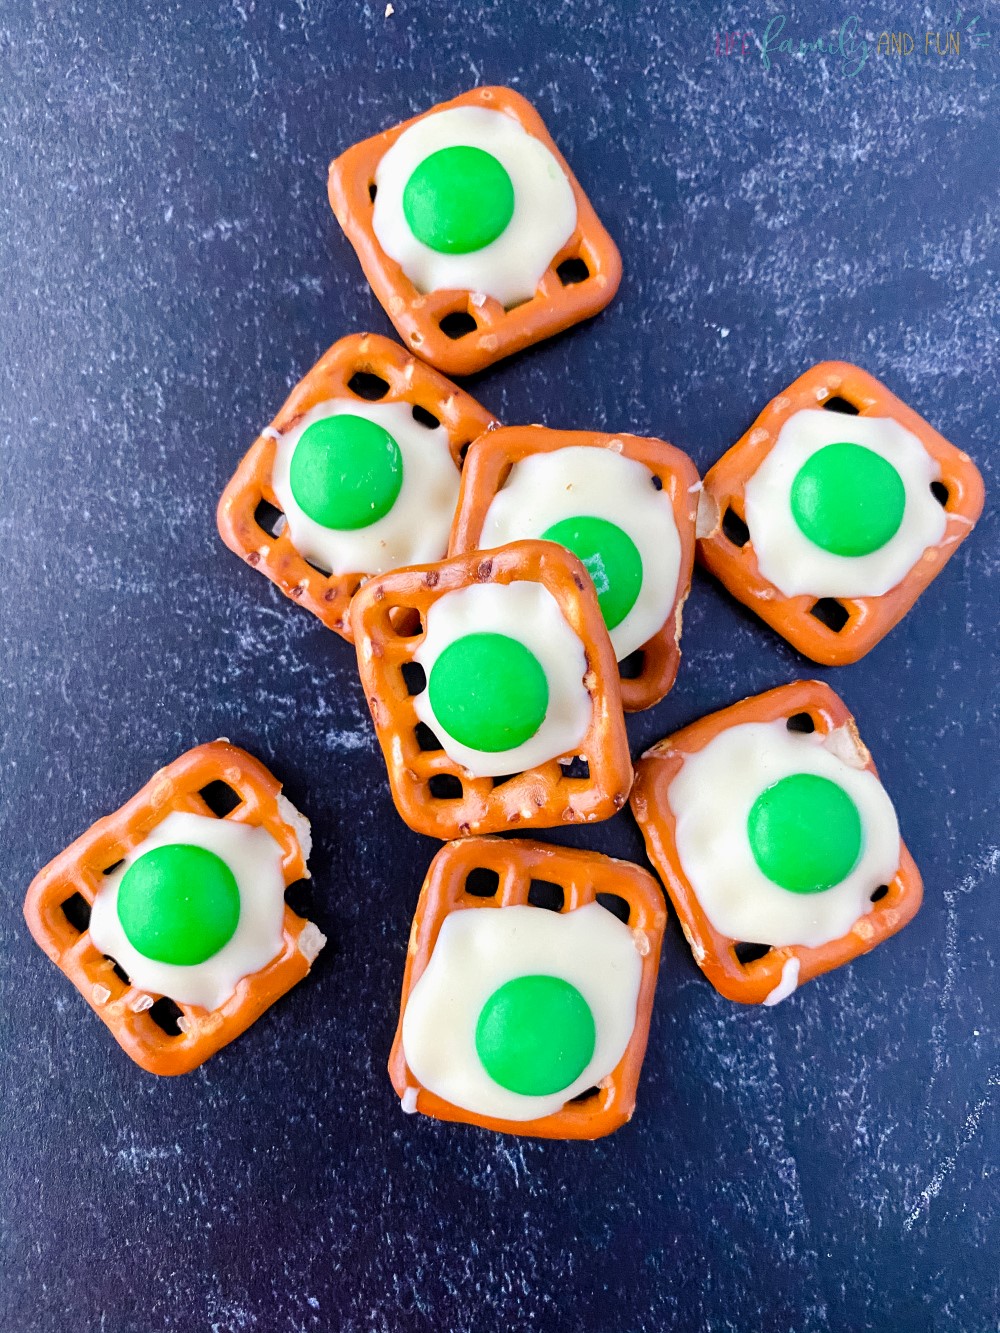
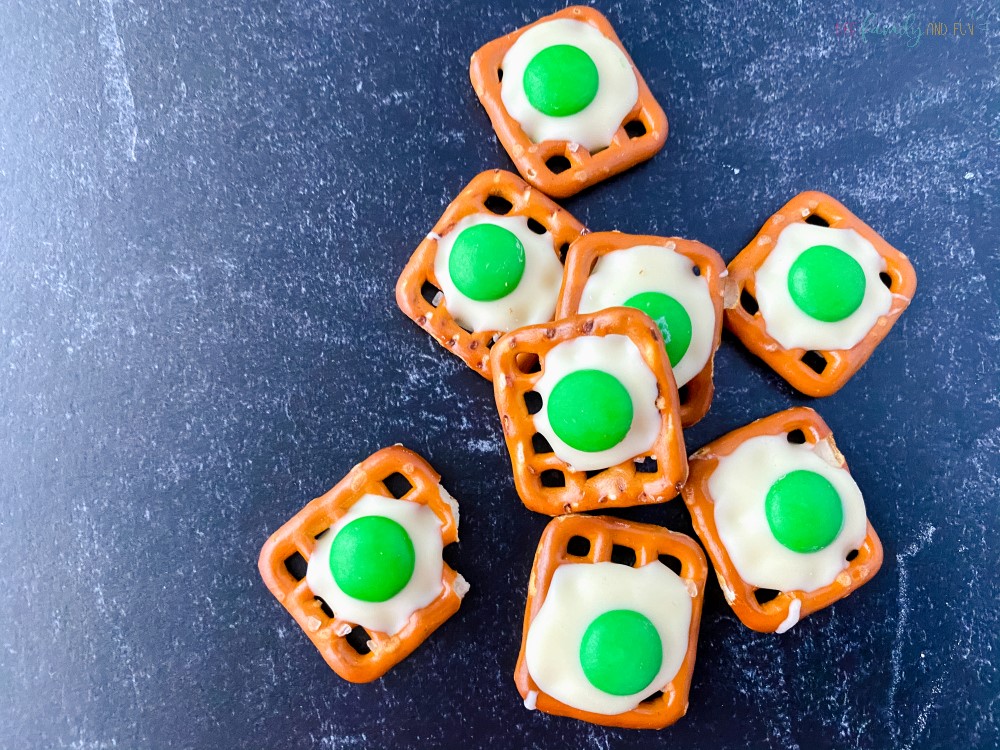
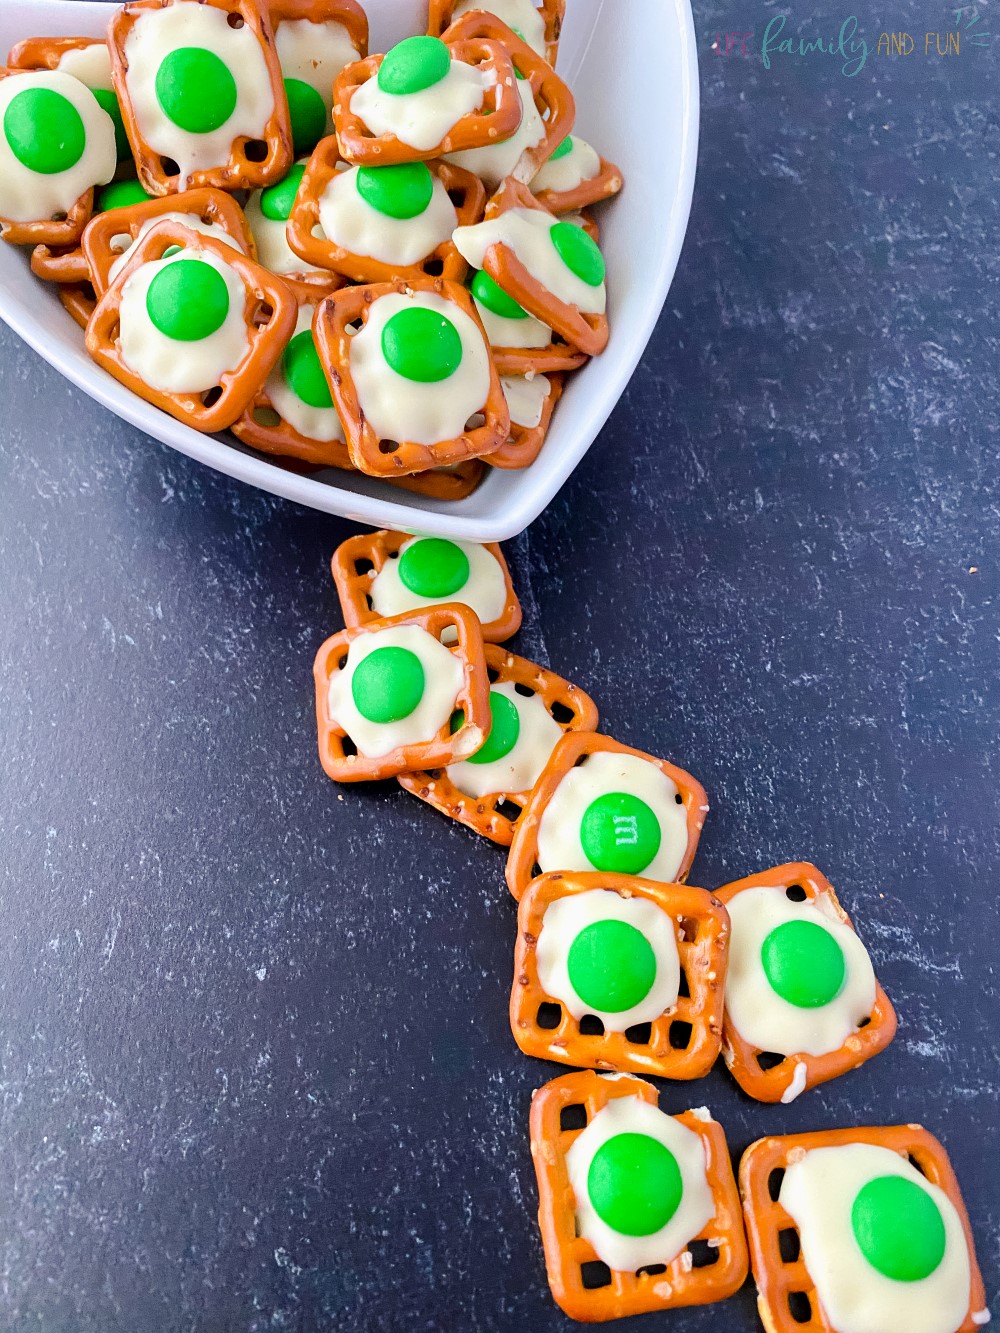
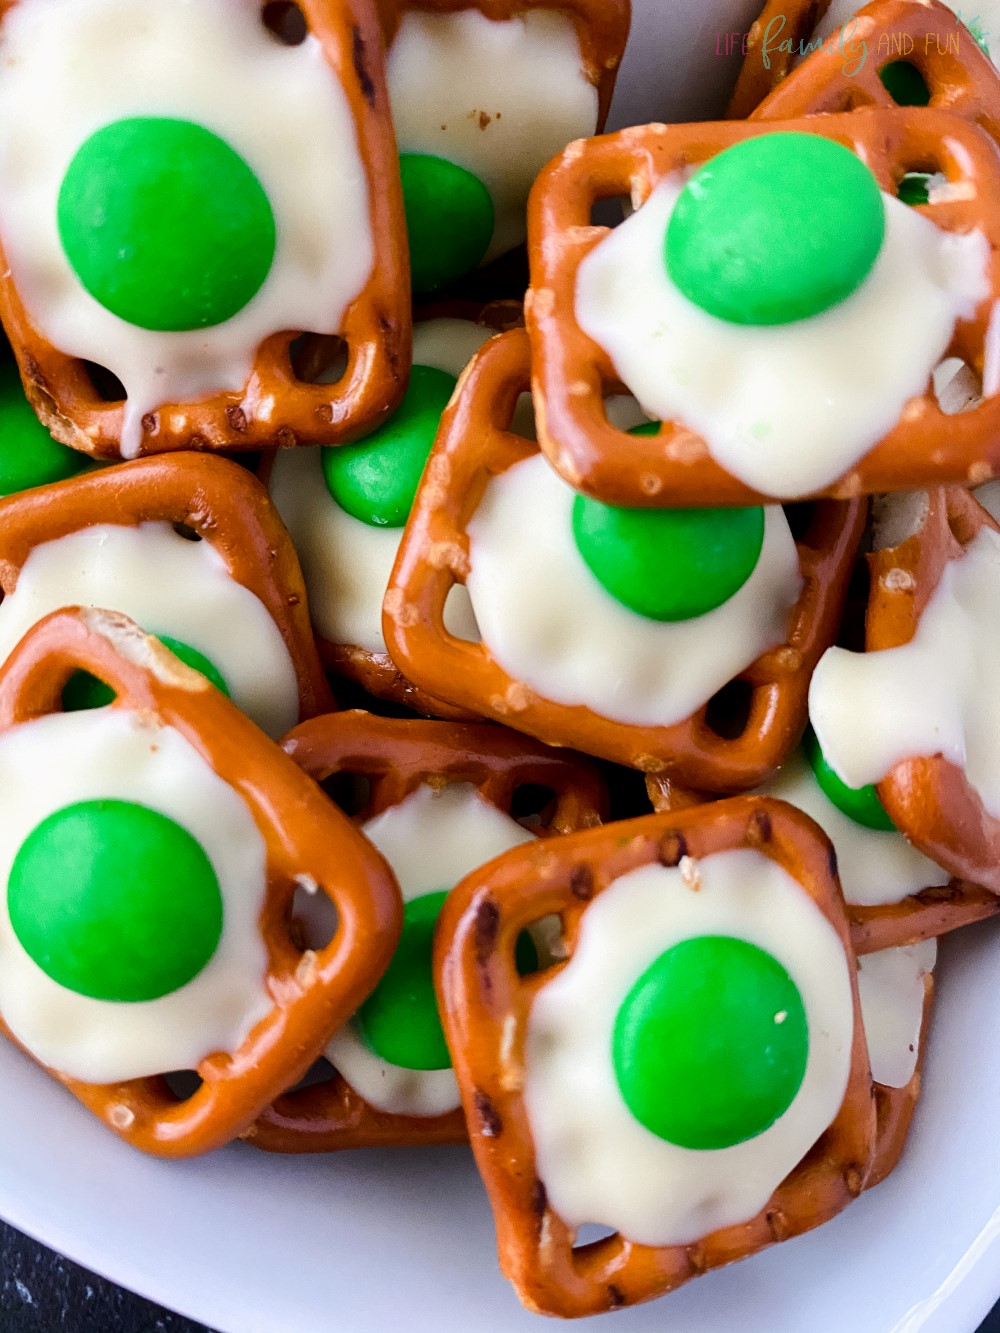
Squeeze a dollop of the white chocolate (once you have the right amount) into the center of the pretzel. Try not to hit the edges or it can smear everywhere, ruining the final visual.
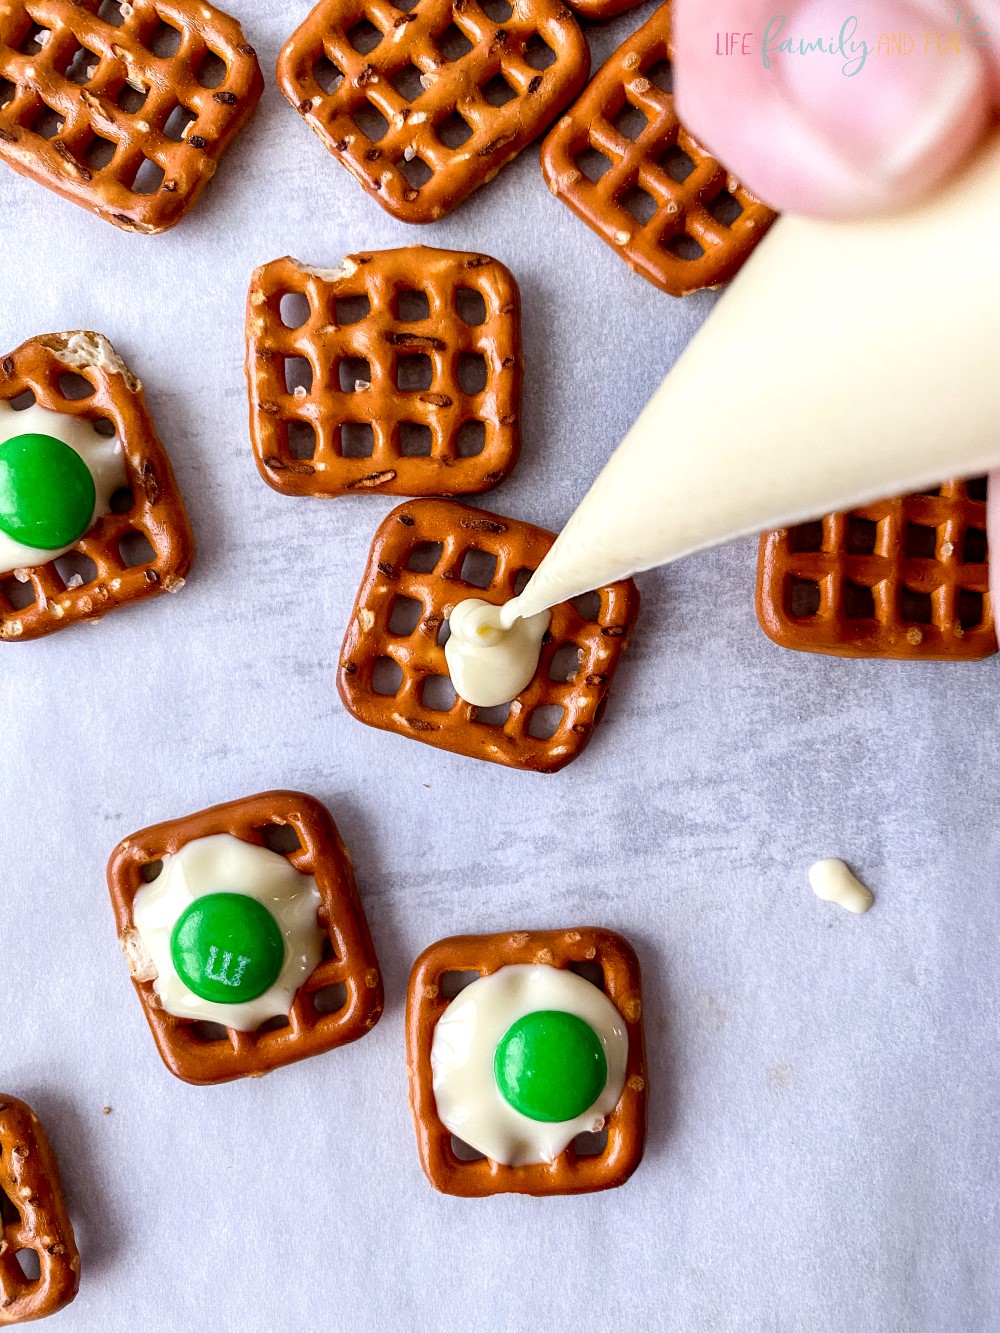
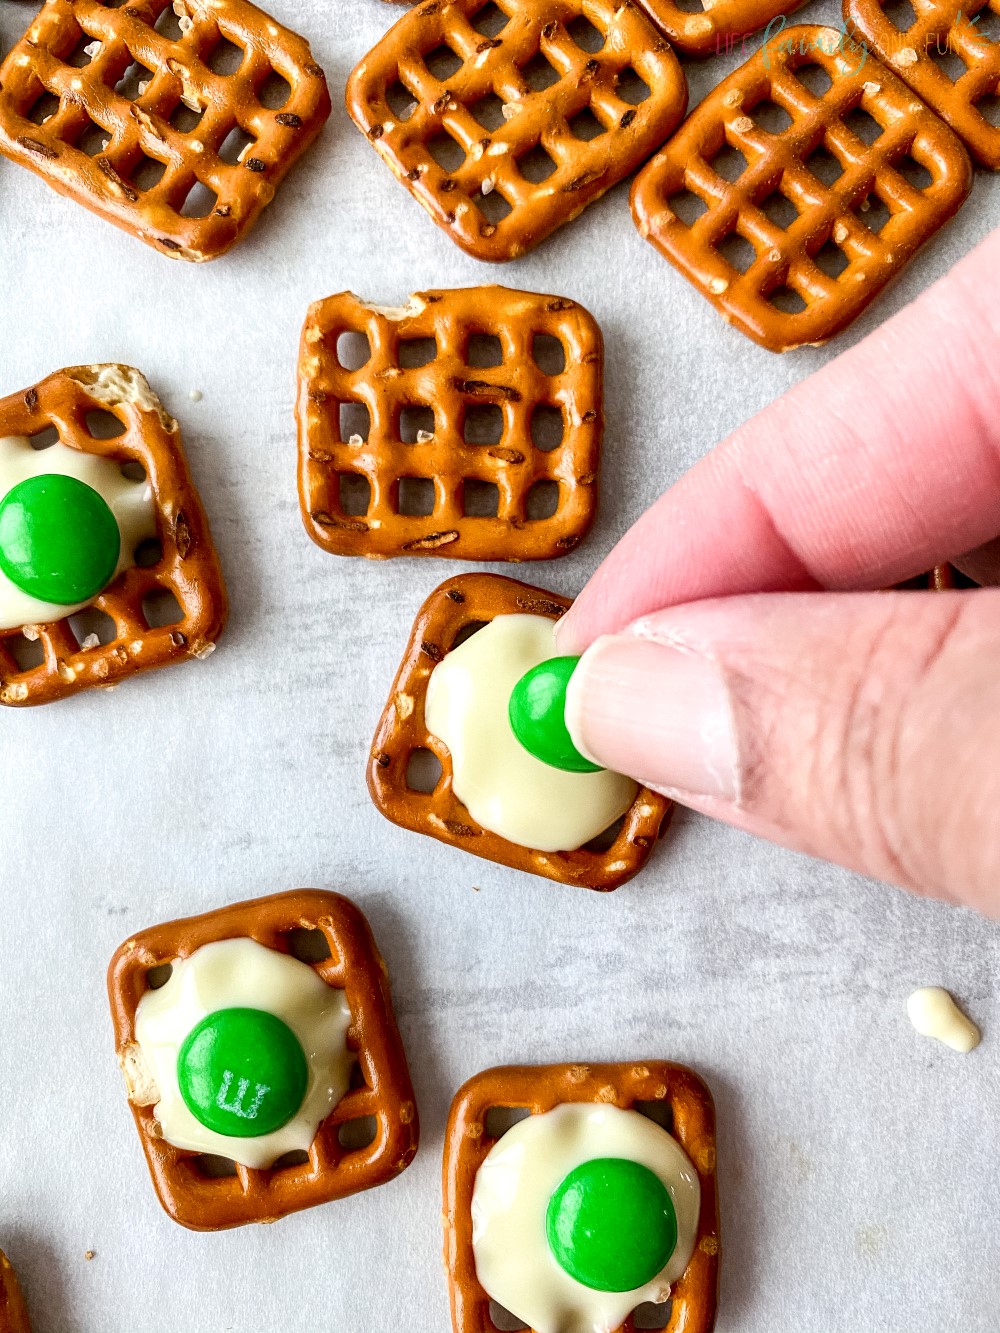
Step four: add green M&Ms
Place a green chocolate candy in the center of the white chocolate and allow it to settle into the melted chocolate. Careful not to move them while they cool and set, or you risk the M&M sliding off.
Step five: repeat
Repeat the process of squeezing melted chocolate out of the piping bag into the center of the pretzel and garnishing with a green chocolate candy until all the pretzels are done.
Step six: cool
Place them in the refrigerator on the baking sheet for approximately 30 minutes to set the chocolate and adhere the candy into place.
Remove from the cold, serve with a big glass of milk, and enjoy!
*You can even use these treats as a reward while reading your favorite Dr. Seuss book with your children. Give them a pretzel when they read the page without any errors (or something similar).