It’s not difficult to learn how to draw a pumpkin. This vegetable has a simple shape that anyone can learn to draw.
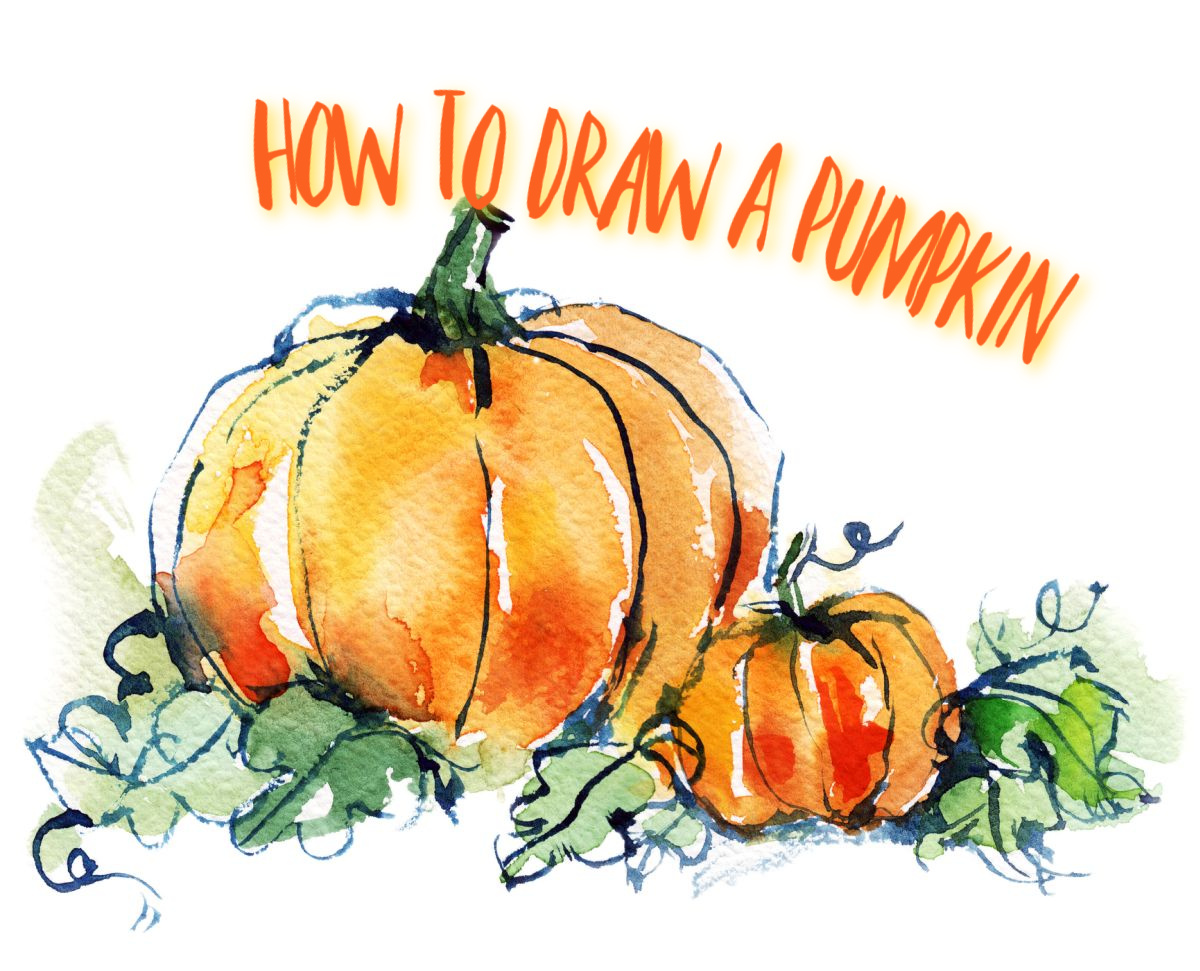
But unless you have the training, it’s not typical to know how to draw a pumpkin. Lucky for you, after a few tutorials, it should come naturally.
Types Of Pumpkins To Draw
- Simple line art pumpkin
- Cartoon pumpkin with a face
- Pumpkin patch
- Realistic pumpkin
- Jack-O-Lantern
- Warty Goblin pumpkin
- Scarecrow with a pumpkin head or the headless horseman
5 Tips For Drawing Pumpkins
- Start with an Oval
- Remember Depth in the Creases
- Use Color Variation
- Add Imperfections
- Decide How Fresh It Is
Easy Steps How To Draw A Pumpkin For Kids
Kids love to learn how to draw pumpkins in the autumn as Halloween approaches. They can draw pumpkins with a simple step-by-step guide.
Step 1: Draw a Center Oval
The first step to drawing a pumpkin is to draw an oval. The oval should be rounded rather than egg-shaped, almost like a circle that has been smashed from the top.
Step 2: Draw Humps on Both Sides
The next thing you should do is draw one hump coming from either side of the pumpkin. Make sure that the top and bottom connect but don’t go over the top of the center hump.
Step 3: Draw One More Hump on Both Sides
Now, draw another hump on each side of the humps you just drew. You should now see five humps, but you should only be able to see all of the center one.
Step 4: Draw a Stem
Draw a simple stem in the center. This should come out of the front section and curve slightly to the side.
Step 5: Draw the Last Humps Peeking Out the Back
Finally, draw small humps that appear behind the stem and connect to the rest of the pumpkin on top. Make this work of art your own by doing any finishing touches now.
How To Draw A Pumpkin: 10 Easy Drawing Projects
There are plenty of types of pumpkins you can draw. Each of these ten projects is unique and caters to different types of artists.
1. Simple Marker Pumpkin Tutorial
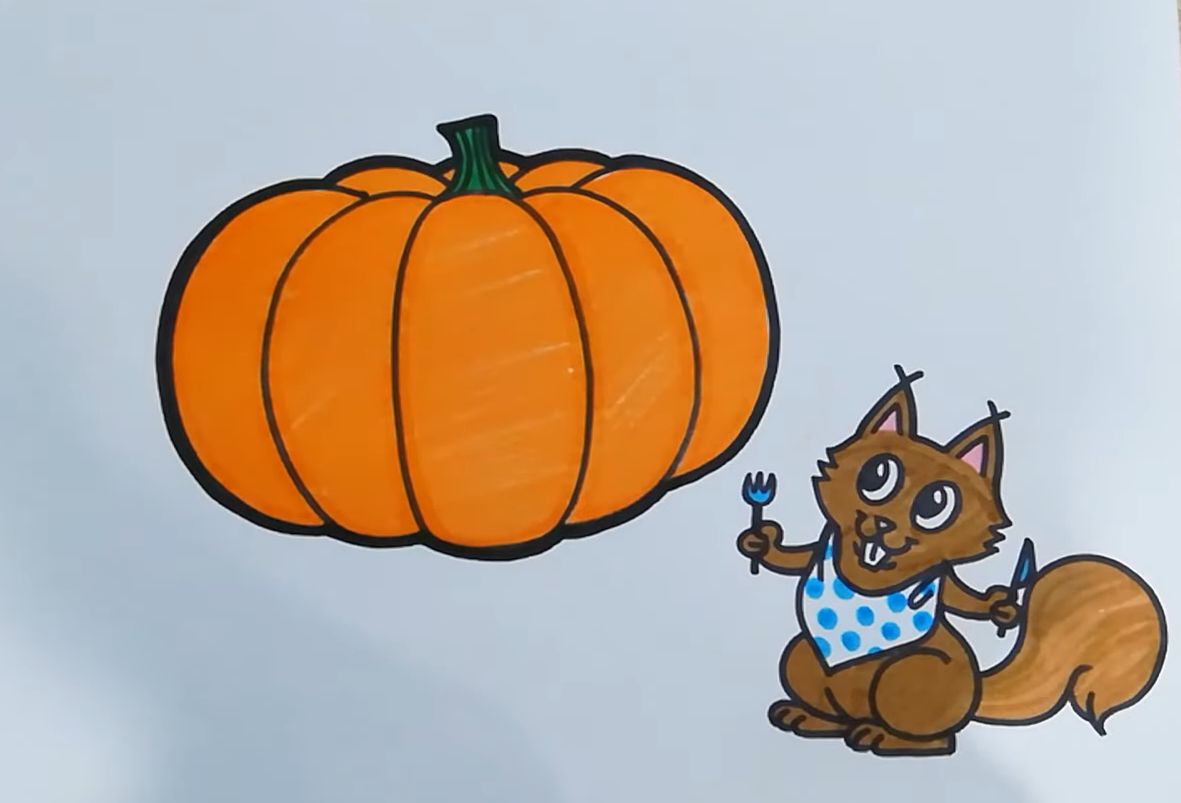
Markers are fun for kids to use and make for a vibrant finish. Fun Little Art has an easy-to-follow how-to-draw-a-pumpkin tutorial.
2. How to Draw a Pumpkin Emoji
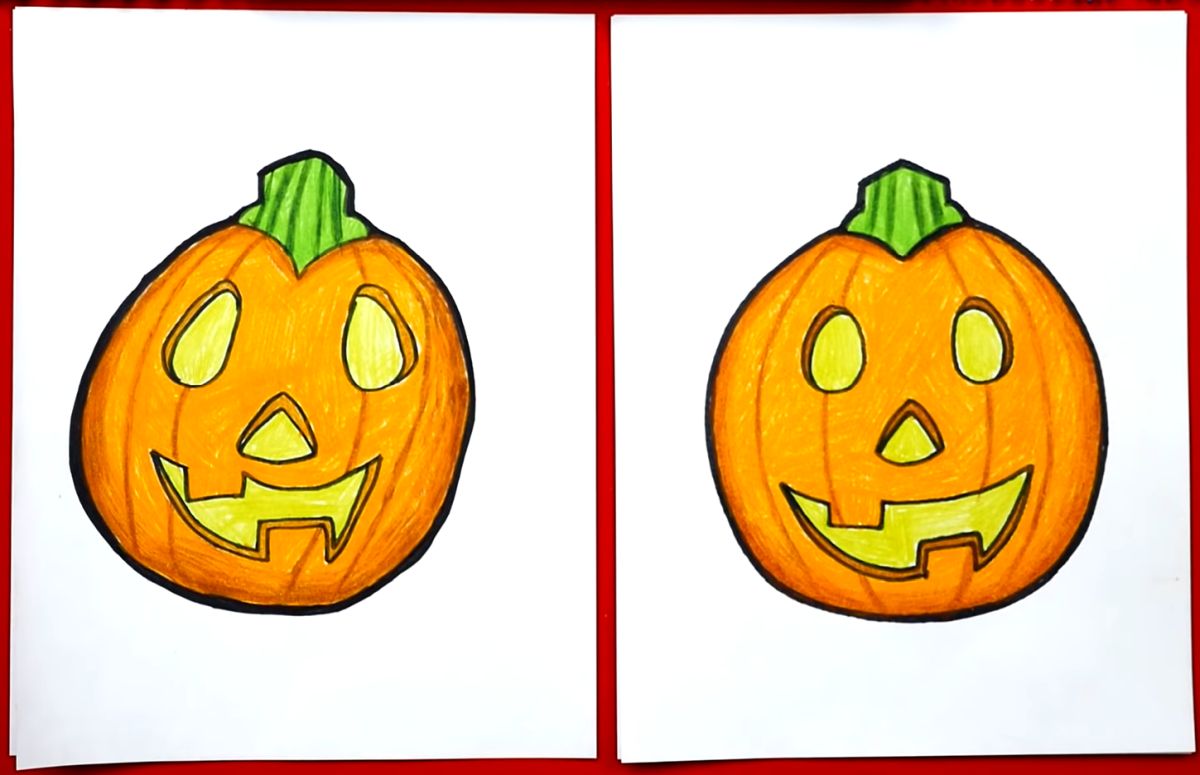
This is another tutorial that kids can follow. A pumpkin emoji tutorial by Art for Kids Hub can help anyone draw a pumpkin.
3. How to Draw a Surprise Big Mouth Pumpkin
Another gem by Art for Kids Hub is this big-mouth pumpkin. Pop-up books and jack and the boxes both have a similar feel.
4. How to Draw a Cute Pumpkin
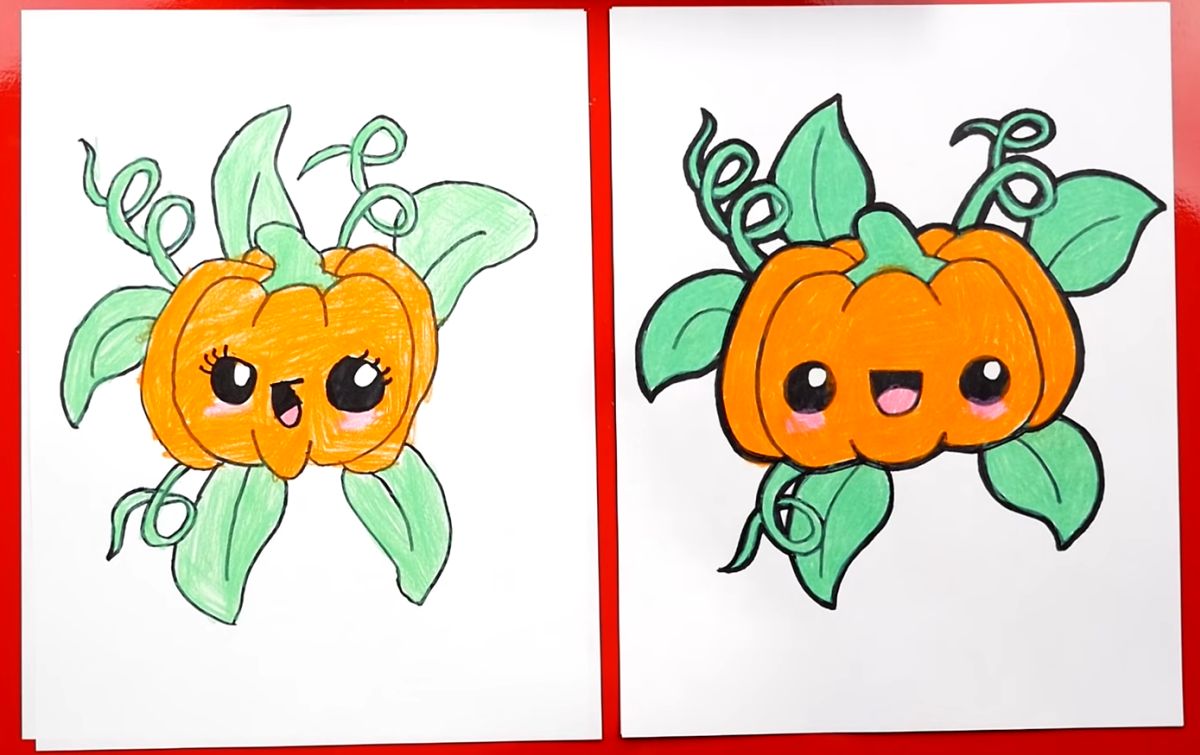
This cute pumpkin is our last tutorial by Art for Kids Hub. It’s a cute pumpkin that is lively and sweet.
5. How to Draw a Round Pumpkin
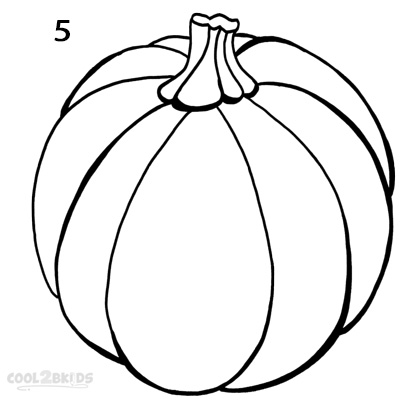
A round pumpkin is different from an oval pumpkin, but it’s just as cute. Cool2bKids has a wonderful how-to draw a round pumpkin tutorial.
6. How to Draw a Jack-O-Lantern Easy
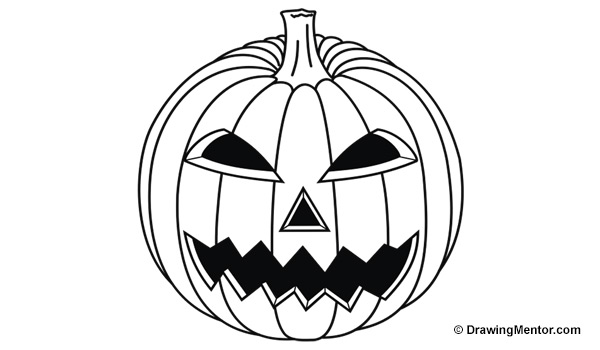
Jack-O-Lanterns can be tough to draw. But Drawing Mentor has an easy tutorial for a simple Jack-O-Lantern that would make for great Halloween decor.
7. How to Draw a Realistic Line Art Pumpkin
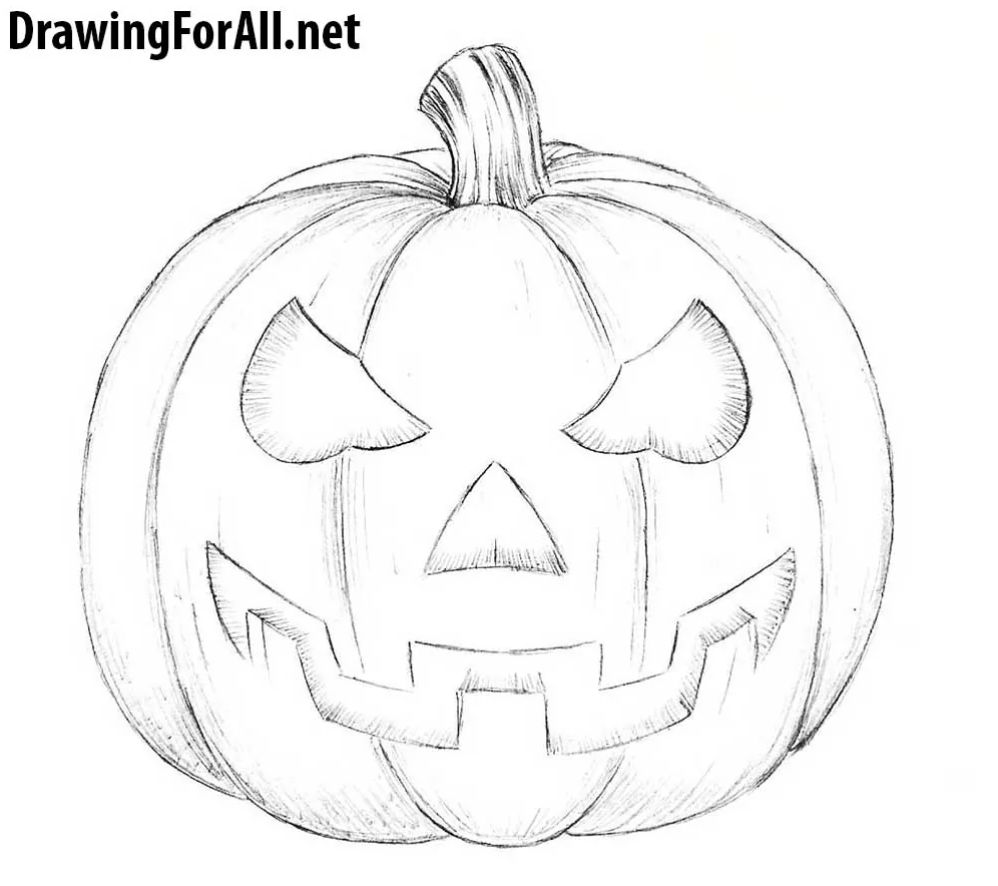
This tutorial is for intermediate artists that want a step up from kid tutorials. A line art pumpkin can be impressive if you follow Drawing For All’s method.
8. How to Draw a Realistic Jack-O-Lantern
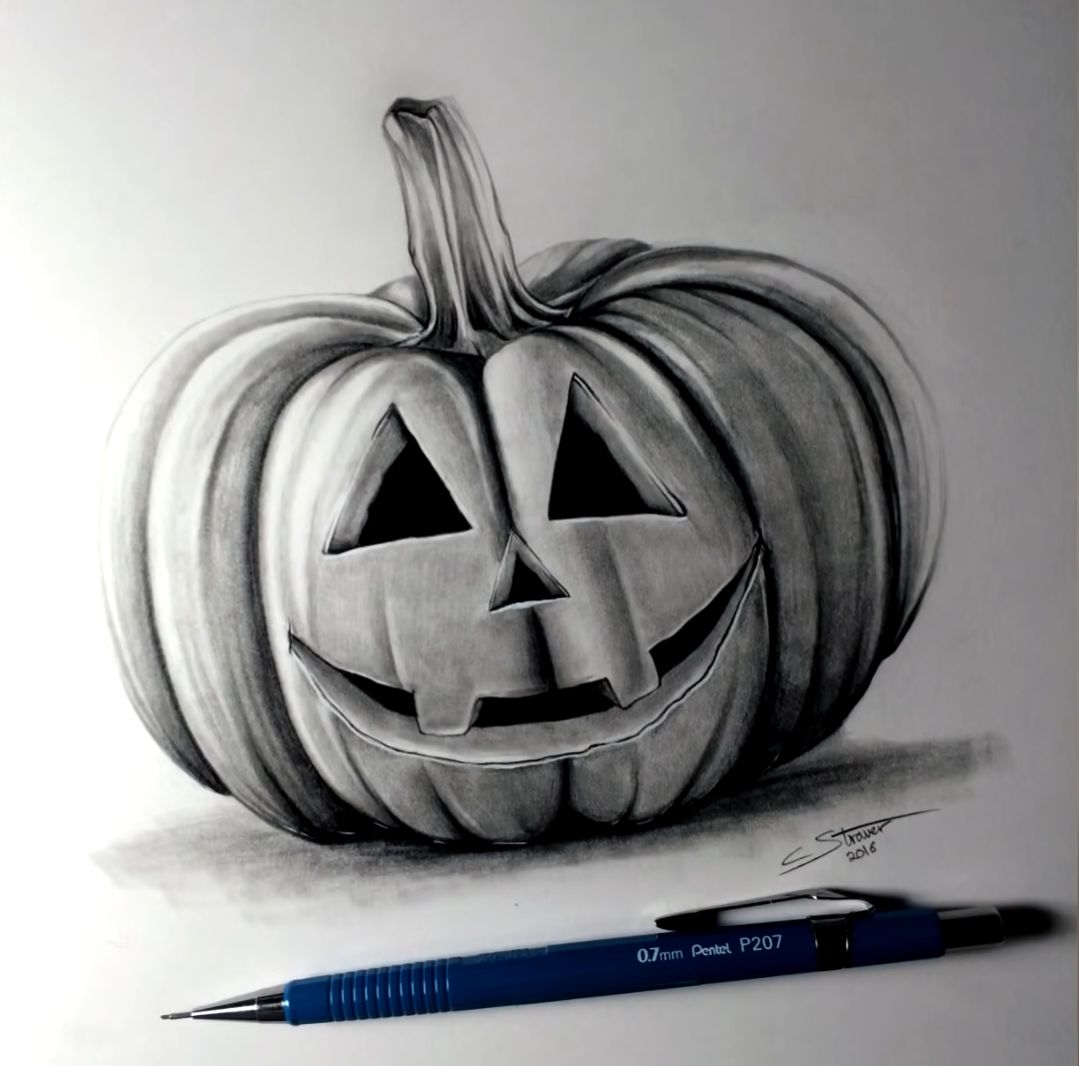
This Jack-O-Lantern tutorial is simple enough that beginners can follow, though they may have to pause it often. LethalChris Drawing is so talented.
9. How to Draw a Still Art Pumpkin
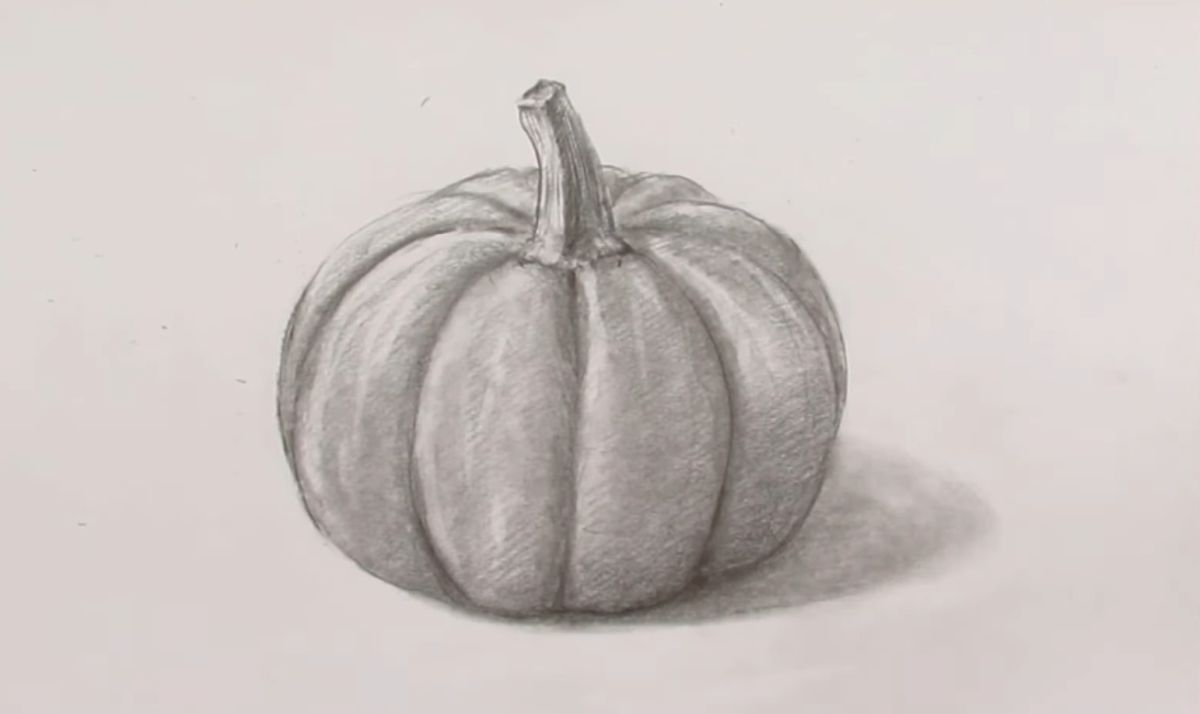
This still art pumpkin is gorgeous but looks harder to draw than it is. Learn to draw it via EloMelo Drawing.
10. How to Draw a Realistic Pumpkin in Color
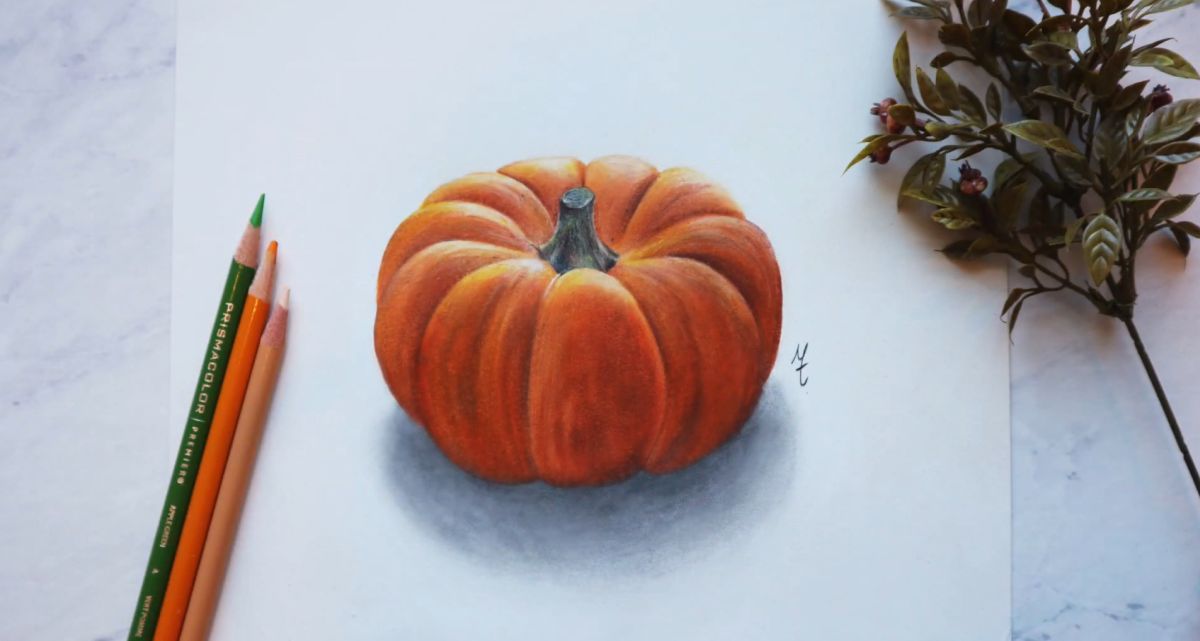
If you want to step up your game, this pumpkin looks like you could slice it up on paper. FromASteadHand has a tutorial that intermediate artists may be able to follow.
How To Draw A Realistic Pumpkin Step-By-Step
A realistic pumpkin is the most difficult yet most impressive to draw. Anyone can learn to draw a realistic pumpkin with a few simple steps.
Gather Supplies
- Paper
- Blending stump
- 2B pencil
- 4B pencil
- 6B pencil
Step 1: Draw an Oval
The first thing you should do is draw an oval. This is true for most types of pumpkin drawings. This time, it should be faint because you’ll shape it soon.
Step 2: Add Stem and Ridges
Now you can add the spot where the step will be and the top of the step so that it begins to look 3D. From here, you add the ridges around the pumpkin using the stem as a starting point.
Step 3: Create Light
Now, before you begin shading, decide where the light should be coming from. Make a shadow line on the opposite side and lines on the pumpkin where shadows will be.
Step 3: Start Shading
Start shading by making curve lines that follow the curve of the pumpkin. At this point, only use a 2B pencil to get the shading started.
Step 4: Deep Shading
Use a 2B pencil for the side with the light, a 4B in the middle, and a 6B only in the areas that don’t get any light.
Step 5: Bring It To Life
Use a blending tool to carefully blend out the shadows and deepen the pumpkin grooves with a 4B pencil. From here, you can start to give the pumpkin personality with your own methods.
How To Draw A Cute Pumpkin
The best way to draw a cute pumpkin is to make it plump and colorful. If you add a face, make sure it’s childlike and not scary.
Step 1: Draw an Oval
The first step is always the same. Draw an oval to give you the base shape of the pumpkin. Make sure it’s almost round since this is a cute pumpkin.
Step 2: Add a Stem
Add a very curved stem for extra cuteness, and make sure you add the end so that it looks 3D. You can add leaves for a splash of personality.
Step 3: Add Humps
There should be no more than five ridges/humps on a cute pumpkin. The more ridges, the less cute it looks, so keep it somewhere between three and five.
Step 4: Add Character
Now is the fun part. Add vines, a happy face, and even a cracked area to give the cute pumpkin character.
How To Draw A Pumpkin Face
Pumpkin faces are fun to carve out on real pumpkins. But you can have a lot of fun drawing different faces on the pumpkins too.
Face Ideas
- Scary face – sharp teeth and dark eyes
- Chibi face – bright eyes and tiny nose
- Baby face – with a bow and pacifier
- Silly face – tongue sticking out and eyes rolled back
- Realistic (human) face – this is an extra scary way to draw a pumpkin.
Step 1: Draw Outline
The first step in drawing a pumpkin face is to outline it. So draw a faint outline of the mouth, nose, and eyes.
Step 2: Mark Other Details
Next, you should mark any other details so you won’t cover them up. This can be teeth, bows, or tongues.
Step 3: Fill In Empty Spots
Now, fill in the spots you didn’t mark for later with black. This will give you the classic Jack-O-Lantern look.
Step 4: Add Details
Refine the details that you marked earlier. If you outlined a bow, then add the knot and folds now.
Step 5: Add Color (Optional)
Finally, add color anywhere you like. It’s a good idea to keep the base features black and only add color to the personalized additions you make.
How to Draw a Pumpkin FAQ
Are Pumpkins Hard To Draw?
Most pumpkins are easy to draw, but their difficulty depends on the type of art you are using. Simple line art pumpkins are easy, but realistic colored pumpkins are hard to draw.
What Do Pumpkins Symbolize In Art?
Pumpkins were once used to scare away evil spirits that would affect their growth. Thus, they became a symbol of prosperity.
Why Would You Need A Pumpkin Drawing?
You may need to draw a pumpkin for a class or because it’s autumn and you want to decorate with the art.
How to Draw a Pumpkin Conclusion
If you can learn how to draw a pumpkin, you can learn how to draw anything. While a pumpkin isn’t the easiest food to draw, it’s not a hard art project.
If you don’t know what to do after you draw the pumpkin, save it for Halloween and hang them all over the house. You can even cut them out to make them feature pieces all over the walls.
If you want to make things more interesting, color your pumpkin. It doesn’t have to be orange; it can be any color. Art is all about expression, so express yourself.
