When you’re drawing a character, realistic portrait, or a cartoon, without a doubt the face is the most important part to convey emotions, however, when it comes to the body language knowing how to draw hands becomes a critical skill to make sure the viewers understand what the character is trying to say through its body language.

Drawing hands can be tricky since it usually involves a bit of movement, or extra attention to detail when they are in a resting position. Continuing reading for some great tips on drawing hands, regardless of your skill level.
Tips for How to Draw Hands
Drawing hands is much easier when you have a few tips and tricks to keep in mind, and the more you utilize these tips, the easier it becomes to incorporate them into your art.
- Use your own hands as a model. Since you’re already drawing with your hands, you might as well give them a go at being your own live hand model. If you’re worried about how lines would look or if they need to be drawn in, have a look at your own to set you on the right track.
- Work from largest to smallest. When starting to draw the basic guide shapes, it’s easier to start by drawing the largest shapes first, then moving on to the smaller shapes. So start from the palm and wrist section, then go on to the fingers and nails.
- Use cylindrical segments. The fingers can start off as basic cylinder segments, so you can establish the position and angles first, before moving on to adding the final curves and details.
- Use light logic on basic shapes. It is far easier to start off your hand drawings using basic shapes and creating some light and shadows on predictable basic shapes than on organic shapes like the hand.
Supplies You Need for How to Draw Hands
Learning how to draw hands is one section of the project you need to know, the supplies are just as important as the drawing itself.
Using high-quality products produces high-quality pieces, however, when you’re practicing, you may skimp on the quality until you are ready for your final piece.
- Paper or media to draw on.
- Pencil or pens to draw with.
- A reference photo or model.
- Eraser if you’re using a pencil
- A clean flat surface or easel with a backing board.
When Would You Draw Hands
When drawing any character in any style, it is essential that you draw hands to complete the body of the character. Hands and arms are one of the greatest indicators when you’re trying to have your character convey a certain body language or pose.
Best Uses for a Drawing of Hands
Other than completing your characters, there are some great instances if you’re just drawing hands.
- Single line hand art pieces
- ASL or gestures on a birthday or holiday card
- Sticker designs
- Tattoo designs
- Clothing or accessories’ emblems
- Digital art to gift or display
Common Mistakes When Drawing Hands
Learning how to draw hands can be easy if you know what common mistakes to avoid. Once you know what they are, you won’t make as many mistakes.
- Uneven or too even finger length. You have to remember that fingers aren’t all the same length, but on some angles, they might look even, study models in different positions and from different angles to understand your subject better.
- Harsh shading. When you draw hands, keep in mind that your brain overemphasizes the shading requirements, it’s best to start very light and gradually shade lines darker, never go in for full black shading unless everything else is shaded and you’re positive it needs to be that dark.
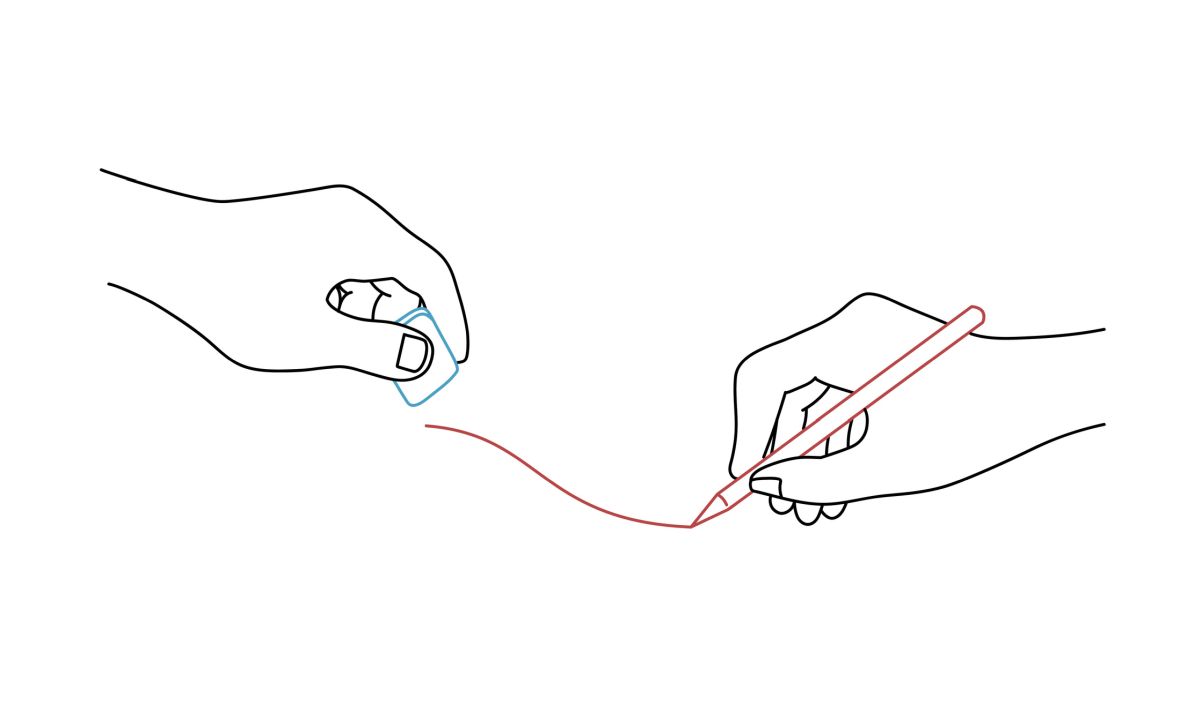
- Erasing too much. If you are using pencils, start light and draw light guidelines to minimize the need to erase a lot and avoid having to erase too many mistakes. Erasing one spot a lot makes your drawing look muddy. If you struggle with one piece of the hand, test the same piece on scrap paper before returning to your final work.
- Not using guidelines. If you sketch your guidelines out before you start your drawing, you can ensure the proportions are correct and the general shape makes sense. Not doing this may result in a beautiful drawing that is awfully disproportionate.
Easy Steps How to Draw Hands
Step 1 – Drawing The Bones
You’re going to roughly, and lightly sketch out the bones in the hand. Don’t worry too much about the bones in the palm and wrist.
But the basic idea of the fingers, how the bones are when the fingers are bent, and the orientation in the chosen pose is critical to getting your hand drawing anatomically correct.
Step 2 – Marking The Knuckles
Once you have the basic shape of your bones in the hands, you need to mark out where the knuckles will be. This will allow you to further ensure the proportions of each joint will be correct and make logical sense.
Keep a model close by or use your other hand if you need some in-person reference.
Step 3 – Shape Your Fingers
This is the first step where you will be drawing in a bit more 3 dimensional, choosing cylinders or rectangular prisms to mark out the shape of where the fingers will be will allow you to be one step closer to seeing the end result.
These shapes also help your brain see the light and shadow on shapes that you’re used to.
Step 4 – Draw The Organic Lines Darker
By using your 3-dimensional shapes as a guide, you can now draw the organic lines of the hands and fingers. This isn’t the details yet, but the contours of the hands.
Draw softer lines around the geometric shapes you had before and the hands will start to take some realistic shapes.
Step 5 – Add Shading And Details
Now you can add the fine lines you find on your knuckles, the contours of the nails, and any other markings you’d like to add. Add some shadows by using the geometric shapes as a logic guide for your brain to follow
Step 6 – Erase All Guidelines
If they were not removed by shading or detail, gently erase guidelines drawn from the first few steps. If you need to touch up details and shading.
Lay down the final markings of your drawing or seal it in with ink if you are using ink pens for the final product.
15 How to Draw Hands: EASY Drawing Projects
1. How to Draw Hands Holding Hands
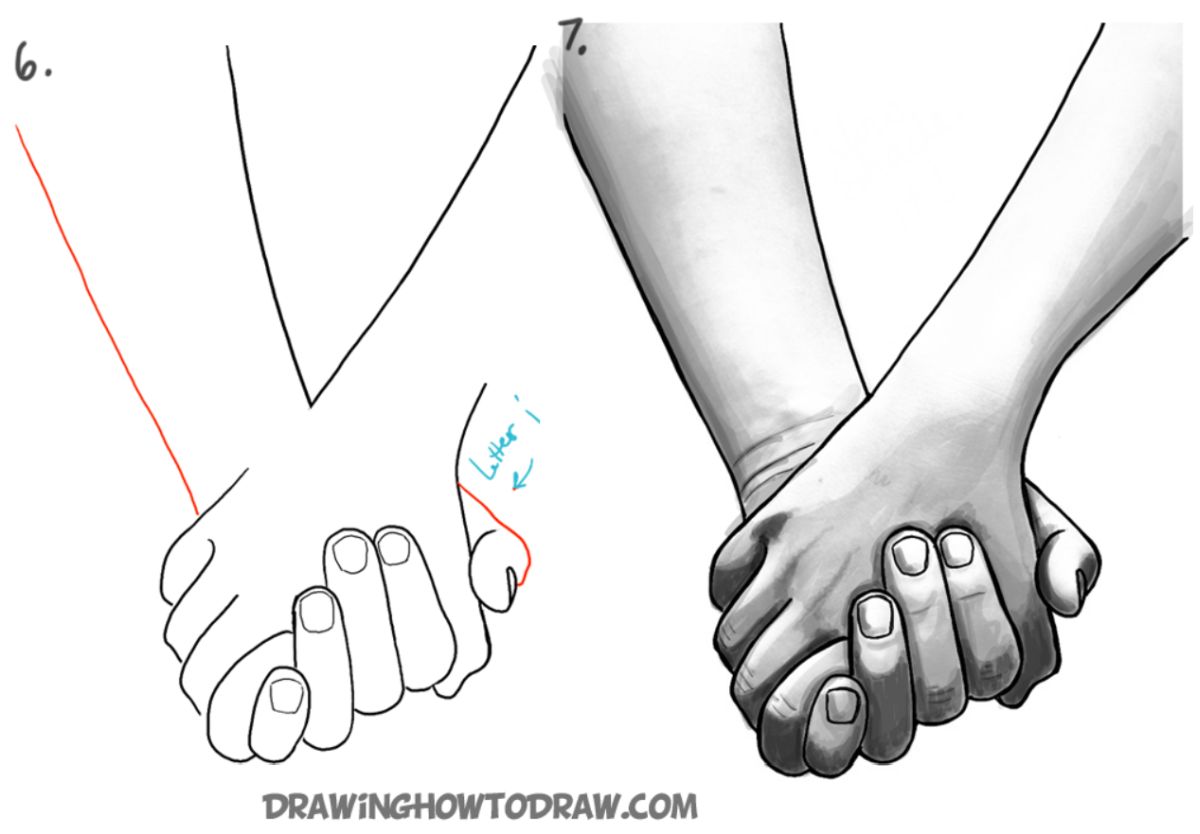
Drawing one hand is a tricky enough task, but drawing two might seem daunting. The authors over at DrawingHowToDraw.com shows you in a few easy steps, including a video to help you on your way.
2. How to Draw Cartoon Hands
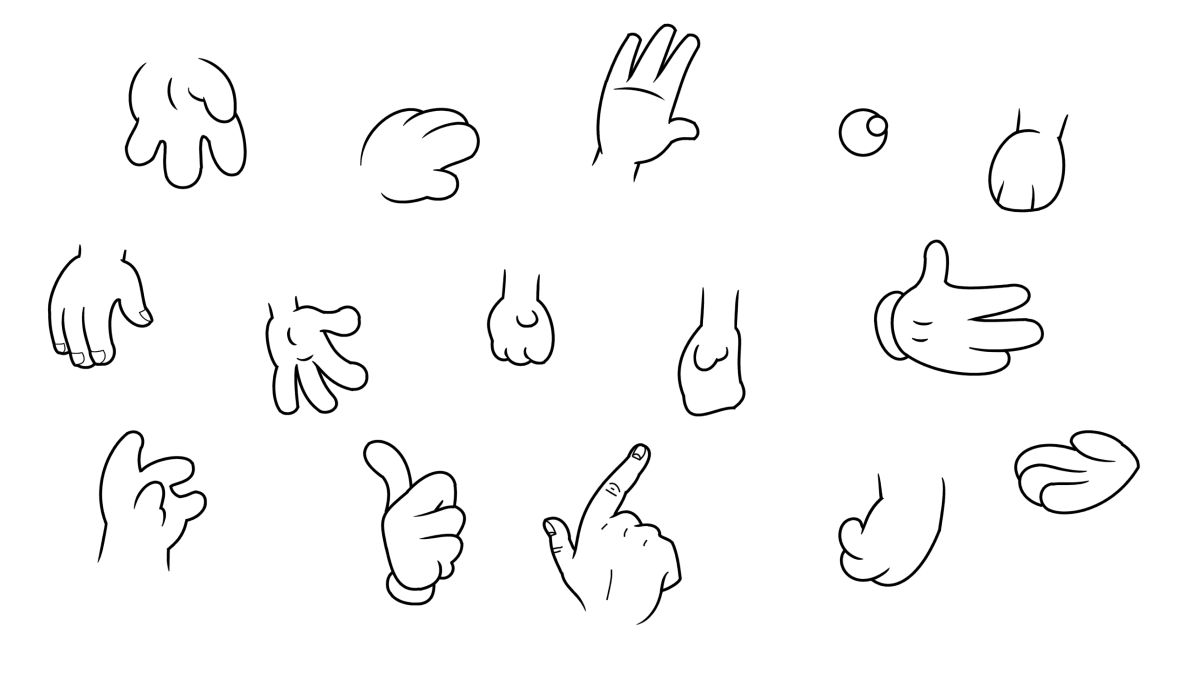
Cartoon hands often only have 4 fingers on the hands, which is difficult to imagine since you’re probably used to your own 5 fingers. Jamie Sale has a few tricks ready for you to make it easier to draw cartoon hands.
3. How to Draw Hands For Fashion Drawings
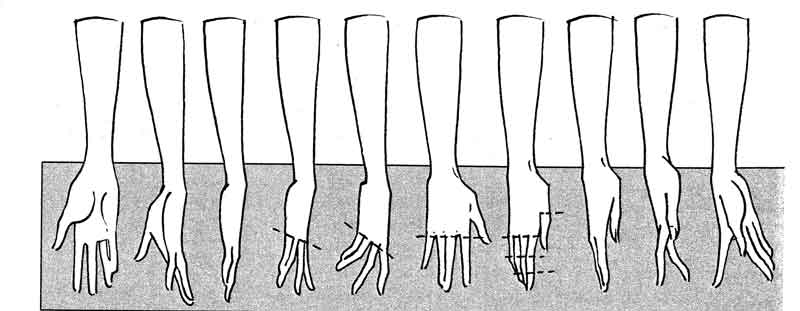
There is a very unique style to hands in fashion drawings, they are often softly hanging on the sides of the model’s body and Sarvin Style has the perfect step-by-step guide to help you master fashion hands.
4. How to Draw Hands Holding Something
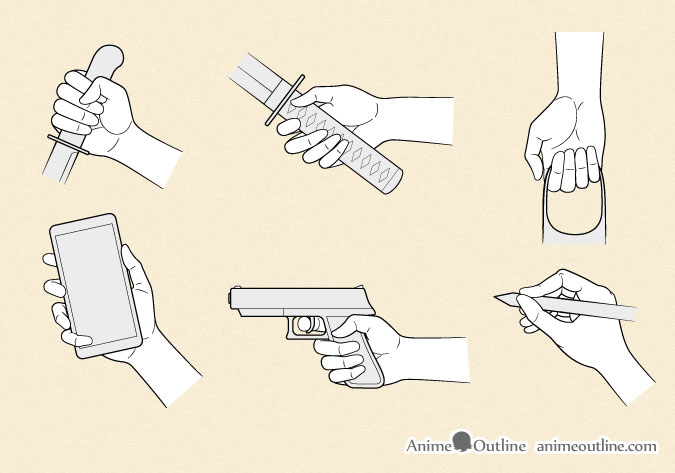
Although this style is meant to represent anime-style drawings, the guide by Anime Outline is extremely helpful in showing you the logic behind drawing hands holding something
5. How to Draw Hands For Kids
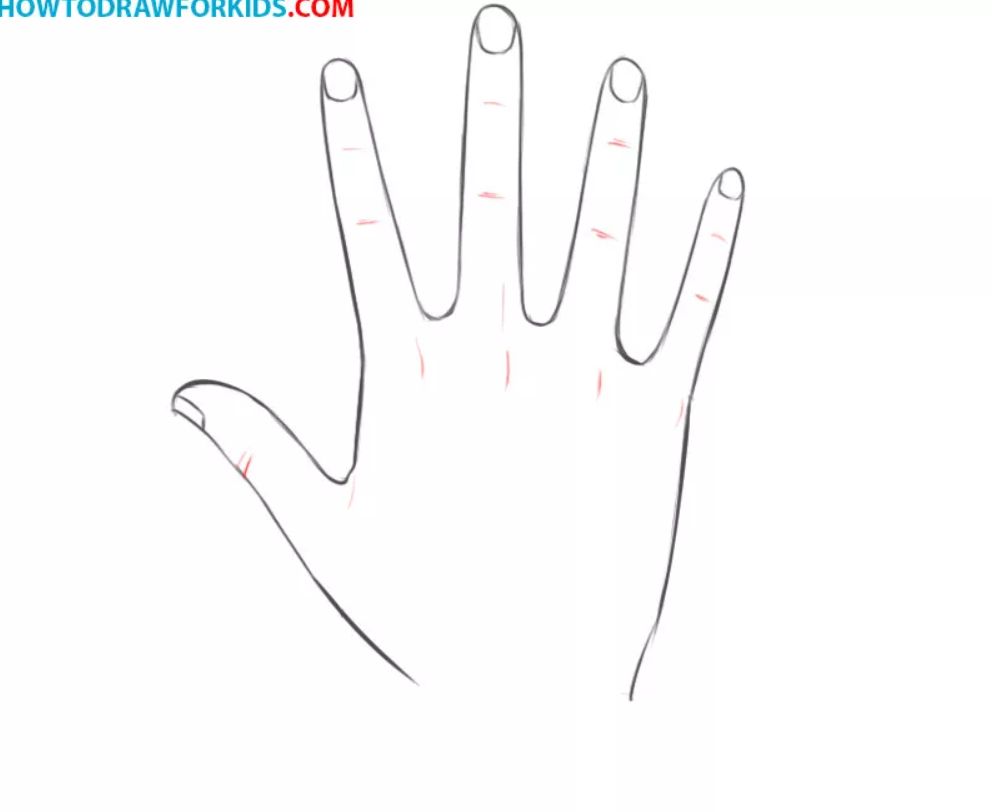
These step-by-step instructions by How to Draw For Kids on how to draw hands are meant for kids, or individuals starting out on their drawing journey.
It is not described in a lot of detail but is meant as a visual guide to allow anyone to follow along.
6. Drawing Hands Making A Heart-Shaped Gesture
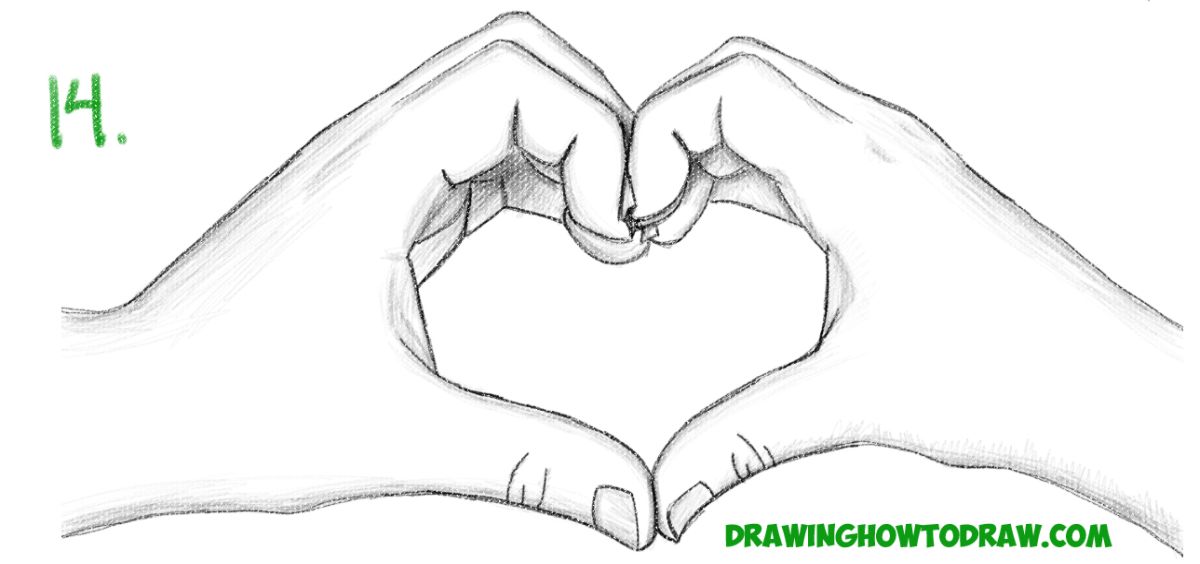
The classic gesture of two hands making a heart-shaped gesture is one of the more difficult gestures to draw, however, DrawingHowToDraw.com shows you how to get it just right.
This is especially helpful since you can’t draw at all if you’re using your own hands to model this gesture.
7. How to Draw Hands on Hips
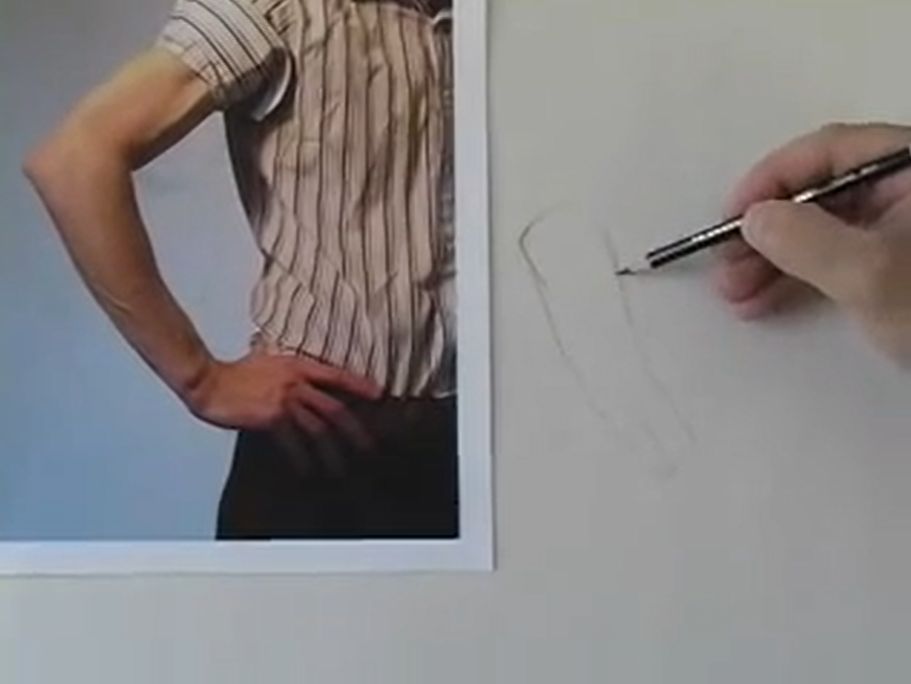
Wonder How To has a complete tutorial on how to draw hands resting on hips. A drawing project like this is especially good to learn since most of the palm is usually hidden.
The palms being hidden leaves you with little guidance on where the fingers should go.
8. How to Draw Hands in a Closed Fist
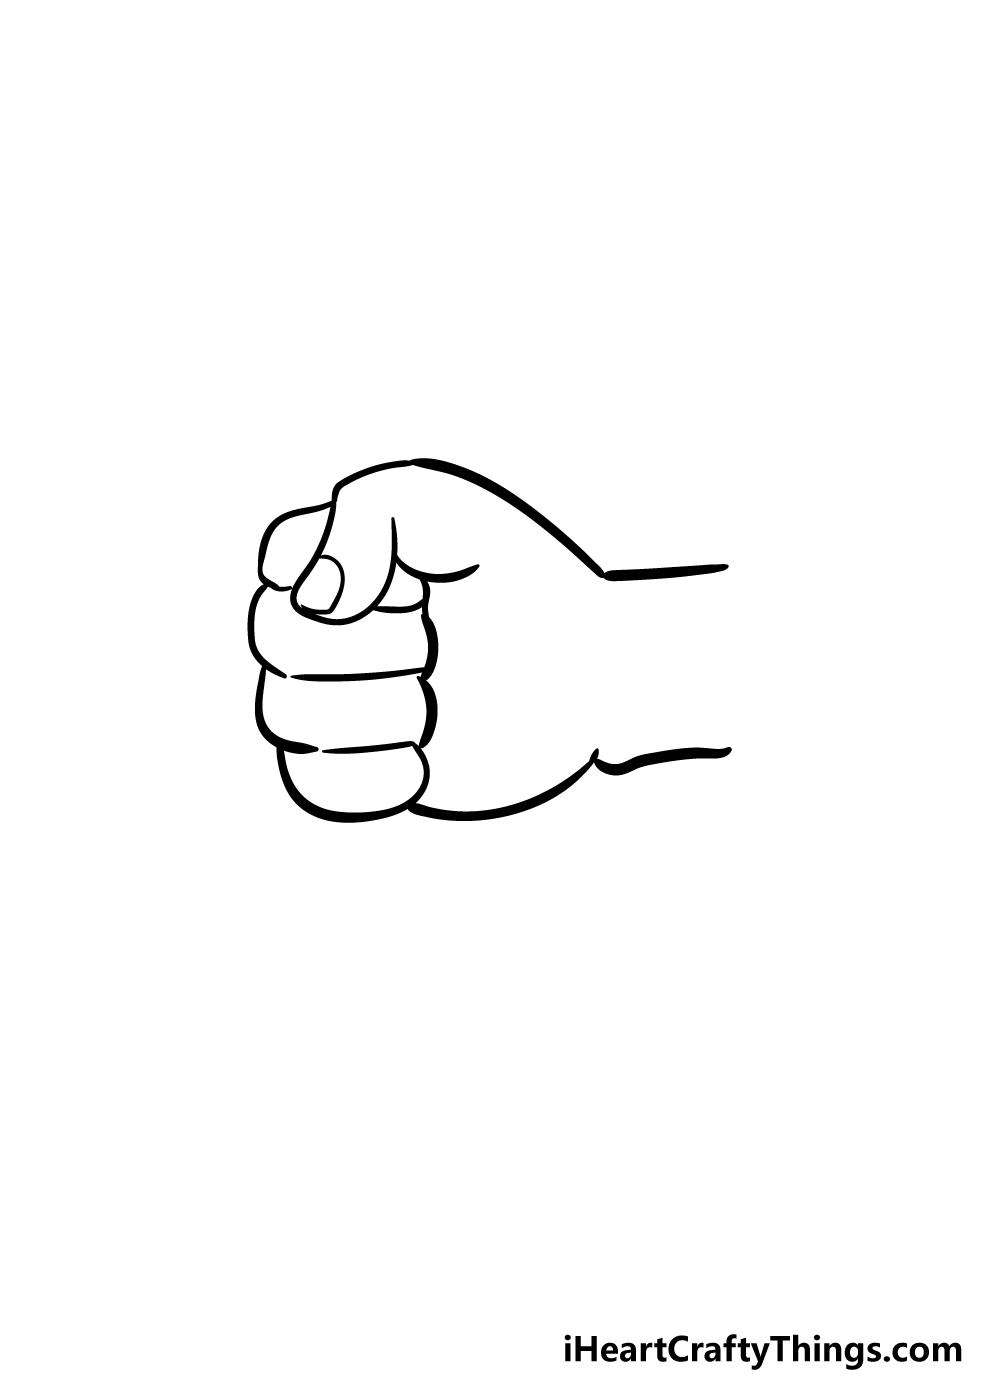
Hands that are in a closed fist might be confusing at first since the palm is not easily visible and the fingers are bent completely. The guide by I Heart Crafty Things shows you how to draw a closed fist with ease.
9. How to Draw a Robotic Hand
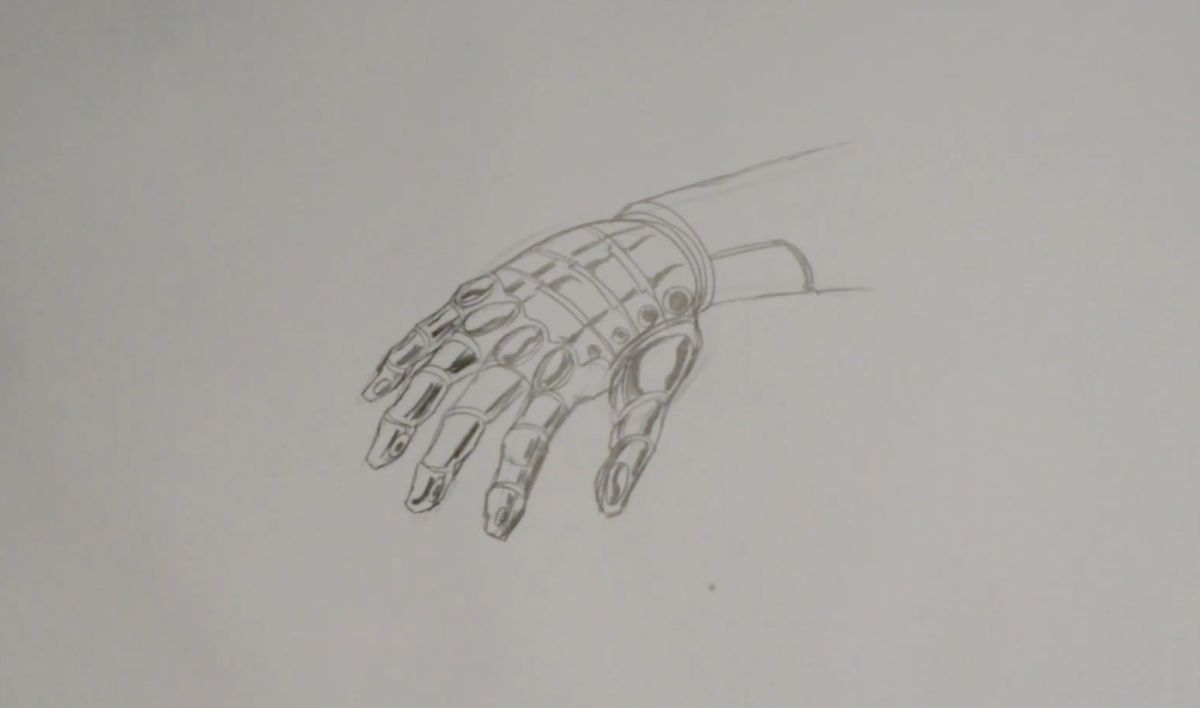
Once you are comfortable with the human hand, why not try your hand at a robotic hand. There are much harsher lines which might be easier if you don’t like the organic lines human hands need to be drawn in.
Intrigue Me has a great step-by-step guide to show you how to get a cool-looking drawing in a few minutes.
10. How to Draw a Hand Using One Line
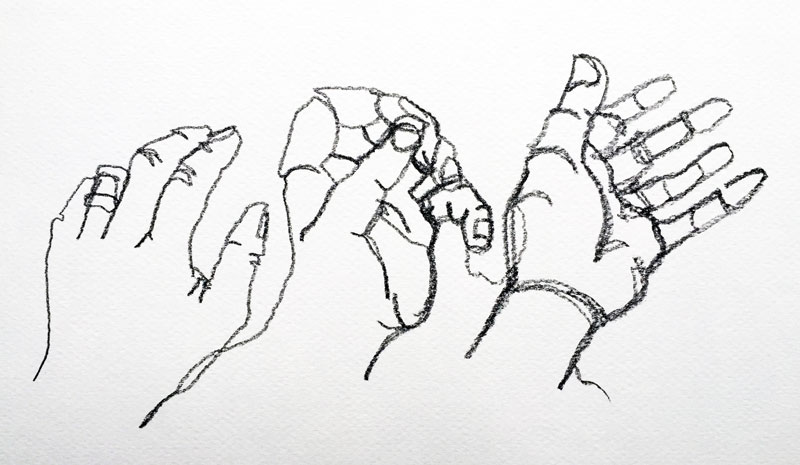
The idea of single-line drawings is not a new one, but it is a bit more difficult. You will have to have a good understanding of what a hand looks like when you draw it.
So you have to practice as the author of The Virtual Instructor suggests using his guide on how to draw single-line hand drawings.
11. How to Draw a Skeleton Hand
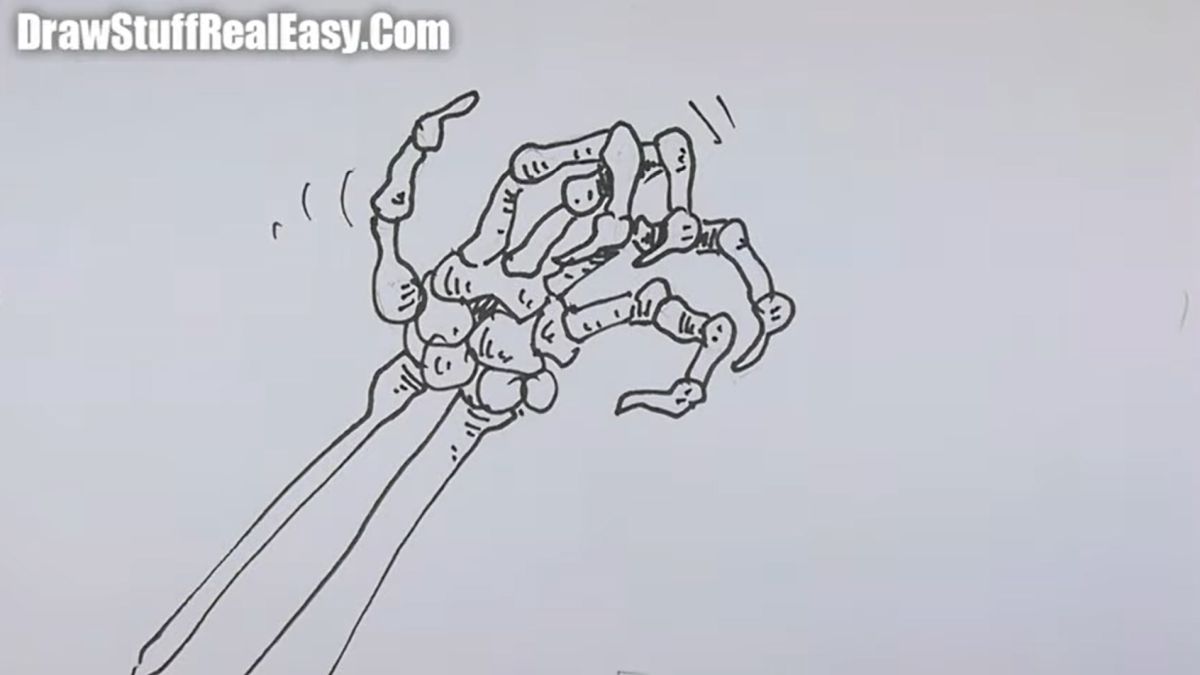
Shoo Rayner shows you how to draw a skeleton hand in his tutorial, which is perfect for when you want to draw some scary figurines at Halloween time.
12. How to Draw a Hand Pointing at You
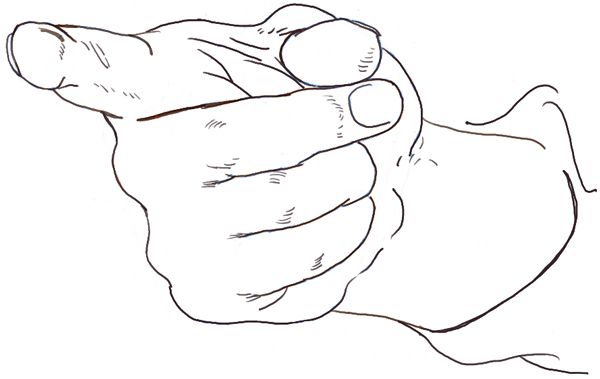
When a hand is pointing at you, it’s easy for your brain to understand it’s in 3 dimensions, but translating that onto a 2-dimensional surface in a drawing is a bit more difficult.
Luckily, Drawing How To Draw shows you how with a few easy steps.
13. How to Draw Hands in Motion
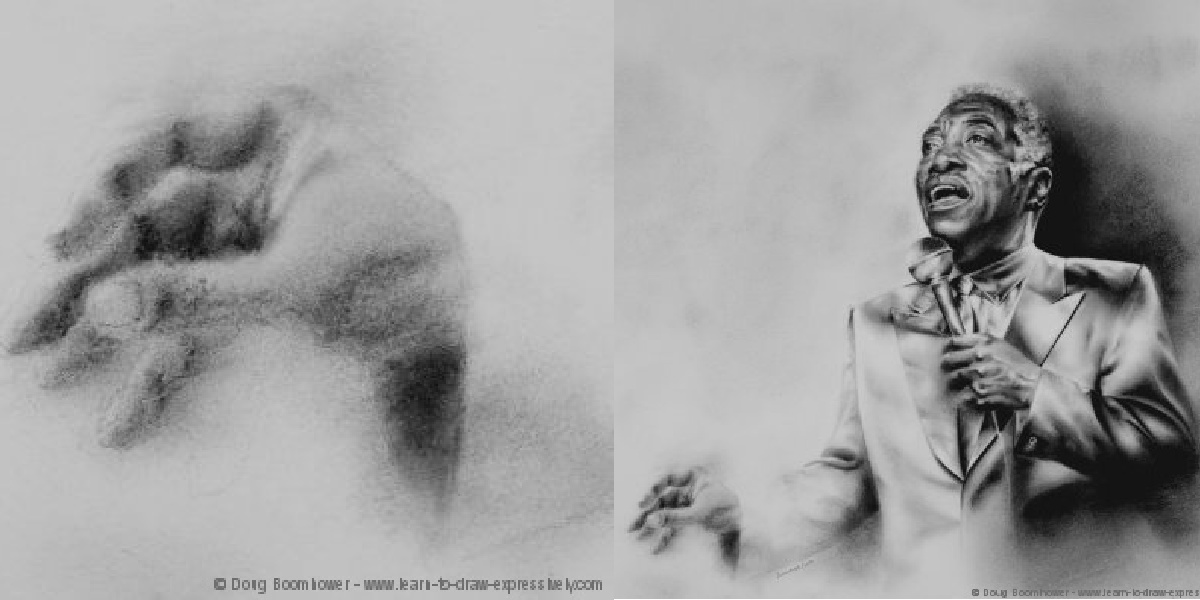
Hands can be a way of expressing emotion too, so when you’re drawing a figure moving, you can’t just draw the hands in a free frame.
The authors over at Learn To Draw Expressively will teach you how to take the specific approach needed when drawing hands in motion.
14. How to Draw Old Hands
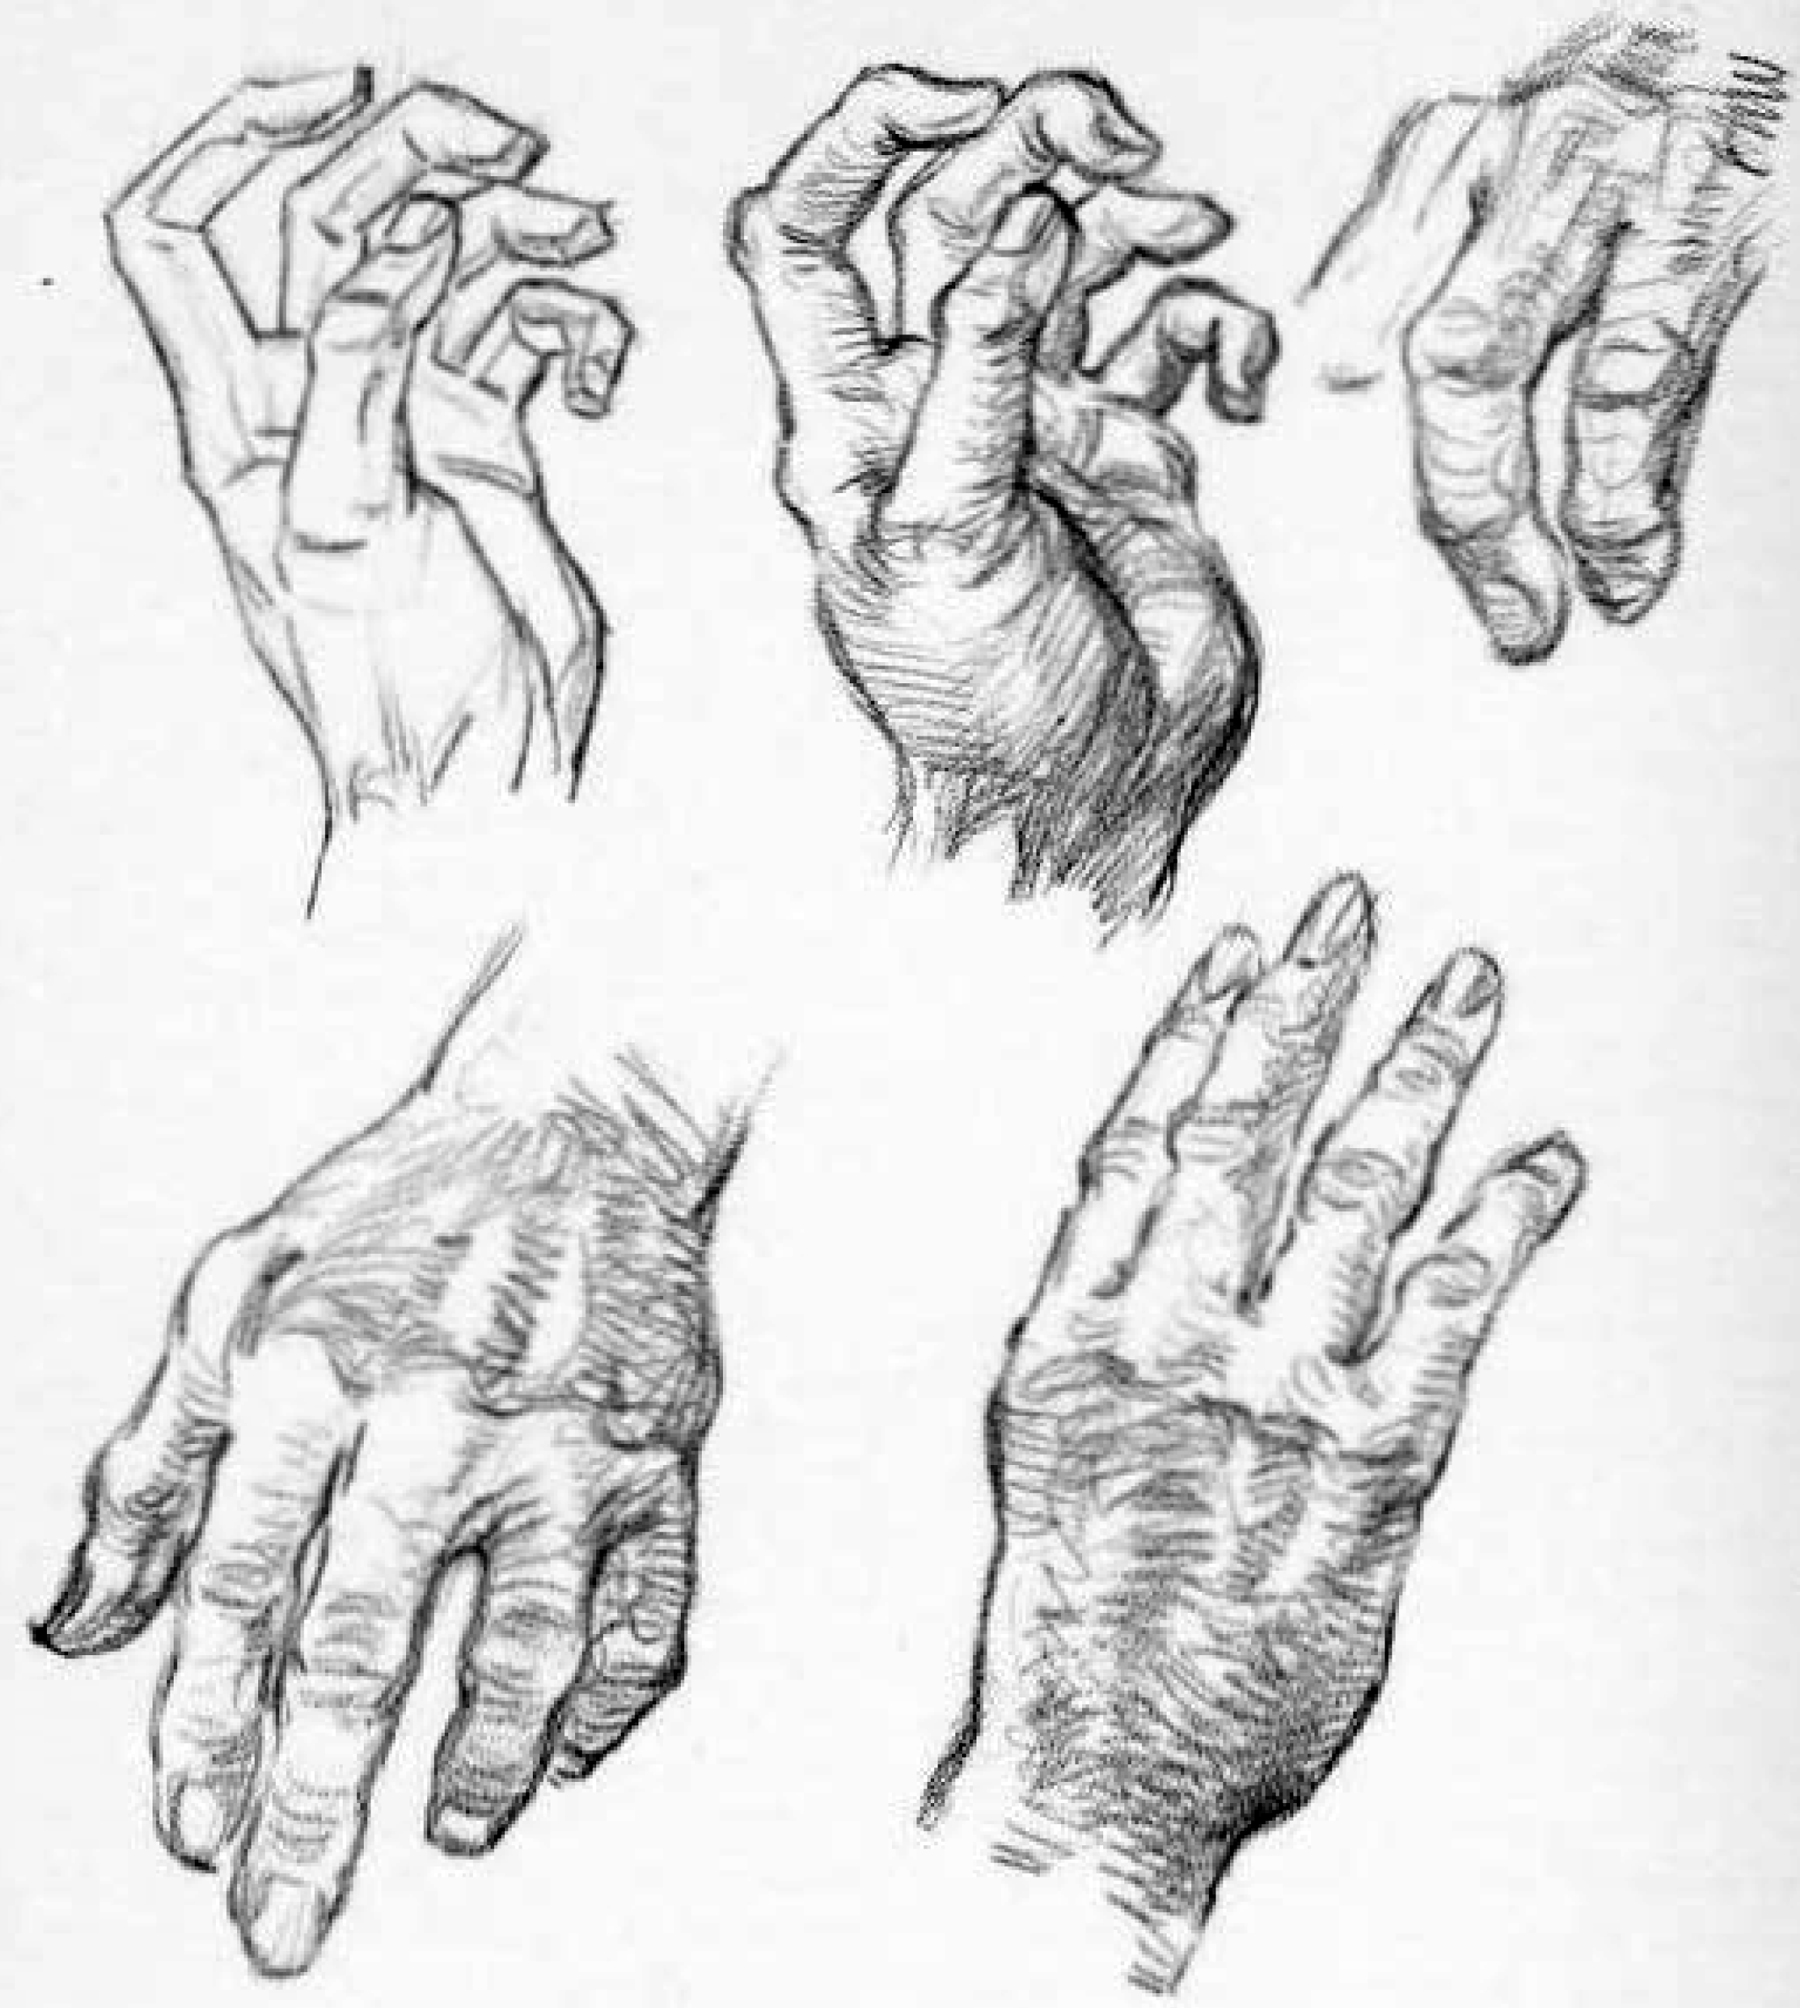
With age comes a lot more wrinkles, marks, and spots – which are not often displayed in hands drawn in art. Drawing How To Draw shows you some tips and tricks to keep in mind when drawing aged hands and how to shade the wrinkles.
15. How to Draw Baby Hands
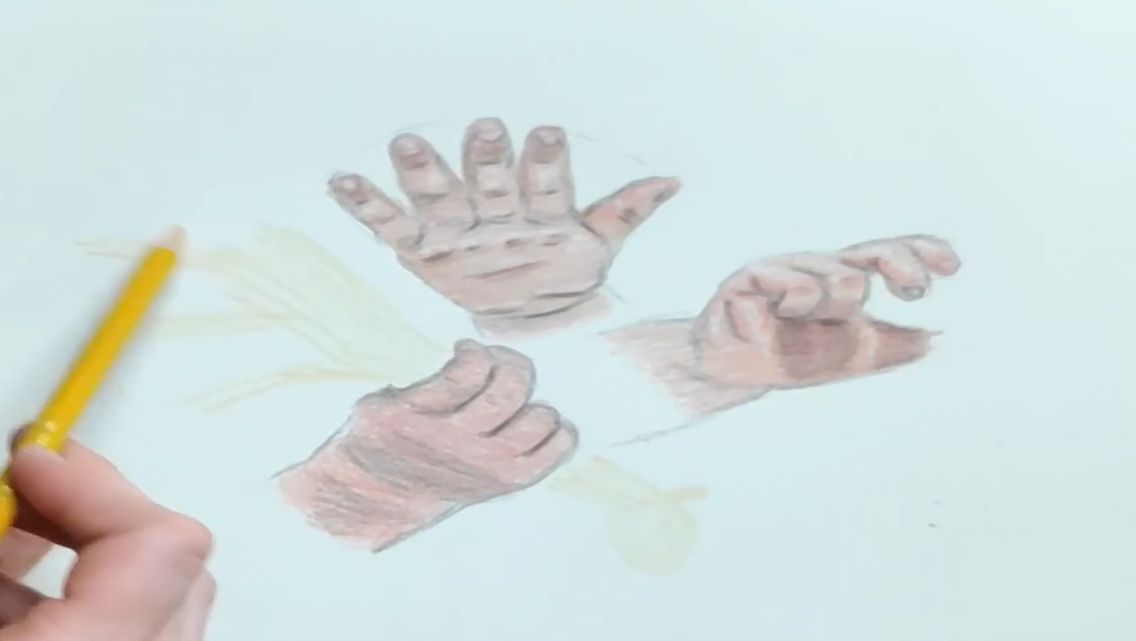
Cillian Art shows you why it’s important to study baby hands since they are very different from adult or teenager hands in proportion. Her video explains step-by-step how to draw baby hands and where to pay more attention to detail.
How to Draw a Realistic Hands for Beginners
To make it easier, it’s recommended to use pencil and paper for this tutorial. Have a pencil sharpener and erasing close by to avoid muddy and dull-looking sketches. Using a reference photo is the best for this sketch.
Step 1
Find the center of your paper and start drawing the basic shape of the hand in very light circles and ovals. You are just trying to get the basic idea of the hand-drawn, no detail or lines yet.
Step 2
Connect the shapes with lines. Add the contour of the hand in, but still quite light.
Step 3
Add general details, such as the contour of the nails, lines, and wrinkles made by the knuckles, and so on. You can also mark out where lighter and darker areas will be on the hands.
Step 4
Refine details, and then add some more lines and details. You can add some veins if any, the tendons, if they are showing under the skin, and start to lightly shade areas you know, will be darker than others.
Step 5
Identify the light source and use light logic to understand where the shadows and highlights will be. Erase any guidelines that will get in the way or shade over them, start light, and layer each darker shade in sections.
Step 6
Add the darkest shade and lines for contrast. Remember that very seldom do you see the actual contours of the hands by means of lines. So only in the darkest areas can you add dark contour lines and add more shading
Step 7
Refine details again. If your shading or highlighting has taken away some details like wrinkles or nail lines, add them in again.
Try to keep the erasing to a minimum. But erasing is definitely recommended for some high lights. Light small strokes of erasing yields the best results
Step 8
Practice drawing realistic hands often and enjoy the process. This is meant to be a challenge, not an instant masterpiece.
Read up on how to improve your shading and detailing techniques and don’t give up. Practice makes perfect.
How to Draw Hands FAQ
Why Is It So Hard to Draw Hands?
Hands are difficult to draw since each finger can, and mostly like will, point at a slightly different angle than the rest of the fingers and palm. Drawing hands forces your shading to be unique to each finger.
Hands are also very expressive and to get that to translate onto a piece of paper is a skill you need to learn.
Why Is Drawing Hands Important?
Hands are the main component of a body’s language, while the face has the main expression of how the person or character is feeling, the body language is a close second in portraying emotions, sometimes hidden by the face.
It’s important to draw hands to accurately express emotions and movement in characters.
How Can I Improve My Hand Drawing?
You can improve your skills of drawing hands by doing the following
- Practice often
- Learn from other artists
- Trying different styles of drawing
- Drawing hands from different angles
Conclusion
Learning how to draw hands is one of the most important parts of drawing a full-bodied character, even if it is a low-detailed cartoon. Hands, alongside the face, hold the most expression in the body’s language.
It can convey emotions, movement, and instructions clearly if done well. You will have to study a lot of different reference photos, practice a lot and most importantly, enjoy the art and skill of learning how to draw hands.
