
LifeFamilyFun.com offers inspiring ideas to enhance your family life. Explore creative DIY projects, home decor, recipes, travel tips, and parenting perspectives.
Parenting


Instant Pot


Family Travel


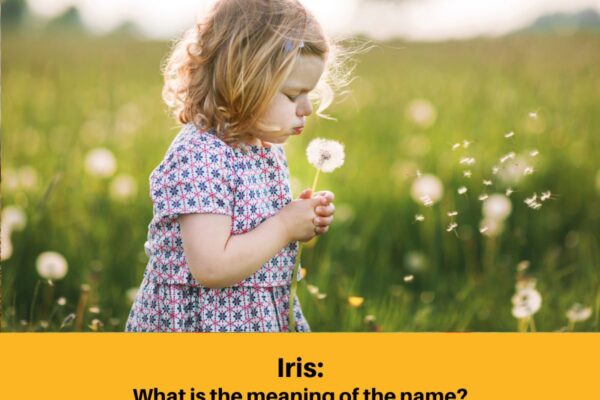
Explore Your Name’s Meaning


Texting Abbreviations and Their Meanings